
Heat shrinking window tint is the secret weapon behind flawless car and building windows. The process might look simple but even a single speck of dust or a tiny mistake with the heat gun can ruin hours of work. Incredibly, heat guns used by professionals can reach up to 1200 watts and a minute change in technique often means the difference between air bubbles and a perfect fit. Most installers focus on having the right film but it is actually your choice of cleaning materials and squeegees that often decides the outcome.
Table of Contents
- Essential Tools And Materials Needed
- Step-By-Step Wet And Dry Shrinking Methods
- Common Problems And Expert Troubleshooting
- Professional Tips For Faster, Perfect Results
Quick Summary
| Takeaway | Explanation |
|---|---|
| Invest in high-quality tools | Use professional-grade cutting tools and heat guns for optimal performance and results. |
| Prioritise surface preparation | Thoroughly clean window surfaces to avoid adhesion issues and ensure a smooth installation. |
| Master wet and dry methods | Understand and practice both shrinking techniques for better film control and finish. |
| Utilise advanced heat techniques | Apply systematic heat methods like ‘Center-Out’ for consistent film tension and shrinkage. |
| Continuous learning is essential | Document your process and seek feedback to refine skills and improve installation quality. |
Essential Tools and Materials Needed
Successful heat shrinking window tint requires precision, skill, and the right equipment. Professional installers understand that having a comprehensive toolkit is fundamental to achieving flawless results. This section breaks down the essential tools and materials every window tint professional needs to execute heat shrinking techniques with exceptional quality.
Professional Cutting and Preparation Tools
Before applying window tint, installers must have a robust set of cutting and preparation tools. Tint Depot’s professional guide recommends several critical implements for precise work. Cutting knives with snap-off blades allow for razor-sharp precision when trimming window tint film. Professional installers should invest in high-quality knives with replaceable blades to maintain optimal cutting performance.
Additionally, hard cards and squeegees are indispensable for smooth film application. Soft-edge and felt-edge squeegees help eliminate air bubbles and ensure proper adhesion. Scrubbie pads and lint-free microfiber cloths are essential for cleaning glass surfaces thoroughly before tint application, removing any dust, debris, or residue that could compromise the film’s installation.
Heat Shrinking Specific Equipment
Journeyman HQ’s comprehensive installation guide emphasizes the critical role of heat guns in window tint installation. Professional-grade heat guns ranging from 600-1200 watts are crucial for heat shrinking window tint effectively. These tools allow installers to activate adhesive properties and shape film precisely around curved surfaces like car windows.
Other heat shrinking specific materials include high-quality heat-activated window tint films designed to conform seamlessly to glass surfaces. Installers should select films with robust adhesive properties that respond well to controlled heat application. Precision measuring tapes, marking pencils, and lint-free gloves also contribute to achieving professional-level heat shrinking results.
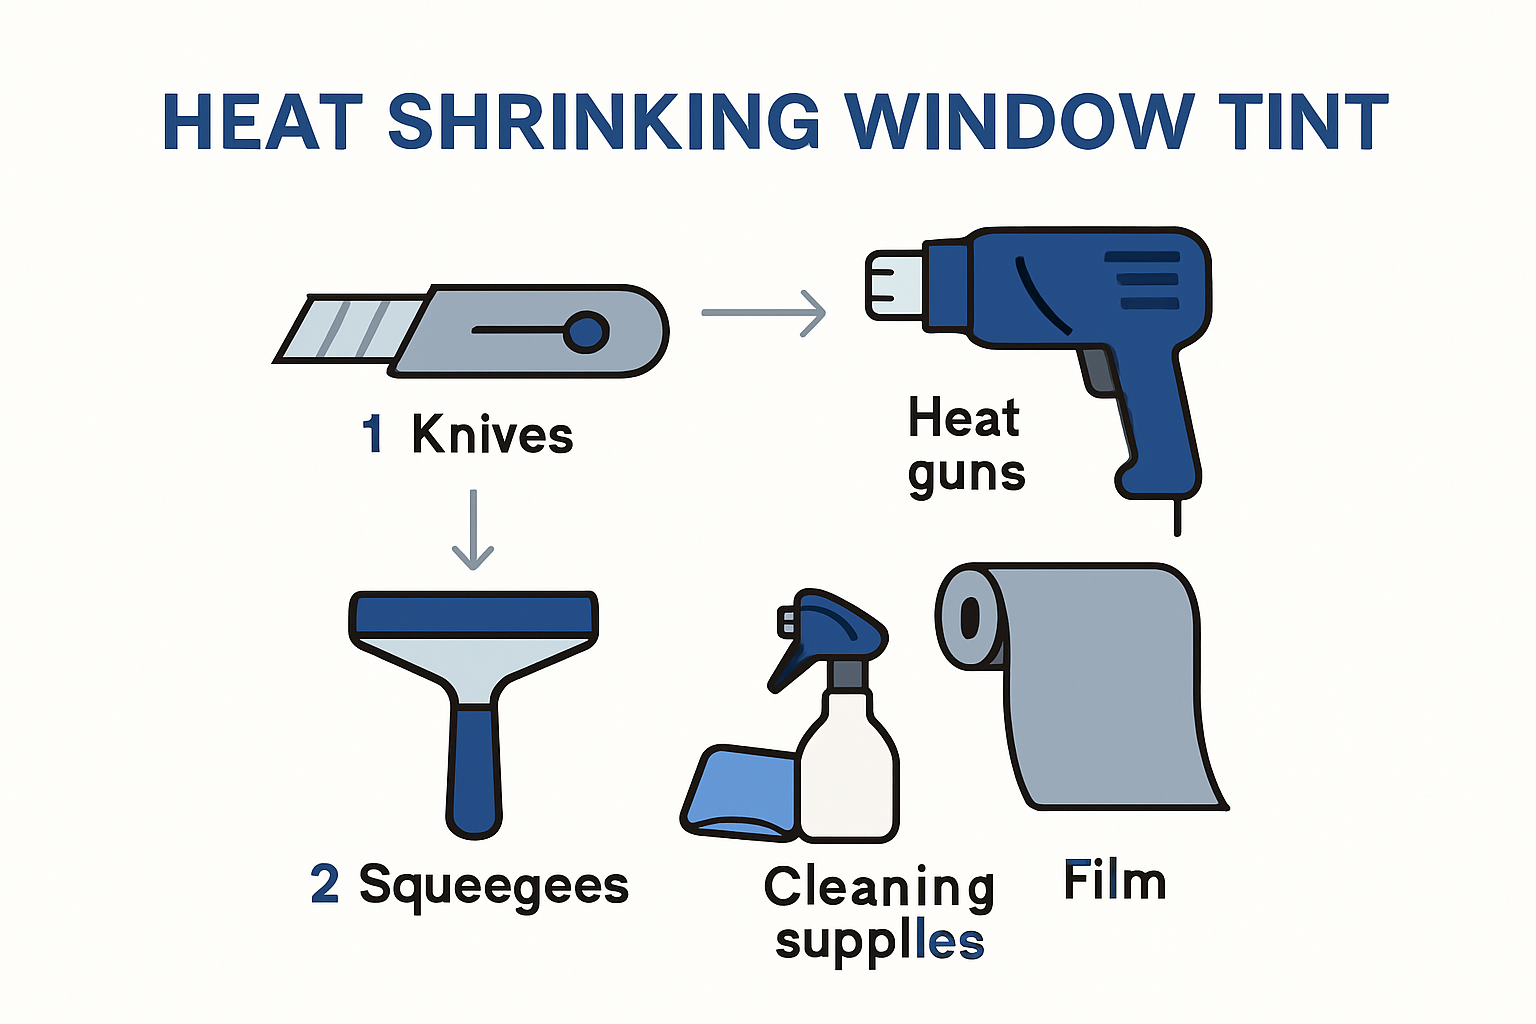
Additional Essential Materials
Tint Wiz’s installation guide highlights the importance of supplementary materials for successful window tint application. Spray bottles filled with specialized mounting solutions help position and adjust film during installation. Protective materials like tarps or towels prevent damage to surrounding areas and vehicle interiors during the heat shrinking process.
Professional installers should also maintain a consistent inventory of replacement blades, extra microfiber cloths, and cleaning solutions. Keeping tools clean and well-maintained ensures optimal performance and extends the lifespan of expensive equipment. Investing in high-quality tools might seem costly initially, but it ultimately saves time, reduces material waste, and produces superior window tint installations.
Below is a table summarising the essential tools and materials needed for heat shrinking window tint, their uses, and best practices:
| Tool/Material | Main Use | Best Practice/Tips |
|---|---|---|
| Cutting knives with snap-off blades | Precise trimming of window tint film | Use high-quality, replace blades regularly |
| Hard cards/squeegees (soft/felt edge) | Smoothing film, removing air bubbles | Choose appropriate edge type, keep surface clean |
| Scrubbie pads/microfiber cloths | Thorough glass cleaning before application | Use lint-free, inspect for debris before use |
| Heat gun (600-1200 watts) | Shrinking and moulding film to window shape | Maintain 4-6 inch distance, use controlled sweeping |
| Measuring tape & marking pencils | Accurate measurement/cutting of film | Double check measurements, mark lightly |
| Heat-activated window tint film | Provides UV/heat protection, easy to shape | Select robust adhesive, check compatibility with method |
| Spray bottle with mounting solution | Soapy water for wet shrinking/film positioning | Keep nozzle clean, use right solution mix |
| Tarps or towels | Protecting vehicle interior/surroundings | Cover all exposed areas, reposition as needed |
| Lint-free gloves | Handling tint film without contamination | Change gloves if soiled, avoid touching adhesive surface |
| Replacement blades & cleaning supplies | Maintenance & longevity of equipment | Stock extras, clean tools after every installation |
Step-by-Step Wet and Dry Shrinking Methods
Mastering heat shrinking window tint requires understanding both wet and dry shrinking techniques. Professional installers must be adept at selecting and executing the appropriate method based on the specific window configuration and tint film characteristics.
Wet Shrinking Method Fundamentals
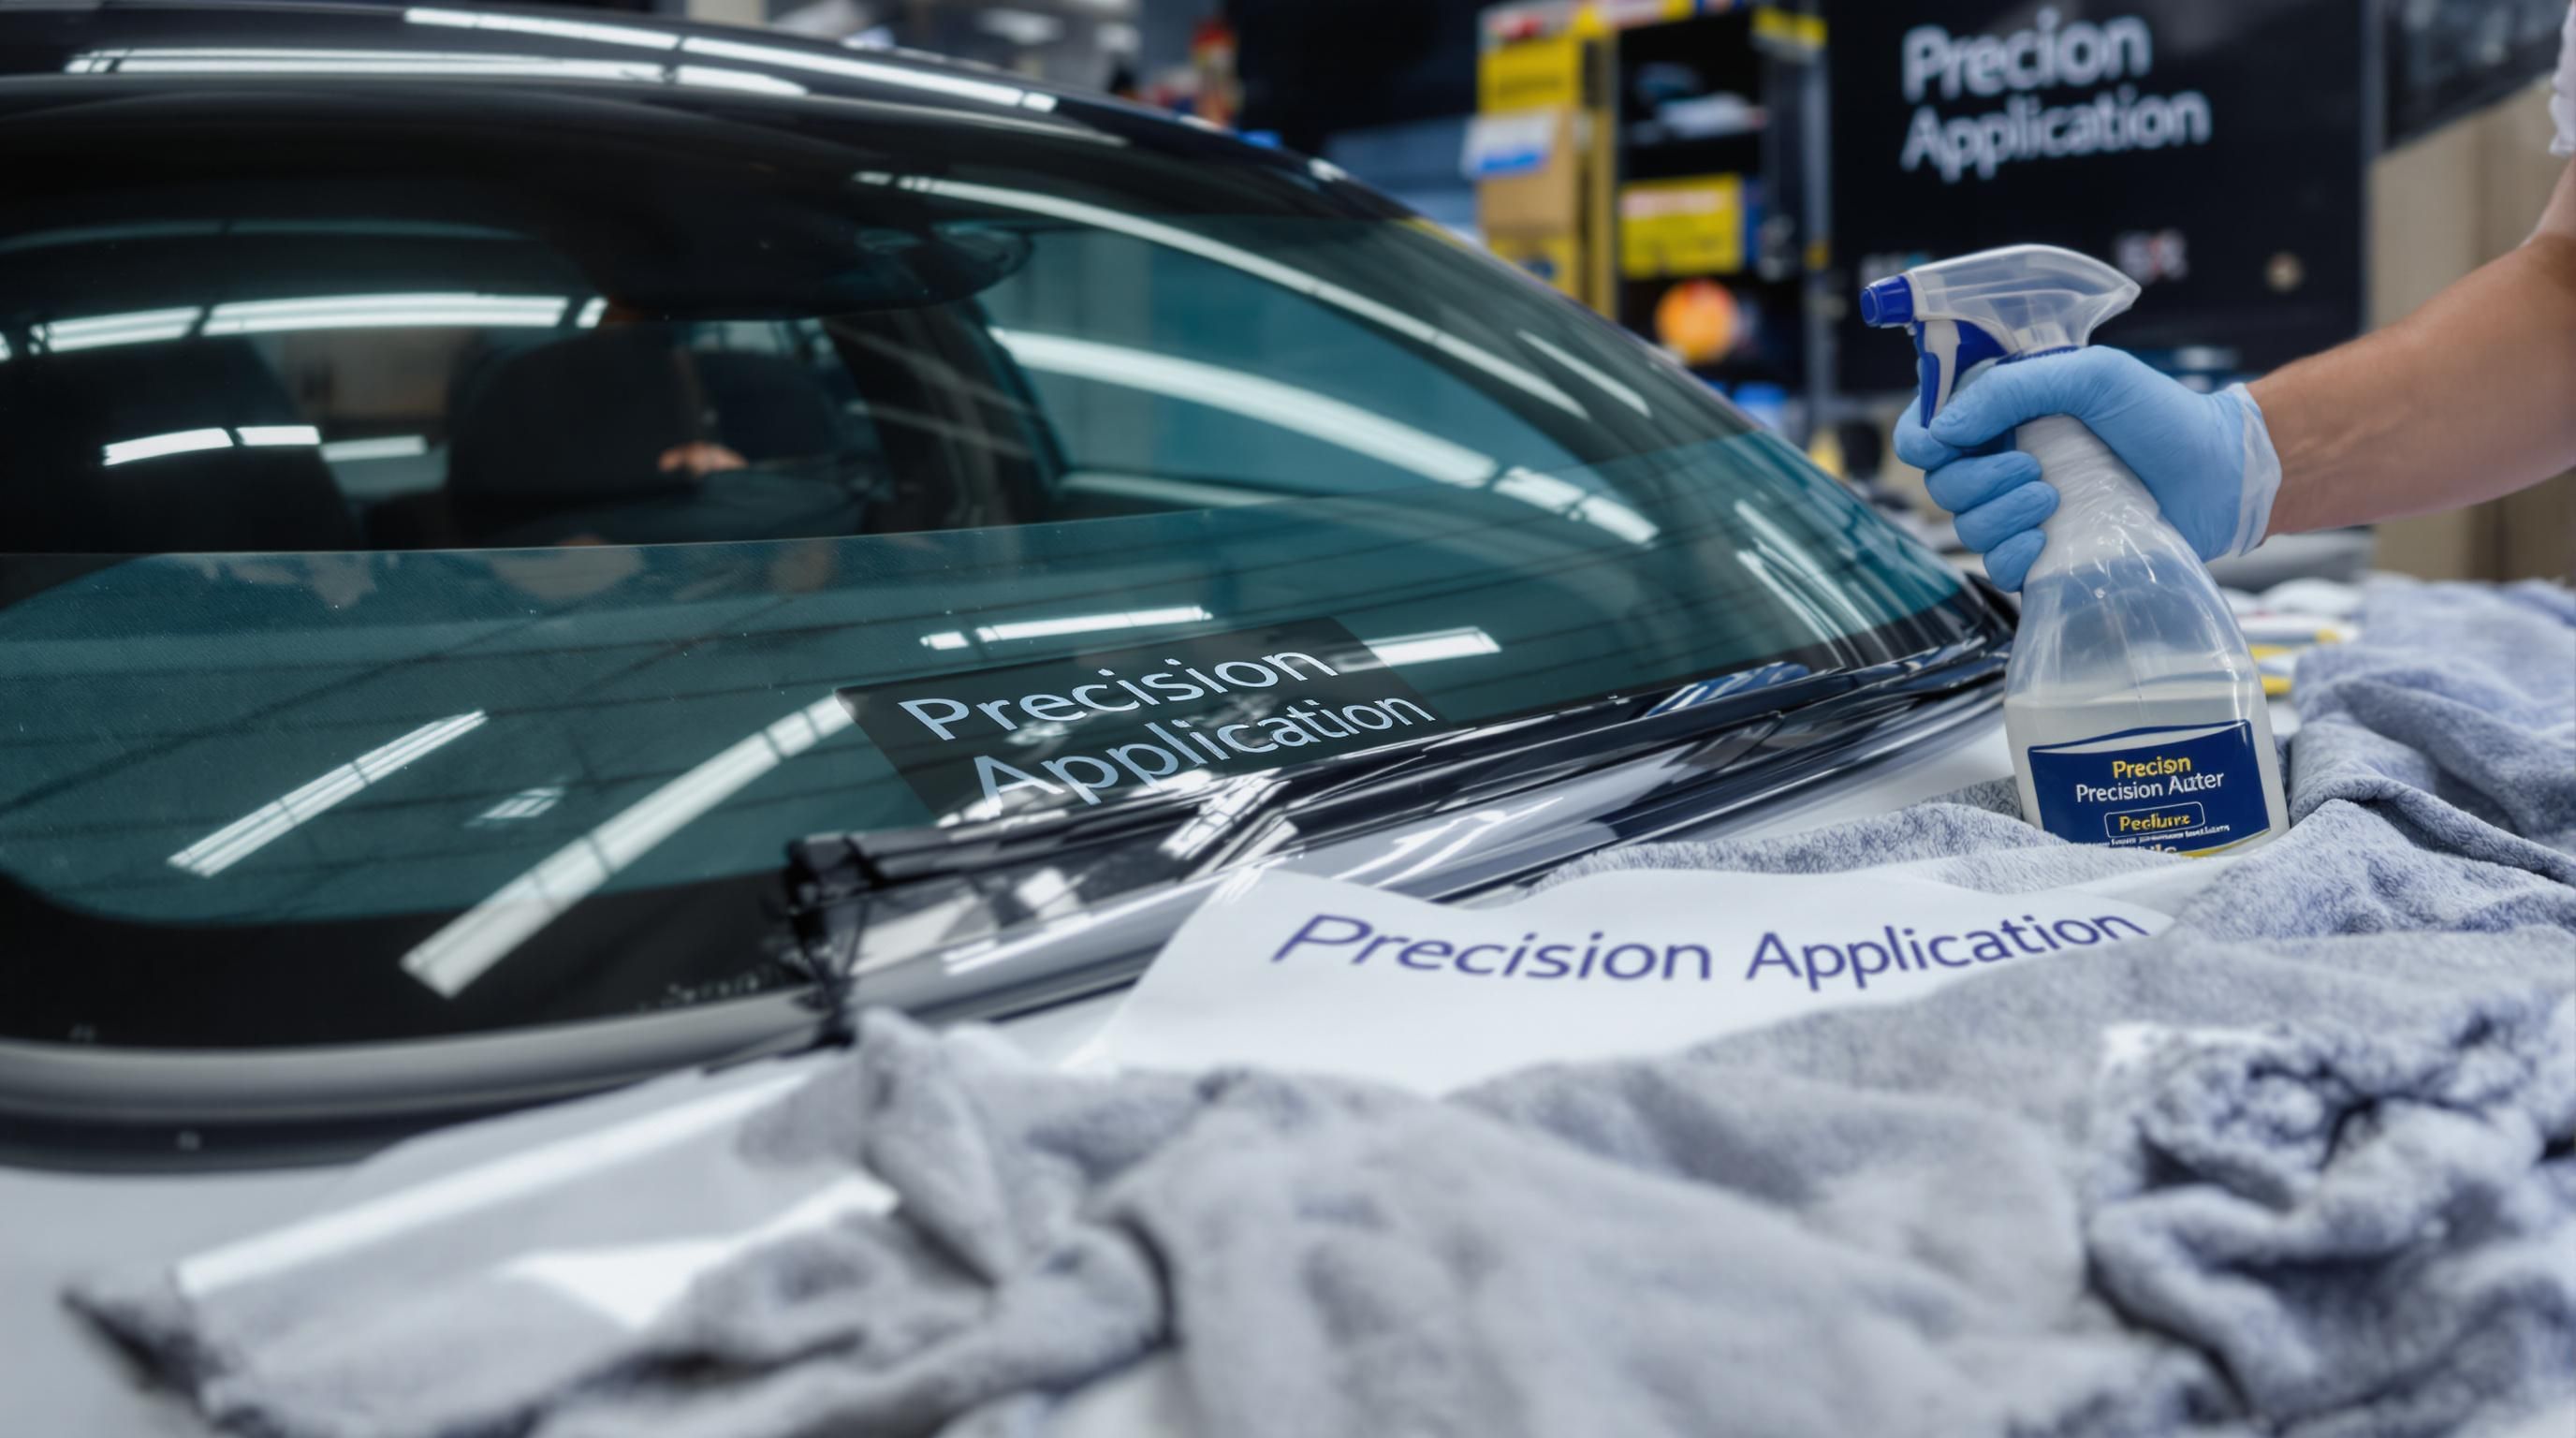
Rvinyl’s comprehensive guide reveals that the wet shrinking method provides superior control and flexibility during window tint installation. Begin by thoroughly cleaning the window surface to remove any dust, dirt, or residue that could interfere with film adhesion. Use a mixture of water and mild soap to create a slippery surface that allows precise film positioning.
Pre-cutting the tint film accurately is crucial for successful wet shrinking. Installers should measure the window precisely and cut the film with extra margin to accommodate potential adjustments. Spray bottles with soapy water enable smooth film placement and allow repositioning before final adherence. Bogar Tech Designs recommends using a soft squeegee to eliminate air bubbles and excess moisture during this process.
Dry Shrinking Technique Precision
The dry shrinking method requires exceptional heat gun control and technique. Professional installers must maintain a consistent distance from the film surface, typically 4-6 inches away, to prevent overheating or damaging the tint. Heat guns set between 600-1200 watts provide the necessary thermal energy to activate the film’s adhesive properties and conform to window curves.
Window Tinting Business School suggests creating an H pattern when shrinking rear windows, which helps distribute heat evenly and prevents potential film distortion. Installers should work systematically, dividing the window into quadrants and applying controlled heat in smooth, overlapping motions.
Critical Technique Considerations
Successful heat shrinking demands careful attention to film tension and temperature. Installers must monitor the film closely, watching for signs of over-stretching or uneven shrinkage. Using a hard card to smooth the film while applying heat helps maintain proper alignment and eliminate potential wrinkles.
Different window shapes and vehicle models require nuanced approaches. Curved surfaces like rear windshields and side windows necessitate more precise heat application compared to flat glass surfaces. Professionals recommend practicing on scrap materials to develop muscle memory and understand how different films respond to heat shrinking techniques.
Ultimately, mastering wet and dry shrinking methods comes with experience. Continuous training, understanding film characteristics, and investing time in technique refinement separate exceptional window tint installers from average practitioners. Patience, precision, and a systematic approach are the hallmarks of professional-grade heat shrinking window tint installation.
Below is a table comparing the Wet and Dry Shrinking Methods, highlighting their key characteristics and best use scenarios:
| Feature | Wet Shrinking Method | Dry Shrinking Method |
|---|---|---|
| Surface Preparation | Thorough cleaning, soapy water | Comprehensive cleaning |
| Film Positioning | Allows easy repositioning | Less flexibility after heating |
| Tools Used | Spray bottle, soft squeegee | Heat gun (600–1200W), hard card |
| Suitable For | Complex shapes, learning phase | Curved glass, experienced installers |
| Heat Application | Not direct; heat for shrinking | Direct, controlled heat application |
| Bubble/Crease Removal | Squeegee during placement | Squeegee while heating |
| Key Benefit | More forgiving, less risk | Faster, precise for experienced |
Common Problems and Expert Troubleshooting
Professional window tint installers encounter various challenges during heat shrinking processes. Understanding these potential issues and developing effective troubleshooting strategies is crucial for maintaining high-quality installation standards.
Film Adhesion and Surface Preparation Challenges
Tintd.au’s professional guide emphasizes that inadequate surface preparation remains a primary cause of window tint installation failures. Contamination and residue can significantly compromise film adhesion, leading to bubbling, peeling, and premature tint failure. Professional installers must meticulously clean window surfaces using specialized cleaning solutions that remove all traces of dirt, oils, and previous adhesive residues.
Before heat shrinking, conduct a comprehensive surface inspection. Use lint-free microfiber cloths and professional-grade glass cleaners to eliminate microscopic debris. Pay special attention to window edges and corners where contaminants often accumulate. A thorough cleaning process creates an optimal surface for film adhesion and reduces the likelihood of future installation complications.
Heat Application and Film Damage Prevention
Tint Integrity’s expert recommendations highlight the critical nature of precise heat gun usage during window tint installation. Uneven heat application can cause significant film damage, including warping, cracking, and structural integrity loss. Professional installers must maintain consistent heat gun distance, typically 4-6 inches from the film surface, and use controlled, sweeping motions to distribute thermal energy uniformly.
Temperature control is paramount. Most professional-grade heat guns operate between 600-1200 watts, but experienced installers understand that wattage alone does not guarantee successful heat shrinking. Watch for subtle color changes in the film that indicate proper heat activation. Move the heat gun continuously to prevent localized overheating, which can cause irreversible film damage.
Advanced Troubleshooting Techniques
Experienced window tint professionals develop diagnostic skills to quickly identify and resolve installation challenges. Common issues like air bubbles, wrinkles, and edge lifting require systematic troubleshooting approaches. When encountering persistent bubbles, carefully lift the film using a hard card and reapply, ensuring thorough moisture removal.
For complex window shapes with extreme curvatures, consider breaking the shrinking process into smaller sections. Work systematically from the center outwards, applying controlled heat and using soft squeegees to maintain film tension. Professionals recommend maintaining a calm, methodical approach rather than attempting aggressive corrections that might compromise film integrity.
Continuous training and practical experience remain the most effective methods for developing advanced troubleshooting skills. Invest time in understanding different film materials, window geometries, and thermal behaviors. Document challenging installations to refine techniques and build a comprehensive knowledge base. Ultimately, successful heat shrinking window tint requires patience, precision, and a commitment to mastering complex technical skills.
Professional Tips for Faster, Perfect Results
Advancing from competent to exceptional window tint installation requires mastering nuanced techniques that transform good results into professional-grade outcomes. Professional installers understand that efficiency and precision go hand in hand during heat shrinking window tint processes.
Advanced Heat Shrinking Techniques
Tools Advisers’ professional guide reveals two critical heat shrinking methods: the ‘Tacking’ and ‘Center-Out’ techniques. The Tacking method involves applying short, controlled heat bursts to film edges, enabling precise shrinkage without compromising film integrity. Professional installers use this technique to create seamless edges and eliminate potential wrinkles.
The Center-Out technique proves particularly effective for complex window configurations. By starting heat application from the window’s center and progressively moving towards edges, installers can maintain consistent film tension. Systematic heat distribution prevents localized stretching and ensures uniform shrinkage across different window geometries.
Preparation and Workflow Optimization
Phenomenal Detailing’s expert recommendations emphasize thorough window preparation as a cornerstone of perfect tint installation. Beyond basic cleaning, professionals implement a comprehensive surface assessment process. This includes examining window curvature, identifying potential adhesion challenges, and strategically planning film application.
Our guide on advanced PPF installation techniques suggests developing a consistent workflow that minimizes unnecessary movements. Organize tools within immediate reach, maintain a clean workspace, and create a systematic approach to each installation. Efficiency comes from muscle memory and predictable, repeatable processes.
Precision Tools and Technique Refinement
Quality Auto Glass Tint’s professional insights highlight the importance of using professional-grade squeegees during heat shrinking. Soft-edge and hard-edge squeegees serve different purposes in managing film tension and eliminating air bubbles. Professionals recommend practicing squeegee techniques on scrap materials to develop nuanced pressure control.
Continuous skill development separates exceptional installers from average practitioners. Document challenging installations, analyze technique videos, and seek feedback from experienced professionals. Understanding how different film types respond to heat and pressure requires ongoing education and practical experimentation.
Ultimately, achieving faster and perfect window tint results demands a holistic approach. Combine technical knowledge, advanced tools, systematic workflows, and a commitment to continuous improvement. Professional installers view each installation as an opportunity to refine their craft, pushing the boundaries of precision and efficiency in heat shrinking window tint techniques.
Frequently Asked Questions
What is heat shrinking window tint?
Heat shrinking window tint is a process where a specially designed film is applied to glass surfaces, using controlled heat to conform the tint to the shape of the window, especially on curved surfaces.
What tools are essential for heat shrinking window tint installation?
Essential tools include professional cutting knives with snap-off blades, heat guns (600-1200 watts), hard cards or squeegees, scrubbie pads, microfiber cloths, and specific heat-activated window tint films.
What are the differences between wet and dry shrinking methods?
The wet shrinking method involves using soapy water to allow for easier repositioning of the film, while the dry shrinking method requires precise heat application without moisture, typically preferred by experienced installers for quick results.
How can I troubleshoot common problems during heat shrinking?
To troubleshoot, ensure thorough surface preparation to avoid adhesion issues, maintain consistent heat gun distance to prevent damage, and if bubbles or wrinkles occur, carefully lift the film and reapply it using a hard card to remove trapped air.
Achieve Perfect Results With Precision-Cut Window Tint Patterns
Frustrated by wasted film, tricky curves, or spending hours correcting edges after heat shrinking? Accurate cuts and clean patterns make all the difference to a flawless installation. As detailed in the article, professional window tint work demands not only technical expertise but also relentless efficiency, especially when managing complex shapes and repeated jobs. Many installers lose valuable time on manual trimming or struggle to achieve uniform results on every vehicle, even after mastering advanced heat shrinking methods. If you’re aiming for smooth applications and want to eliminate guesswork, it is time to consider a smarter approach to preparation.

With AEONCUT’s window tint pattern software, you unlock a full library of precision pre-cut designs ready for any project. These patterns fit perfectly and require minimal adjustment during heat shrinking. No more wasted material or time spent fixing missed corners. Streamline your installations and wow your clients with results that always look professional. Get started right now at https://aeoncutsw.com and take full control of your work. Your next flawless finish is only a click away.
Recommended
- Types of Window Tint: Guide for Installers and Dealers 2025 – AEONCUT PPF Pre-cut Cutting software
- 2025 Guide to Window Tint Colour Options for Industry Pros – AEONCUT PPF Pre-cut Cutting software
- How Window Tint Works: Essential Guide for Auto Professionals 2025 – AEONCUT PPF Pre-cut Cutting software
- What is Window Tint? Essential Guide for Tinting Pros 2025 – AEONCUT PPF Pre-cut Cutting software


