
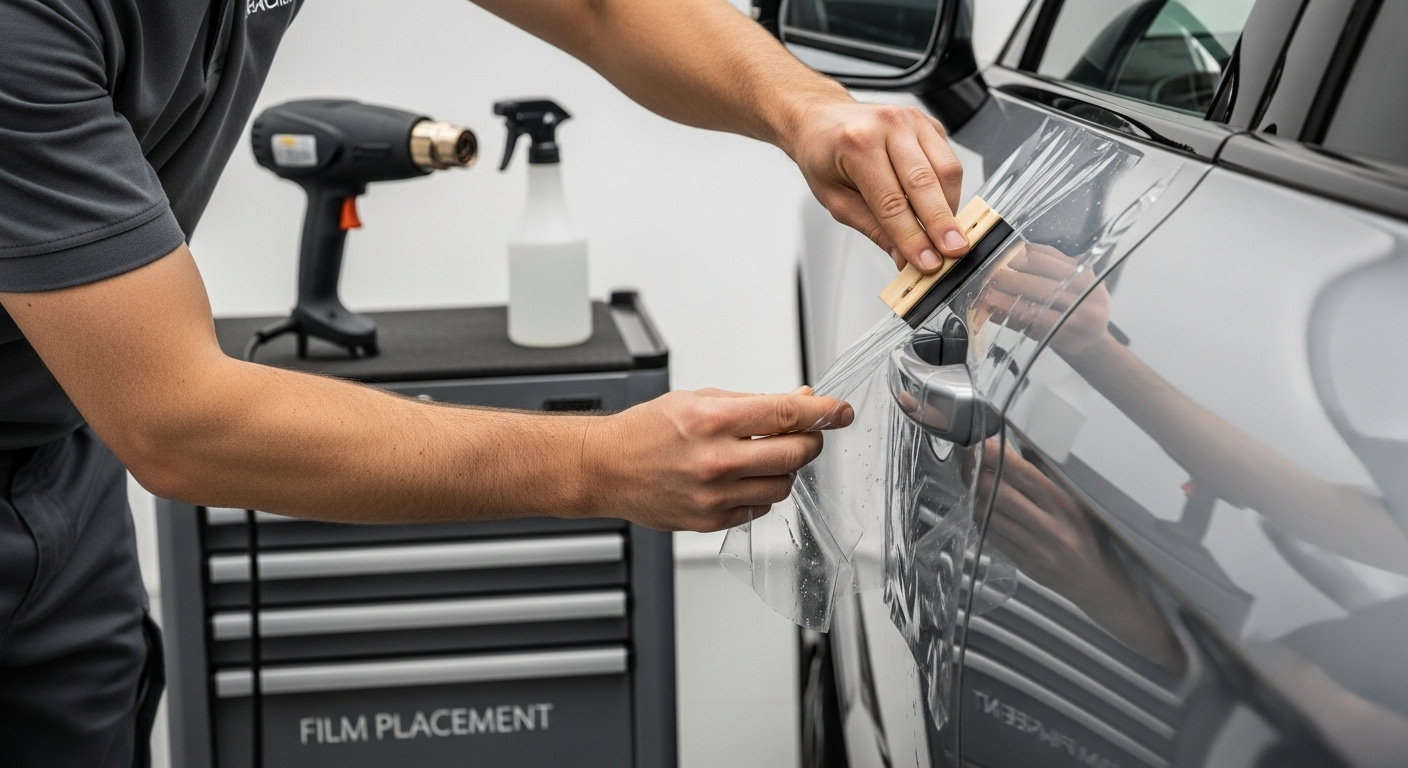
Paint protection film installation seems like a straightforward task for keeping your vehicle in top condition. Yet professional installers know the odds of success aren’t left to chance. Surface preparation alone accounts for 70 percent of a flawless PPF application, according to industry experts. Surprised? Many assume the cutting or fitting stage decides the outcome, but it is meticulous cleaning and decontamination that truly separates a perfect finish from a failed attempt.
Table of Contents
- Step 1: Gather Necessary Tools And Materials
- Step 2: Prepare The Vehicle Surface Thoroughly
- Step 3: Measure And Cut The PPF With Precision
- Step 4: Apply PPF To The Surface Methodically
- Step 5: Finish And Seal Edges For A Professional Look
- Step 6: Inspect And Test For Quality Assurance
Quick Summary
| Key Point | Explanation |
|---|---|
| 1. Quality tools ensure precision | Invest in professional-grade tools to enhance accuracy and quality during the PPF installation process. |
| 2. Meticulous surface preparation is vital | Cleaning and decontaminating the vehicle’s surface greatly improve film adhesion and overall results. |
| 3. Measure precisely before cutting | Accurate measurements and careful cutting techniques prevent errors and ensure the film fits perfectly. |
| 4. Use proper application techniques | Employ methodology for film application, including slip solutions and controlled heat to avoid issues. |
| 5. Conduct thorough quality checks | Inspect under various lighting conditions to identify and rectify any imperfections in your installation. |
Step 1: Gather Necessary Tools and Materials
Successful PPF installation begins with meticulous preparation and assembling the right equipment. Professional installers understand that quality tools are not just accessories but critical components determining the precision and quality of paint protection film application.
Your comprehensive PPF installation toolkit should include several key categories of professional-grade equipment. Precision cutting tools are paramount, with professional-quality vinyl cutters, precision cutting mats, and sharp utility knives forming the foundation of your workspace. Invest in high-quality microfibre cloths, squeegees with soft rubber edges, and detailed cleaning solutions specifically designed for automotive surfaces.
Essential Installation Equipment
Begin by selecting professional-grade squeegees with varying firmness levels. Soft felt-edged squeegees help manage film placement without scratching delicate paint surfaces. Complementing these, you will need isopropyl alcohol solutions for thorough surface preparation, lint-free cleaning towels, and precision measuring tools like digital tape measures.
Additional critical equipment includes:
- Heat guns with variable temperature settings
- Precision cutting tools with replaceable blades
- Surface cleaning solutions designed for automotive paint
- Protective gloves and work clothing
- Film positioning spray
- Lint-free microfibre towels
Professional installers recognise that surface preparation represents 70% of successful PPF application. Your toolkit must include decontamination products that remove wax, silicone, and microscopic debris. Ceramic surface prep solutions, clay bar kits, and professional-grade cleaning agents will ensure optimal film adhesion and longevity.
Before commencing installation, verify your equipment’s condition and completeness. Check cutting blades for sharpness, ensure cleaning solutions are unexpired, and confirm that all tools are clean and ready for precise application. A well-prepared workspace with meticulously maintained tools significantly increases installation success rates and minimises potential errors during the PPF application process.
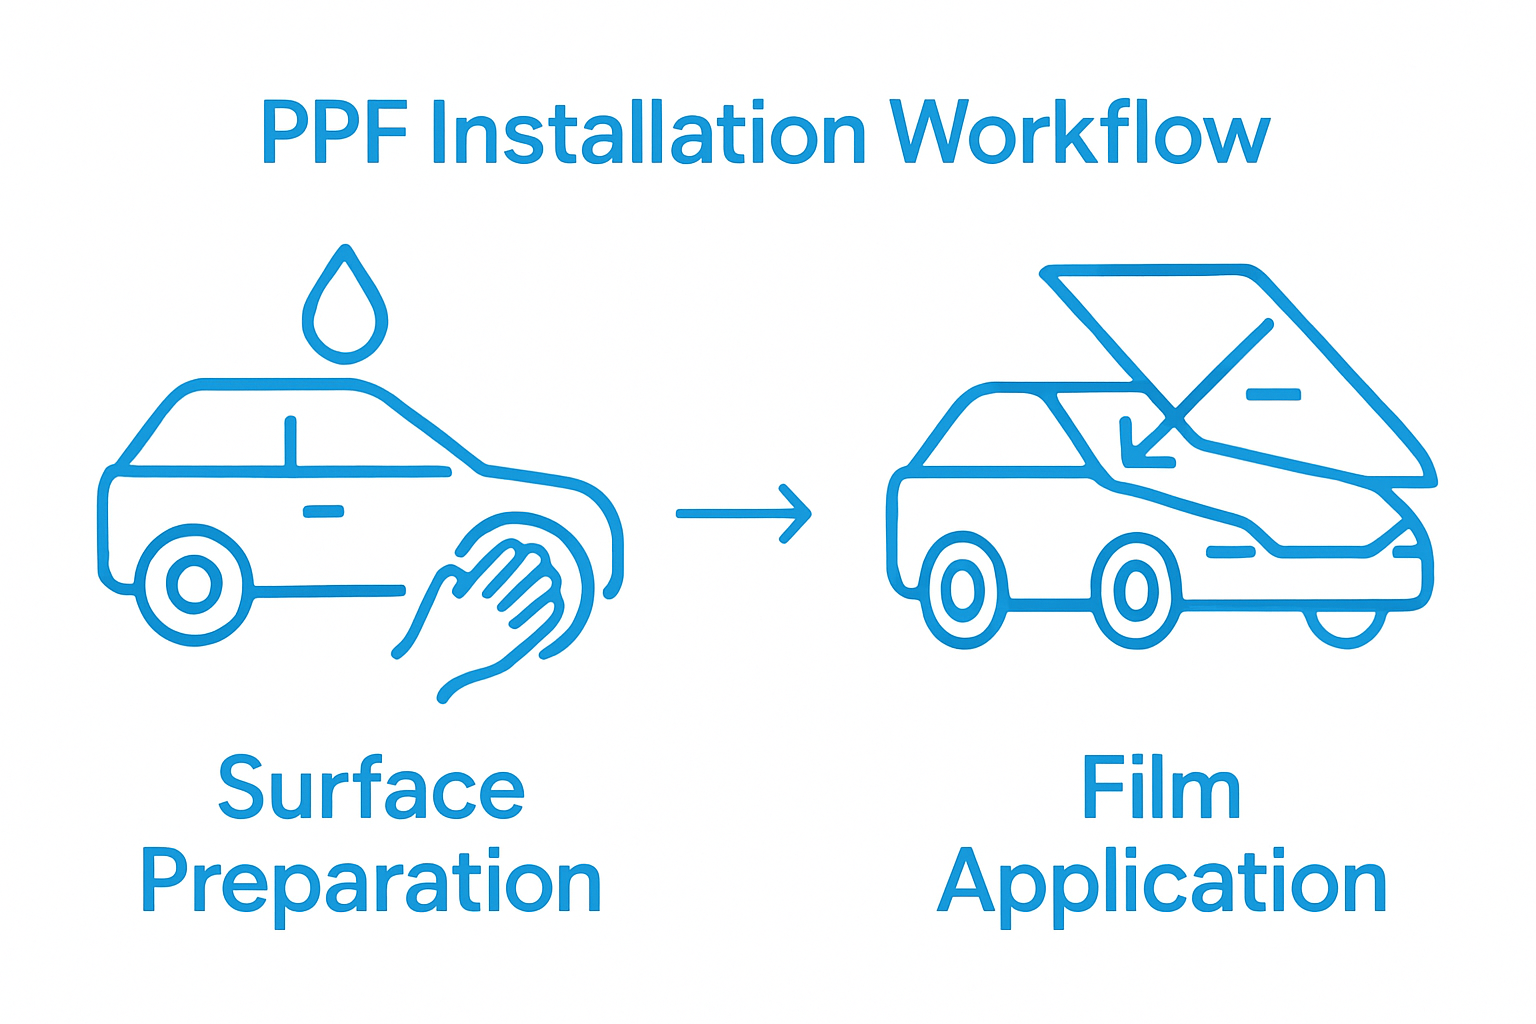
Step 2: Prepare the Vehicle Surface Thoroughly
Vehicle surface preparation represents the most critical phase of PPF installation, determining the film’s adhesion, durability, and overall aesthetic quality. Professionals understand that meticulous surface preparation can make the difference between a flawless installation and a compromised result.
Comprehensive Surface Decontamination
Begin by creating a systematically clean environment for your installation. Remove the vehicle from direct sunlight and position it in a controlled, dust-free workspace. Initial cleaning requires a multi-step approach using professional-grade automotive cleaning solutions. Start with a thorough wash using pH-neutral car shampoo, ensuring you remove all surface dirt, road grime, and environmental contaminants.
After initial washing, transition to chemical decontamination. Use iron removal products to dissolve metallic particles that embed themselves in automotive paint. These microscopic metal fragments can compromise film adhesion and create future paint imperfections. Follow iron removal with a clay bar treatment, which lifts embedded contaminants without scratching the delicate paint surface.
Your surface preparation toolkit should include:
- pH-neutral car shampoo
- Iron removal solution
- Professional grade clay bar kit
- Isopropyl alcohol solution (90% concentration)
- Lint-free microfibre towels
The final and most crucial stage involves complete surface polishing. Use a dual-action polisher with fine-cut compounds to remove minor imperfections, oxidation, and create an ultra-smooth surface. This step not only improves aesthetic quality but ensures maximum PPF adhesion. A comprehensive car cleaning guide can provide additional insights into professional-level surface preparation techniques.
Conduct a final inspection under bright, direct lighting. Run your gloved hand gently across the surface, checking for any remaining contamination or imperfections. A perfectly prepared surface will feel smooth, clean, and ready for PPF application. Any remaining contaminants will compromise the film’s performance, so thoroughness is paramount in this critical preparation stage.
Step 3: Measure and Cut the PPF with Precision
Precision cutting represents the technical heart of PPF installation, transforming raw film into perfectly tailored vehicle protection. Professional installers understand that millimetre-level accuracy separates exceptional work from average results.
Begin by establishing a clean, well-lit workspace with a professional-grade cutting surface. Digital measuring tools and laser-guided rulers become your precision allies during this critical phase. Modern professionals leverage advanced digital technologies to eliminate traditional measurement errors. You might consider custom pattern creation techniques that streamline this intricate process.
Careful film positioning requires methodical approach. Unroll your paint protection film on a perfectly clean cutting mat, ensuring no dust or debris might compromise the material. Tension management becomes crucial – the film must remain flat and smooth without stretching. Professional installers recommend using weight distribution techniques to maintain consistent film flatness during measurement and cutting.
Your precision cutting toolkit should include:
- Digital measuring tape with 0.1mm accuracy
- Professional vinyl cutting knife
- Self-healing cutting mat
- Precision ruler with metal edge
- Protective cutting gloves
Cutting techniques demand surgical precision. Hold your cutting tool at a consistent 30-degree angle, applying steady pressure to ensure clean, straight edges. Practice controlled, single-pass cuts rather than multiple hesitant movements. Professional installers develop muscle memory through consistent practice, understanding that each cut represents a commitment to quality.
Before final cutting, perform a preliminary dry fit. Position your measured and partially cut film against the vehicle surface, checking alignment and coverage. Verify all measurements twice, remembering the professional mantra: measure twice, cut once. A successful cut will yield a film piece that fits the vehicle panel with near-seamless precision, reflecting the installer’s technical expertise and attention to detail.
Step 4: Apply PPF to the Surface Methodically
The application phase transforms meticulously prepared film into a protective shield for your vehicle. Precision and patience become your primary tools during this critical stage of paint protection film installation.
Begin by creating an optimal working environment. Ensure the workspace temperature remains between 20 to 25 degrees Celsius, with minimal dust and humidity. Professional installers understand that environmental conditions dramatically impact film adhesion and final finish. How professional installers approach PPF application reveals the nuanced techniques that separate exceptional work from average installations.
Prepare your application solution carefully. Mix a professional-grade slip solution using distilled water, automotive-specific slip agent, and a small amount of isopropyl alcohol. This solution enables film repositioning while preventing surface tension that could compromise adhesion. Use a clean spray bottle with a fine, consistent mist to create an even application environment.
Your application toolkit should include:
- Professional-grade slip solution
- Soft rubber squeegees
- Heat gun with variable temperature settings
- Lint-free microfibre towels
- Spray bottle for solution application
Technique is paramount during film placement. Start by partially peeling the film’s backing, positioning it carefully onto the vehicle surface. Use gentle, consistent squeegee strokes from the centre outwards, maintaining uniform pressure. Professional installers develop a rhythmic motion that simultaneously removes air bubbles and ensures perfect film alignment.
Address challenging areas like curved surfaces and edges with strategic heat application. A professional heat gun, set to carefully controlled temperatures, helps the film conform to complex contours. Work methodically, using minimal heat to prevent film stretching or damage. Final inspection under bright lighting will reveal any remaining imperfections, allowing for immediate correction and ensuring a flawless, near-invisible protective layer.
Step 5: Finish and Seal Edges for a Professional Look
Edge sealing represents the final frontier of paint protection film installation, transforming a good application into an exceptional result. Professional installers understand that perfecting edges determines the longevity and aesthetic quality of the entire PPF installation.
Begin by carefully inspecting every edge and seam under bright, direct lighting. Precision is paramount during this critical phase. Use your heat gun with surgical precision, applying controlled warmth to activate the film’s adhesive properties along panel edges and curved surfaces. When selecting your preferred film finish, understanding the nuanced differences between finish types can significantly impact your final result.
Your edge sealing toolkit should include:
- Professional heat gun with adjustable temperature
- Precision edge sealing squeegee
- Soft microfibre cloths
- Isopropyl alcohol solution
- Magnifying inspection light
Master the technique of micro-heat application. Hold the heat gun approximately 10-15 centimetres from the film surface, moving continuously to prevent overheating. The goal is to activate the adhesive without damaging the film or underlying paint. Professional installers develop a nuanced touch, understanding that each vehicle panel requires slightly different heat and pressure techniques.
Carefully wrap edges around panel gaps and recesses, ensuring no lifting or air pockets develop. Use your squeegee with gentle, consistent pressure to smooth out potential imperfections. Final verification involves running your gloved hand along every edge, feeling for any slight irregularities. Inspect the installation from multiple angles and lighting conditions, addressing even the most minute potential issues. A truly professional PPF installation becomes virtually invisible, protecting the vehicle’s surface with surgical precision and aesthetic perfection.
Step 6: Inspect and Test for Quality Assurance
Quality assurance represents the professional installer’s final critical checkpoint, transforming a good PPF installation into an exceptional protective solution. This stage is where technical precision meets visual perfection, demanding a systematic and meticulous approach.
Begin your inspection under multiple lighting conditions. Natural daylight, overhead fluorescent lights, and low-angle lighting will reveal different characteristics of your PPF installation. Systematic visual examination becomes your primary diagnostic tool. Move around the vehicle methodically, examining each panel from multiple perspectives, checking for subtle imperfections invisible during initial application.
Your quality assurance toolkit should include:
- High-intensity LED inspection light
- Microfibre inspection cloths
- Magnifying glass with 10x magnification
- Surface temperature gauge
- Reflection angle measurement tool
Focus on detecting potential issues such as microscopic air bubbles, edge lifting, and subtle tension variations. Professional installers understand that even minimal imperfections can compromise the film’s protective capabilities. Use your fingertips to gently trace edges and seams, feeling for any inconsistencies that visual inspection might miss.
Pay particular attention to high-stress areas like door handles, panel gaps, and curved surfaces. These regions often reveal the true quality of your installation technique. A professional-grade infrared thermometer can help verify consistent heat application during the sealing process. Understanding comprehensive quality control techniques provides additional insights into maintaining exceptional installation standards.
Conduct a final validation by photographing the installation under controlled lighting. These images serve as both a quality record and a benchmark for future improvements. A truly exceptional PPF installation should appear seamless, with edges perfectly integrated and surfaces displaying uniform reflectivity and protection.
Below is a checklist table to help you verify that your PPF installation meets professional standards during the inspection and quality assurance stage.
| Quality Checkpoint | What to Inspect | Verification Method | Action Required if Failed |
|---|---|---|---|
| Surface Cleanliness | No dust, grease, or residues | Visual and tactile | Clean and re-polish area |
| Bubble-Free Finish | Absence of air bubbles | Visual inspection | Re-squeegee and correct |
| Edge Adhesion | Edges firmly sealed | Fingertip and light | Re-apply heat & pressure |
| Uniform Coverage | Consistent film alignment | Visual inspection | Realign or reapply section |
| Seamless Appearance | No visible joins or lines | Multi-angle view | Smooth or adjust film |
| Heat Application | No over-stretched or burnt film | Temp gauge & touch | Correct/replace affected area |
| Lighting Inspection | No flaws under varied lighting | Multiple sources | Address revealed defects |
Take Control of Your PPF Installation Process With AEONCUT
Tired of measuring, trimming and fitting paint protection film by hand, only to face wasted time and material? You have seen in the article how attention to toolkit quality, precise cutting, and workflow efficiency are absolutely vital for professional results. Now you can embrace real precision and speed. Discover the transformative power of our Paint Protection Film pre-cut pattern solutions at AEONCUT. Whether you struggle with pattern accuracy or want to bring down installation times, our software gives you access to an extensive and regularly updated pattern library. Elevate your work beyond traditional manual methods and achieve consistently flawless installations every time.

Ready to save hours, cut costs and leave nothing to chance? Make every step of your PPF workflow seamless and impress clients with perfect results. Get started today with AEONCUT and browse our collection of PPF precut patterns designed for vehicle protection experts. Your perfect finish begins the moment you choose AEONCUT.
Frequently Asked Questions
What tools are essential for a successful PPF installation?
A successful PPF installation requires precision cutting tools, professional-grade squeegees, cleaning solutions, a heat gun, and various surface preparation products such as pH-neutral car shampoo and isopropyl alcohol.
How important is vehicle surface preparation before applying PPF?
Vehicle surface preparation is critical, accounting for approximately 70% of successful PPF application. Thorough cleaning, decontamination, and polishing ensure optimal adhesion and a flawless finish for the PPF.
What are the best practices for measuring and cutting PPF?
Precise measurement is crucial for a successful PPF installation. Use digital measuring tools, maintain a flat film during cutting, and follow the mantra “measure twice, cut once”. Ensure your cutting tools are sharp for clean edges.
How should I seal the edges of the PPF for durability?
To seal edges effectively, use controlled heat to activate the adhesive along the panel edges. Ensure you wrap edges carefully to prevent any lifting or air pockets, and perform a thorough inspection to confirm smooth application.
Recommended
- How to Create Custom PPF Patterns Using Aeoncut: Step-by-Step Guide – AEONCUT PPF Pre-cut Cutting software
- How to Create Custom PPF Patterns Using Aeoncut: Step-by-Step Guide – AEONCUT PPF Pre-cut Cutting software
- Best PPF Software 2025: Top Picks for Auto detailing businesses – AEONCUT PPF Pre-cut Cutting software
- PPF Cutting Software: Essential Guide for Installers 2025 – AEONCUT PPF Pre-cut Cutting software


