Installing AI AutoNest for PPF cutting has changed how professionals handle precision and waste. Modern workshops now rely on AI-powered nesting that can reduce material waste by up to 20 percent while speeding up cutting time dramatically. Most people expect the hardest part is the film cutting itself but that is not true. The real magic starts with the software setup and design import which quietly shapes everything that follows.
The following table provides an overview of each key step involved in the AI AutoNest PPF cutting workflow, summarising its purpose and main outcome for quick reference.
| Step | Purpose | Key Outcome |
|---|---|---|
| 1. Set Up AI AutoNest Software | Install and configure software for seamless workflow integration | Operational software environment ready for use |
| 2. Import PPF Film Designs | Bring in vehicle-specific templates for cutting | Designs loaded and previewed for nesting |
| 3. Configure Settings | Fine-tune material and nesting parameters | Optimised settings for waste reduction and accuracy |
| 4. Execute AutoNest Process | Generate and carry out automated cutting process | Precision cuts made with minimal material waste |
| 5. Verify Cut Quality | Inspect output against digital templates | Flawless, dimensionally accurate film pieces |
| 6. Finalise Installation | Apply film to vehicle, perform final inspection | Professionally finished, seamless PPF application |
Table of Contents
- Step 1: Set Up Your AI AutoNest Software
- Step 2: Import PPF Film Designs For Nesting
- Step 3: Configure Settings For Optimal Efficiency
- Step 4: Execute AutoNest Process For Cutting
- Step 5: Verify Cut Quality And Adjust If Necessary
- Step 6: Finalise The Installation And Quality Check
Quick Summary
| Key Point | Explanation |
|---|---|
| 1. Prioritise robust computer specifications | Ensure your computer meets the recommended specifications for a smooth installation and operation of AI AutoNest software. |
| 2. Import designs in compatible formats | Use vector formats like .dxf, .svg, or .ai for optimal cutting pattern generation and minimal material waste. |
| 3. Thoroughly configure nesting settings | Adjust key parameters such as material type and spacing to enhance cutting precision and reduce waste during the process. |
| 4. Double-check pre-cutting setups | Verify film alignment and blade sharpness to ensure high-quality cuts that align with digital designs before execution. |
| 5. Conduct rigorous quality inspections post-cutting | Inspect cut pieces meticulously for precision and alignment with the original design to guarantee professional-grade installations. |
Step 1: Set Up Your AI AutoNest Software
Initiating your AI AutoNest software journey begins with a strategic installation process that transforms your PPF cutting workflow. Professional installers understand that precise software setup is crucial for maximising cutting efficiency and minimising material waste. The initial configuration determines how seamlessly your workflow will integrate advanced AI technology into daily operations.
When preparing to install the software, you will need a robust computer system meeting specific technical requirements. Recommended system specifications include a modern processor with at least 16GB RAM, a dedicated graphics card, and sufficient storage space to support comprehensive pattern libraries. Windows 10 or 11 operating systems provide the most stable platform for running advanced cutting software.
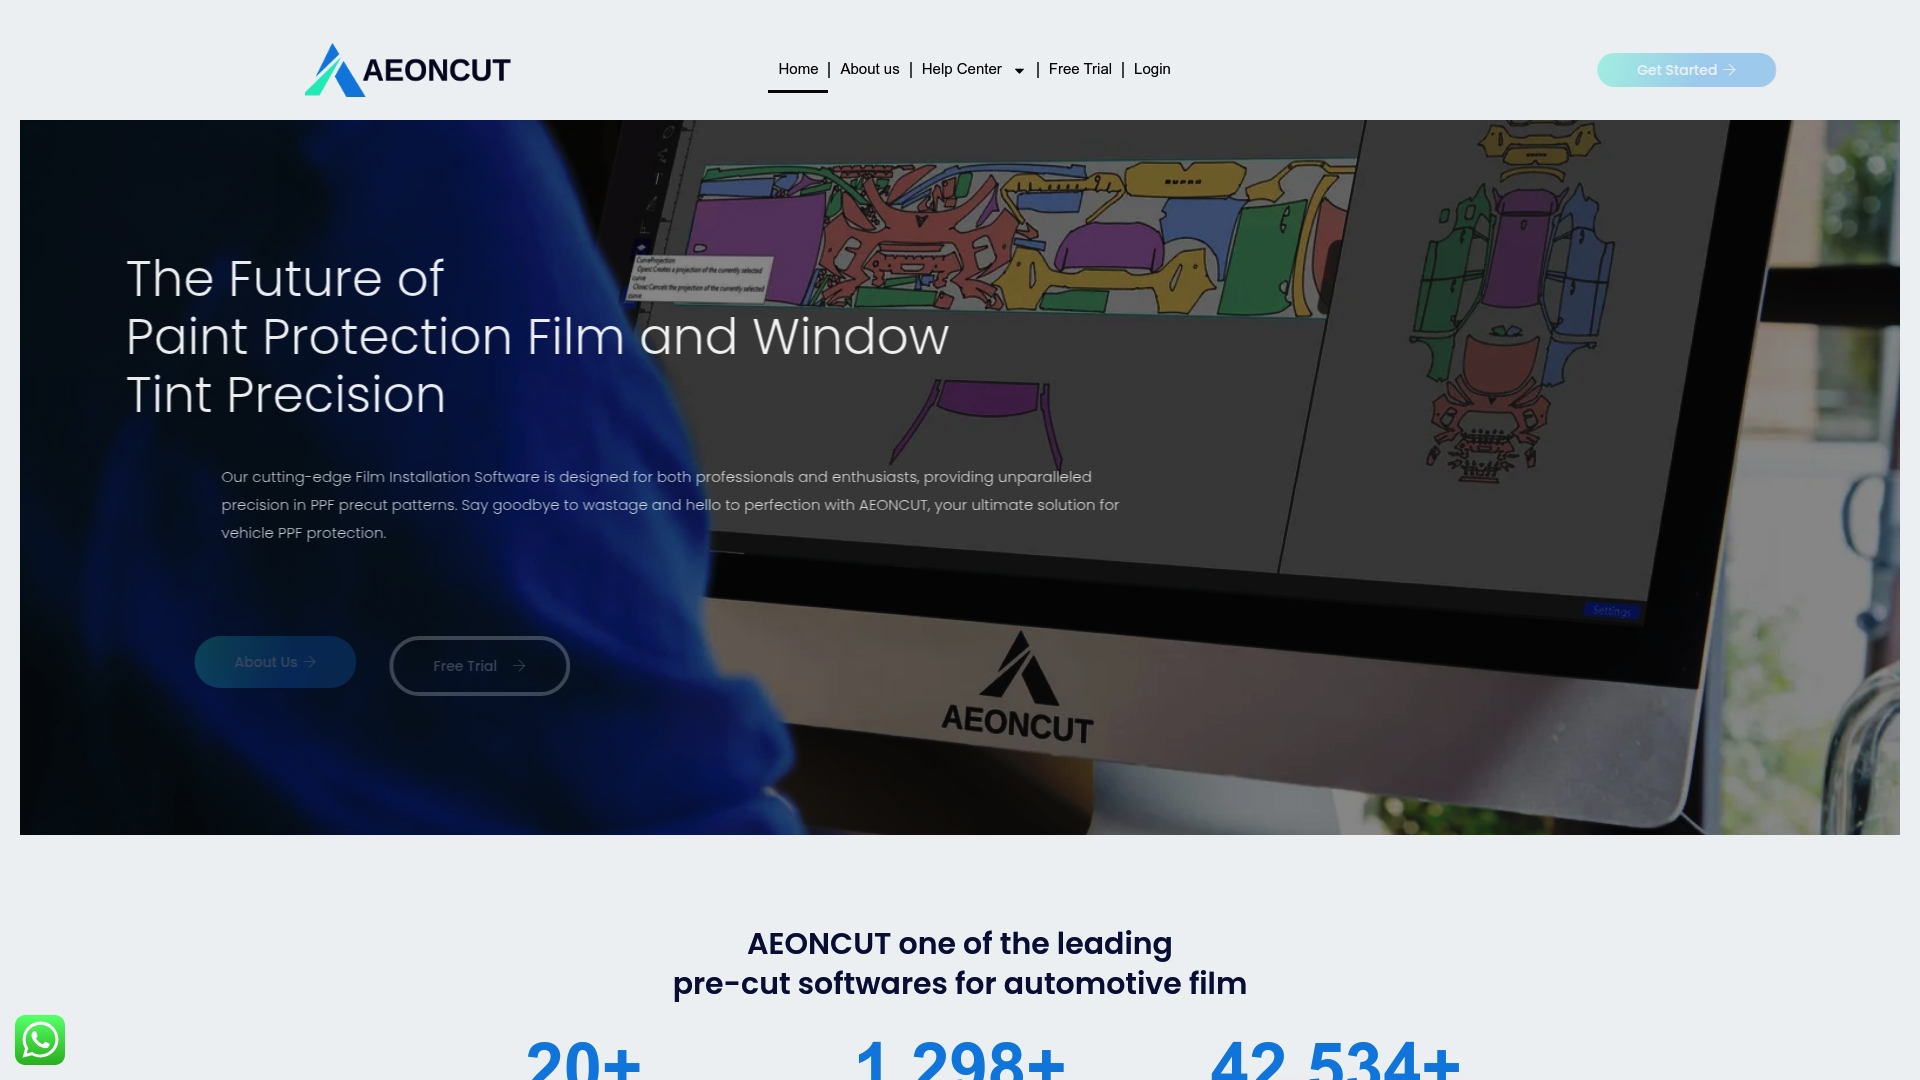
The installation process involves downloading the software directly from the official AEONCUT PPF pre-cut platform. After downloading, run the installation executable and follow the step-by-step wizard. Key configuration steps include:
- Select your preferred installation directory
- Choose between professional or enterprise subscription levels
- Configure network and cloud synchronisation settings
- Validate your installation credentials
Successful setup is characterised by a smooth initial software launch, where the AI AutoNest interface loads completely and displays your active subscription details. The system should immediately recognise your workshop’s specific cutting equipment and provide a preview of available pattern libraries.
Professional installers recommend performing a test cut after initial configuration to verify system compatibility and precise cutting parameters. This preliminary step ensures your software integrates perfectly with existing workshop equipment, setting the foundation for enhanced productivity and minimal material wastage.
Step 2: Import PPF Film Designs for Nesting
Importing PPF film designs represents a critical phase in maximising cutting efficiency through AI AutoNest technology. This step transforms raw digital templates into optimised cutting patterns that minimise material waste and enhance precision. Professional installers understand that accurate design importation determines the quality of subsequent automated nesting processes.
To begin the importation process, ensure your design files are prepared in compatible vector formats such as .dxf, .svg, or .ai. Recommended file preparation involves verifying design clarity, removing unnecessary layers, and confirming exact vehicle model specifications. Professional cutting software demands high-quality input to generate optimal nesting results.
Navigate to the software’s import section and select your prepared design files. The AI AutoNest platform supports comprehensive pattern creation which allows seamless integration of custom and pre-existing templates. During importation, the system will automatically analyse design parameters, checking for potential cutting complications or dimensional inconsistencies.
Key verification steps include:
- Confirming design scale matches actual vehicle dimensions
- Checking design resolution and vector integrity
- Verifying material compatibility with imported design
Successful importation is characterised by a clean preview displaying precise design outlines, with the AI system immediately suggesting potential nesting configurations. The software will highlight potential optimization opportunities, showing estimated material savings and predicted cutting efficiency.
Professional installers recommend performing a preliminary design review before final nesting, ensuring every imported template meets the highest standards of precision and quality.
This meticulous approach guarantees optimal results in subsequent cutting stages.
Step 3: Configure Settings for Optimal Efficiency
Configuring settings in AI AutoNest represents the precision stage where professional installers transform raw potential into cutting excellence. This critical phase determines how efficiently your software translates digital designs into actual PPF film cuts, balancing material conservation with absolute accuracy.
Material optimization settings form the core of intelligent nesting configurations. Professional installers understand that granular parameter adjustments can dramatically reduce waste and enhance cutting precision. According to advanced manufacturing research, strategic configuration directly impacts material utilization and overall production efficiency.
Navigation through the software’s configuration panel requires methodical attention. Begin by selecting your specific PPF film type, which allows the AI to understand material characteristics like flexibility, thickness, and grain direction. Key configuration parameters include defining minimum spacing between cut patterns, establishing rotation constraints, and setting overlap tolerances. These nuanced adjustments prevent potential cutting errors and ensure maximum material usage.
Advanced users should pay particular attention to these configuration elements:
- Material grain direction specifications
- Minimum and maximum part rotation angles
- Cutting edge margin requirements
- Waste reduction percentage targets
Successful configuration is characterised by a preview screen displaying optimized nesting patterns with minimal white space between design cuts. The AI system will provide a real-time material efficiency percentage, allowing immediate visual confirmation of your optimization strategy.
Professional installers recommend performing a test run with sample designs to validate configuration settings. This approach allows fine-tuning before committing to full-scale production, ensuring your AI AutoNest setup delivers consistent, precise results across various PPF film types and vehicle models.
Step 4: Execute AutoNest Process for Cutting
Executing the AutoNest cutting process marks the pinnacle of precision engineering in PPF installation. This transformative stage translates carefully configured digital designs into physical film patterns with unprecedented accuracy. Professional installers recognize this moment as where technological sophistication meets practical workshop efficiency.
Initiating the cutting sequence requires a systematic approach that balances technological capability with meticulous attention to detail. Advanced algorithmic nesting strategies enable the software to generate optimal cutting paths that maximize material utilization while minimizing computational complexity.
Prepare your cutting machine by ensuring it is clean, calibrated, and loaded with the selected PPF film. Navigate to the AutoNest execution panel within the software interface, where you will confirm final design parameters and material specifications. Professional workflows involve double-checking material alignment, verifying cutting blade sharpness, and ensuring sufficient film tension to prevent potential distortions during the cutting process.
Critical pre-execution verification steps include:
- Confirming material grain direction matches software configuration
- Validating cutting blade condition and alignment
- Checking film material is securely mounted
- Reviewing final nesting pattern for potential conflicts
As the AutoNest process initiates, the software will generate real-time visualizations demonstrating cutting paths and estimated completion time. Professional installers should monitor the initial cutting phases closely, watching for any unexpected material behavior or potential alignment issues.
Successful execution is characterized by smooth, precise cuts that follow the predetermined digital design with minimal waste. The system will provide a comprehensive report detailing material efficiency, cutting duration, and potential optimization opportunities for future projects. By embracing this advanced technological approach, installers transform traditional cutting methods into a streamlined, data-driven production process.
Step 5: Verify Cut Quality and Adjust if Necessary
Verifying cut quality represents the final critical checkpoint in ensuring precision and professional-grade PPF installation. This stage transforms automated cutting from a mechanical process into a refined, quality-controlled workflow that distinguishes top-tier installers from average practitioners. Advanced manufacturing research emphasizes the importance of rigorous post-cutting inspection to maintain exceptional standards.
Begin the verification process by carefully removing the cut PPF film from the cutting surface, handling it with clean, lint-free gloves to prevent contamination. Systematic inspection involves examining each cut piece under well-lit conditions, preferably using a light table or bright, even illumination that reveals subtle imperfections. Professional installers know that even microscopic deviations can compromise the final installation quality.
Carefully assess the cut pieces against your original digital design, checking for several critical parameters. Look for precise edge definition, consistent cut depth, and absolute alignment with the intended pattern. Key quality indicators include smooth, clean cut edges without fraying, exact dimensional accuracy, and minimal material stress or distortion.
Critical verification steps include:
- Measuring cut piece dimensions against original design specifications
- Checking for clean, precise edge cuts without jagged or torn sections
- Verifying material integrity and absence of unnecessary stress marks
- Confirming alignment with vehicle-specific template requirements
If discrepancies emerge, professional workflows demand immediate recalibration. Access the software’s diagnostic tools to analyze potential sources of cutting variations. Our guide on precision cutting techniques offers additional insights into troubleshooting common cutting challenges.
Successful verification culminates in a set of PPF film pieces that meet exacting standards: perfectly cut, dimensionally accurate, and ready for seamless vehicle application.
This checklist helps ensure each verification step is methodically completed after cutting, safeguarding against errors and guaranteeing high installation quality.
| Verification Step | What to Check | Why it Matters |
|---|---|---|
| Measure Cut Dimensions | Compare cut pieces to design specs | Ensures templates fit intended locations accurately |
| Inspect Edge Quality | Look for smooth, clean edges | Prevents fraying or installation issues |
| Assess Material Integrity | Check for stress marks or deformations | Maintains strength and visual clarity |
| Confirm Alignment | Align with vehicle template requirements | Avoids fitting errors during installation |
| Examine for Contamination | Ensure no dust or debris on film | Promotes strong adhesion and clarity |
| Recalibrate if Needed | Use software diagnostics after discrepancies | Resolves recurring cutting problems |
| By embracing this meticulous approach, installers transform technology into art, ensuring each installation represents the pinnacle of precision and professionalism. |
Step 6: Finalise the Installation and Quality Check
Finalising the PPF installation represents the culmination of precision engineering and meticulous craftsmanship. This crucial stage transforms carefully cut film pieces into a professional-grade protective solution that meets the highest industry standards. Professional installers understand that the final quality check determines the overall success of the entire workflow.
Preparation for final installation requires a pristine, dust-free environment with controlled temperature and humidity. Clean the vehicle surface thoroughly using specialized automotive cleaning solutions that remove any contaminants which might compromise film adhesion. Surface preparation is not merely a preliminary step but a critical foundation for achieving flawless PPF application.
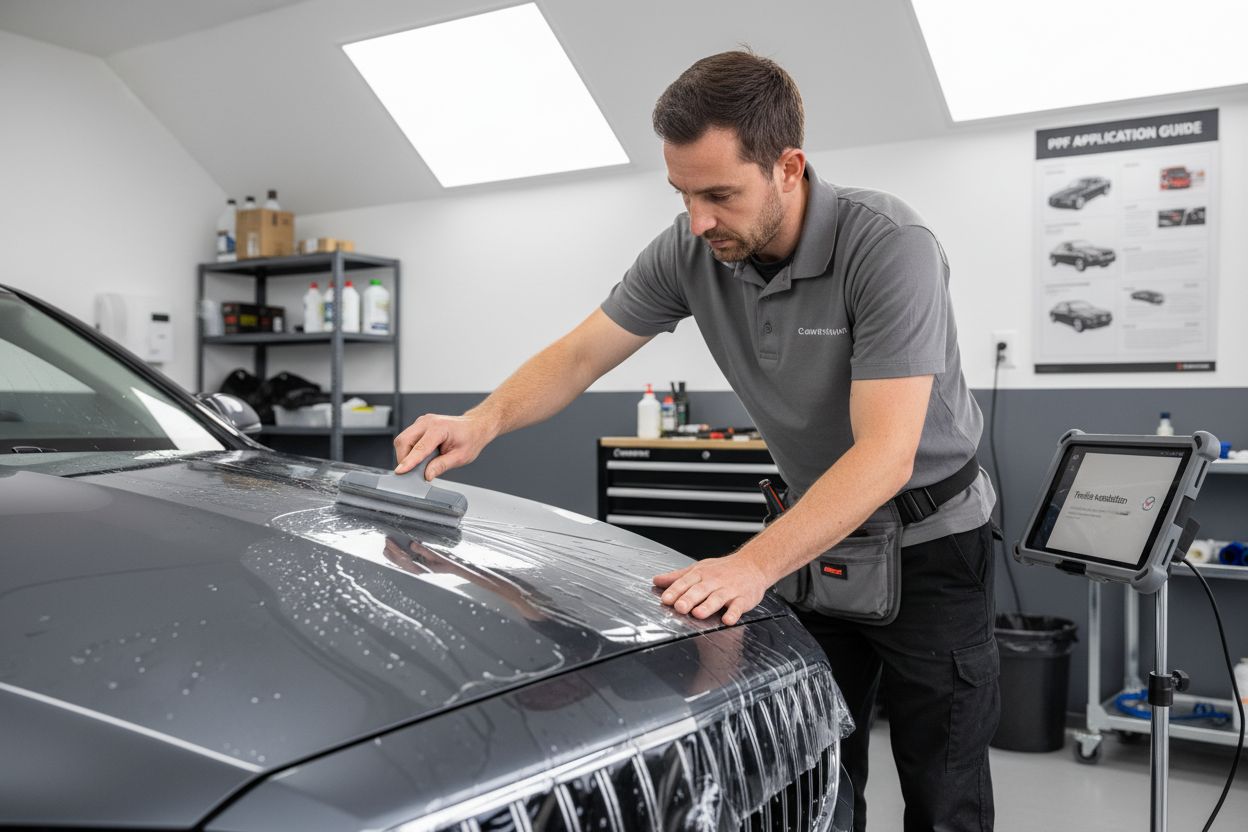
According to international quality management principles, systematic verification ensures consistent, high-quality outcomes. Begin by laying out the precisely cut PPF pieces, confirming their alignment with the vehicle’s specific contours. Use professional-grade application fluids to facilitate smooth placement, minimizing air bubbles and ensuring perfect film positioning.
Critical final installation steps include:
- Carefully aligning PPF pieces with vehicle panels
- Removing air bubbles using professional squeegee techniques
- Checking film edges for seamless integration
- Verifying complete surface coverage without wrinkles
Post-installation quality verification demands a comprehensive inspection under different lighting conditions. Professional installers recommend examining the film from multiple angles, checking for subtle imperfections that might be overlooked during initial application. Use natural daylight and artificial light sources to reveal any potential inconsistencies in film placement or adhesion.
Successful finalisation is characterized by a PPF installation that appears seamless, with invisible edges, uniform coverage, and a finish that enhances the vehicle’s aesthetic appeal while providing robust protection. By embracing this methodical approach, installers transform cutting-edge technology into a precise, professional-grade protective solution that meets the most demanding industry standards.

Take Total Control of PPF Cutting with AEONCUT’s Intelligent Solutions
If optimising every inch of paint protection film, minimising waste, and achieving precise results are your goals, the difference lies in choosing tools designed for excellence. As the article highlighted, challenges such as configuring AI-driven nesting, perfecting pattern imports, and guaranteeing error-free cuts are common obstacles for both experienced installers and dedicated enthusiasts. These hurdles can stand between you and true workshop efficiency. With the power of PPF software from AEONCUT, you are equipped to overcome bottlenecks and unlock new levels of productivity every single day.

Now is the time to elevate your workflow. Discover the full potential of cloud-driven updates, advanced pattern libraries, and real-time optimisation by exploring https://aeoncutsw.com today. Dive into a world where quality is consistent, efficiency is maximised, and every PPF project promises a flawless finish. Ready to experience a true game changer? Take action and join professionals who demand the most innovative solutions in the industry. Learn more about streamlined precut pattern options and keep your competitive edge sharp with the latest software updates now.
Frequently Asked Questions
How do I set up the AI AutoNest software for PPF cutting?
To set up the AI AutoNest software, ensure your computer meets the recommended specifications, then download and install the software from the official AEONCUT platform. Follow the installation wizard, configure your settings, and perform a test cut to verify compatibility with your equipment.
What file formats are compatible for importing PPF film designs into AI AutoNest?
AI AutoNest supports importing design files in vector formats such as .dxf, .svg, and .ai. Ensure that your designs are clear, have no unnecessary layers, and are tailored for the specific vehicle model to achieve optimal cutting results.
What settings should I configure for optimal cutting efficiency in AI AutoNest?
For optimal cutting efficiency in AI AutoNest, configure material optimization settings including material type, cut pattern spacing, rotation constraints, and edge margin requirements. These settings help reduce waste and enhance cutting precision.
How can I verify the quality of the cuts made by AI AutoNest?
To verify cut quality, carefully inspect the cut PPF film under good lighting conditions. Check for precise edge definition, consistent cut depth, and alignment with your digital design. Any discrepancies should prompt recalibration of your cutting settings.
Recommended
- AI AutoNest in PPF Cutting: How Aeoncut Saves Time & Material – AEONCUT PPF Pre-cut Cutting software
- Best PPF Software 2025: Top Picks for Auto detailing businesses – AEONCUT PPF Pre-cut Cutting software
- Case Study: How Aeoncut Helped a Shop Save 20% on Material Costs – AEONCUT PPF Pre-cut Cutting software
- How to Create Custom PPF Patterns Using Aeoncut: Step-by-Step Guide – AEONCUT PPF Pre-cut Cutting software


