
Paint protection film installations can look deceptively simple, yet the difference between a flawless result and a messy job starts long before the film ever touches the car. Most people think installation is all about skill with a squeegee, but professional installers actually save 40-60% more time using manufacturer-grade pattern libraries compared to hand-cutting film. This surprising edge means that careful preparation and modern tools matter just as much as steady hands.
Table of Contents
- Step 1: Prepare Your Workspace And Tools
- Step 2: Measure And Select Your Precut Patterns
- Step 3: Align And Apply Patterns To Vehicle Surface
- Step 4: Heat And Affix Patterns Securely
- Step 5: Inspect And Trim Excess Material
- Step 6: Conduct Final Quality Check
Quick Summary
| Key Point | Explanation |
|---|---|
| 1. Optimal Workspace Preparation is Essential | A clean, well-illuminated workspace with a controlled environment improves installation precision and final results. |
| 2. Accurate Measurements Ensure Perfect Fit | Meticulously document vehicle dimensions to select tailored precut patterns for an effective paint protection film installation. |
| 3. Controlled Heat Application is Critical | Applying heat strategically helps bond the film to the surface and maintains its structural integrity during installation. |
| 4. Systematic Trimming Enhances Quality | Precision trimming around edges and features prevents lifting and ensures a seamless appearance of the protective film. |
| 5. Comprehensive Quality Check is Mandatory | Conduct a thorough final inspection to confirm surface coverage, tension, and edge integrity for a professional finish. |
Step 1: Prepare Your Workspace and Tools
Successful precut pattern installation begins with meticulous workspace preparation and strategic tool selection. Professional installers understand that creating an optimal environment dramatically improves precision, efficiency, and final results. Your workspace transforms from a simple area into a strategic zone where every detail matters.
First, select a clean, well-illuminated workspace with consistent temperature and minimal dust. Vehicle wrap and paint protection film (PPF) installations demand pristine conditions to prevent contaminants from compromising the final finish. Ideally, choose an enclosed area like a professional detailing bay or dedicated installation room with controlled climate settings. Temperature between 20-25 degrees Celsius provides optimal working conditions for most film materials.
Essential Tools and Equipment
Gather your specialised tools before beginning the installation process. Your core toolkit should include:
- Precision cutting mat
- Sharp utility knife with replaceable blades
- Squeegee set (soft and firm)
- Microfibre cloths
- Isopropyl alcohol cleaning solution
- Heat gun
- Lint-free cleaning towels
- Protective gloves
- Measuring tape
Each tool plays a critical role in achieving a seamless PPF application. Your utility knife requires razor-sharp, unblemished blades to ensure clean cuts without film distortion. Professional-grade squeegees with varying firmness help manage different film tensions and surface contours.
Preparing the vehicle surface represents another crucial preparatory step. According to professional detailing guidelines, thoroughly clean and decontaminate the entire surface using isopropyl alcohol. Remove all waxes, sealants, and surface impurities that might prevent optimal film adhesion. Use lint-free microfibre towels and systematic cleaning techniques to guarantee a pristine substrate.
Lastly, verify your workspace lighting. Adequate illumination reveals subtle surface imperfections and helps maintain precise alignment during pattern placement. Natural daylight or bright, diffused LED lighting provides the most accurate visual environment for intricate installation work.
By investing time in comprehensive workspace and tool preparation, you establish the foundation for a professional-quality paint protection film installation that meets the highest industry standards.
This table summarises essential tools required for professional precut pattern installation, including their main purposes for each phase of the process.
| Tool/Equipment | Primary Function |
|---|---|
| Precision Cutting Mat | Protects surfaces and improves cutting accuracy |
| Sharp Utility Knife | Enables clean, precise film cuts |
| Squeegee Set (Soft and Firm) | Removes air bubbles and ensures smooth adhesion |
| Microfibre Cloths | Cleans and dries surfaces for preparation |
| Isopropyl Alcohol Solution | Decontaminates vehicle surface |
| Heat Gun | Assists film conformity and secure adhesion |
| Lint-free Cleaning Towels | Final wipe-down with no residue |
| Protective Gloves | Prevents contamination and fingerprints |
| Measuring Tape | Ensures accurate dimension documentation |
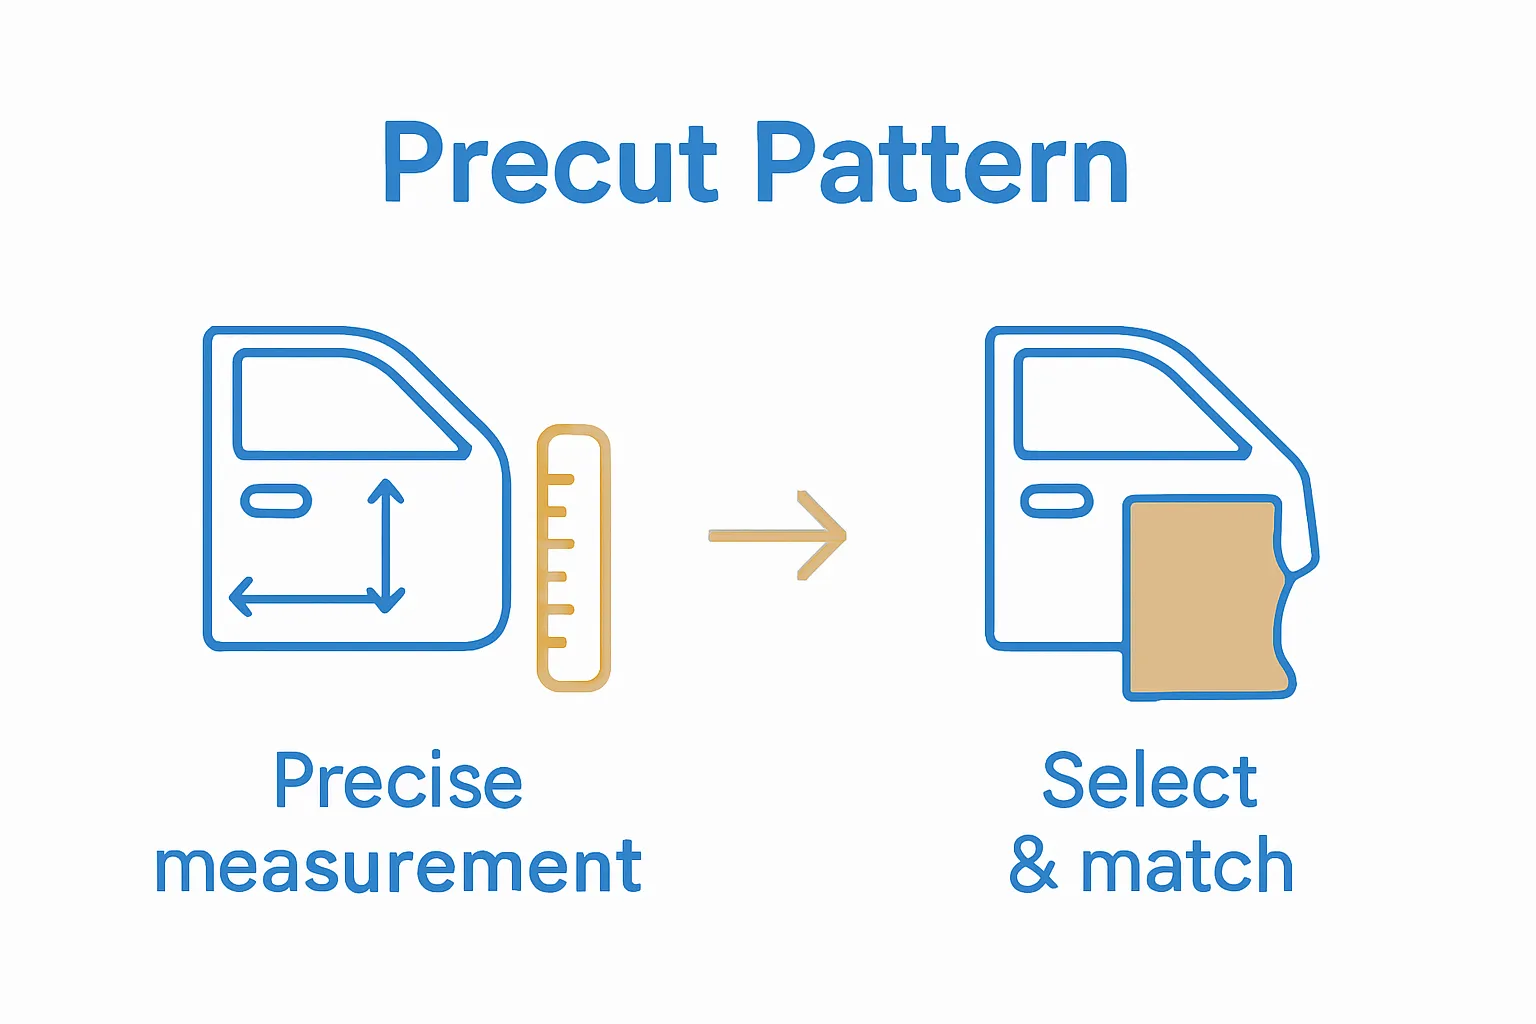
Step 2: Measure and Select Your Precut Patterns
Precision begins with accurate measurements and strategic pattern selection. This critical step transforms generic film into a perfectly tailored protection solution for your specific vehicle. Professional installers understand that meticulous measurement determines installation success.
Start by thoroughly documenting your vehicle’s specific dimensions. Use a high-quality measuring tape with metric and imperial markings, carefully recording panel measurements including length, width, and any complex curvature points. Digital calipers provide an additional layer of precision for intricate areas like door handles, mirror edges, and complex automotive contours.
Vehicle Specific Considerations
Different vehicle makes and models present unique challenges. Contemporary automotive designs feature increasingly complex surface geometries that demand sophisticated pattern matching. Sports cars, luxury vehicles, and specialist models often require more nuanced pattern selections compared to standard passenger vehicles. Professional automotive protection experts recommend creating comprehensive measurement documentation that includes:
- Panel-specific measurements
- Surface angle calculations
- Unique geometric feature dimensions
- Potential stretching or conforming areas
Modern precut pattern technologies like our detailed guide on creating custom PPF patterns offer sophisticated digital mapping capabilities. These advanced systems translate your precise measurements into perfectly configured protection film templates.
When selecting precut patterns, prioritise manufacturer-specific databases that offer vehicle-accurate templates. Look for pattern libraries featuring comprehensive vehicle model years, trim levels, and regional variations. Professional-grade pattern libraries reduce installation time by 40-60% compared to manual cutting techniques.
Verify your selected patterns by cross-referencing manufacturer specifications, comparing digital template overlays with your recorded measurements, and checking for any potential dimensional discrepancies. A systematic approach minimises material waste and ensures optimal film coverage.
Successful pattern selection represents the bridge between raw measurements and flawless installation.
 By investing time in precise documentation and strategic pattern choice, you establish the groundwork for a professional-quality paint protection film application.
Step 3: Align and Apply Patterns to Vehicle Surface
The alignment and application phase represents the most critical moment in paint protection film installation. Your precision during this stage determines the final aesthetic and protective quality of the entire project. Successful pattern application transforms measured templates into a seamless protective layer.
Begin by creating a light slip solution using distilled water and a minimal amount of automotive-grade soap. This solution enables pattern repositioning and reduces initial adhesion, allowing for minute adjustments during placement. Spray the solution sparingly on both the vehicle surface and the backing of your precut pattern to facilitate smooth positioning.
Position your precut pattern with extreme deliberation, starting from a reference point like a panel edge or distinct geometric feature. According to professional automotive protection techniques, maintain consistent tension and avoid stretching the film beyond its natural elasticity. Use your squeegee to gradually eliminate air bubbles, working from the center outwards in controlled, overlapping strokes.
Critical alignment considerations include managing complex surface geometries like curved panels, recessed edges, and transition zones. Automotive surfaces are not uniformly flat, requiring nuanced application techniques. Learn more about advanced pattern customization to understand how digital mapping can simplify these intricate applications.
Pattern Application Checklist
- Verify initial pattern placement against reference measurements
- Eliminate air pockets systematically
- Check alignment from multiple viewing angles
- Ensure consistent film tension across surface
- Validate edge seam integrity
Professional installers recommend using heat guns strategically to help the film conform to complex surface contours. Apply gentle, uniform heat while simultaneously using your squeegee to guide the pattern into precise position. This technique allows the film to relax and stretch minimally without compromising its structural integrity.
Verification involves a meticulous visual and tactile inspection. Run your gloved hand across the applied surface, feeling for any subtle irregularities or trapped debris. Inspect the pattern under bright, diffused lighting to identify potential alignment discrepancies or micro-imperfections.
By executing each alignment step with calculated precision, you transform a simple protective film into a virtually invisible shield that enhances and preserves your vehicle’s aesthetic and structural integrity.
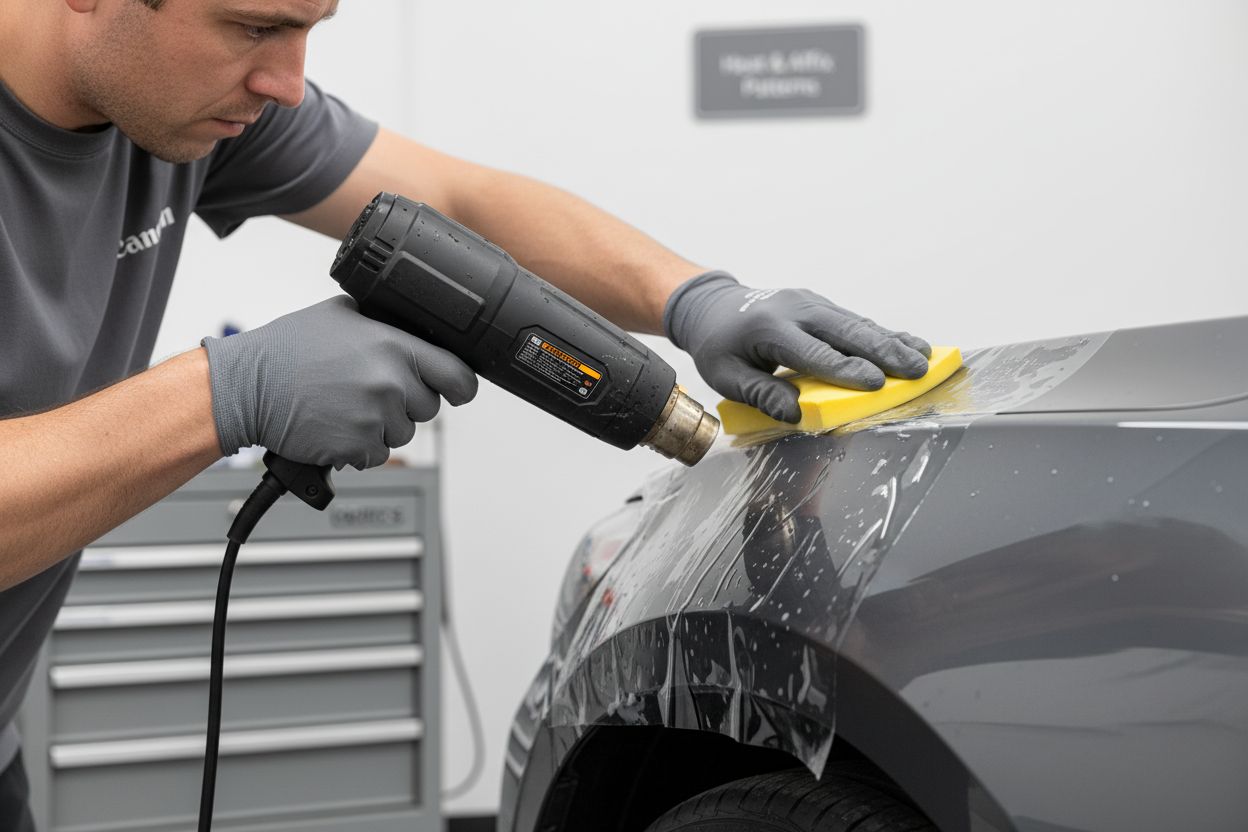
Step 4: Heat and Affix Patterns Securely
Heating and securing paint protection film represents the transformative phase where precision meets performance. Professional installers understand that controlled heat application determines the film’s final appearance, adhesion, and protective capabilities. This critical step ensures your meticulously aligned pattern becomes a seamless, long-lasting vehicle shield.
Initiate the heat application process using a professional-grade heat gun with variable temperature settings. Digital temperature controls provide unprecedented precision, allowing you to manage heat distribution across different vehicle panel types. Maintain a consistent distance of 15-20 centimetres between the heat gun and film surface, moving systematically to prevent localized overheating.
Professional heat application techniques recommend a graduated heating approach. Begin with lower temperatures around 80-90 degrees Celsius, gradually increasing intensity as needed. Complex curved surfaces and intricate panel geometries demand nuanced heat management to prevent film distortion or premature stretching.
Critical Heat Application Considerations
- Monitor film tension during heating
- Maintain consistent gun movement
- Avoid stationary heat positioning
- Watch for subtle material changes
- Use gloved hands to assess film response
The objective of controlled heating extends beyond mere adhesion. Professional-grade heat application activates the film’s adhesive properties, encouraging molecular bonding with the vehicle’s surface. This process creates a virtually invisible protective layer that conforms precisely to automotive contours.
Pay exceptional attention to edge zones and transition areas where film meets vehicle panels.
These regions require meticulous heat management to prevent lifting, bubbling, or inconsistent adhesion. Use a combination of heat gun and soft-edge squeegee to guide the film into complex geometric spaces, ensuring complete surface contact.
According to automotive protection research, professional installers recommend a final cooling period after heat application. Allow the treated surface to stabilise at ambient temperature, which helps solidify the film’s adhesive properties and minimises potential future movement.
Verification involves a comprehensive tactile and visual inspection.
 Run your gloved hand across the heated surface, feeling for smooth transitions and checking edge integrity. Observe the film from multiple angles under bright, diffused lighting to confirm a flawless, uniform application that appears indistinguishable from the original paint surface.
Step 5: Inspect and Trim Excess Material
The final refinement stage transforms a good installation into a professional-grade protection solution. Precision trimming represents the difference between an amateur application and a flawless, seamless protective film. This critical step demands meticulous attention to detail and surgical-like accuracy.
Begin your inspection process under bright, diffused lighting that reveals even the subtlest imperfections. According to professional automotive surface preparation guidelines, comprehensive visual and tactile examination ensures optimal film performance. Use clean, lint-free gloves to prevent introducing new contaminants during the inspection and trimming process.
Explore advanced cutting techniques for professional installers to understand the nuanced approach required for precision trimming. Select a premium ceramic-blade utility knife with replaceable, ultra-sharp blades. These specialised blades provide surgical precision while minimising potential film damage during trimming.
Critical Trimming Considerations
- Maintain consistent blade angle
- Use minimal pressure during cutting
- Inspect blade sharpness frequently
- Trim in controlled, deliberate movements
- Check for potential film lifting at edges
Professional installers develop a systematic trimming approach that prioritises edge integrity. Focus on creating imperceptible transitions between the film’s edge and the vehicle’s surface. Work systematically around complex geometric features like door handles, panel gaps, and curved surfaces. Your goal is to create a protective layer so seamless that it appears to be an integral part of the vehicle’s original finish.
Careful attention to panel gaps and transition zones prevents potential future lifting or peeling. Use a combination of precise cutting and gentle heat application to ensure the film’s edges remain securely bonded. A slight, almost microscopic overlap into panel seams can provide additional security without compromising the aesthetic quality.
Verification involves a comprehensive multi-stage inspection. Begin with a visual assessment under optimal lighting, then progress to a tactile examination. Run your gloved hand across the entire surface, feeling for any subtle irregularities, potential air bubbles, or edge imperfections. Photograph the installation from multiple angles to document the precision of your work and identify any areas requiring additional refinement.
By executing each trimming step with calculated precision, you transform a standard protective film into a virtually invisible shield that enhances and preserves your vehicle’s aesthetic and structural integrity.
Step 6: Conduct Final Quality Check
The final quality check transforms a technical installation into a professional-grade protective solution. This critical evaluation determines the ultimate success of your paint protection film application, separating exceptional work from merely acceptable installations. Professional installers understand that meticulous final inspection is not optional but mandatory.
According to international quality management standards, comprehensive final verification involves systematic, multi-dimensional assessment. Begin by creating an optimal inspection environment with bright, diffused lighting that reveals even microscopic imperfections. Natural daylight or professional-grade LED panels provide the most accurate visual assessment conditions.
Initiate your quality check by examining the film from multiple perspectives. Start with a broad overview, stepping back to assess overall aesthetic integration. Then progress to progressively closer examinations, using a combination of visual and tactile techniques. Run clean, lint-free gloved hands across the entire surface, feeling for subtle variations in film tension, edge alignment, and potential micro-imperfections.
Critical Quality Verification Criteria
- Verify complete surface coverage
- Check edge seam integrity
- Confirm consistent film tension
- Inspect for potential air bubbles
- Evaluate colour and transparency matching
- Validate installation precision
Professional installers develop a systematic approach that goes beyond visual assessment. Utilize specialized lighting techniques to reveal potential installation nuances. Angle bright light sources to highlight subtle variations in film application, checking for uniform reflection and transparency. This technique exposes any inconsistencies that might remain undetected under standard lighting conditions.
Carefully document your quality check process. Photograph the installation from multiple angles using high-resolution imaging. These documentation records serve multiple purposes: they provide a baseline for future comparison, demonstrate professional workmanship, and offer valuable references for potential warranty claims or future refinements.
The final verification stage is not merely about identifying flaws but celebrating precision. A successful quality check confirms that your paint protection film installation represents the pinnacle of automotive surface protection. Your meticulousness transforms a standard protective layer into a virtually invisible shield that preserves and enhances the vehicle’s aesthetic and structural integrity.
Below is a checklist table to help ensure all quality verification steps are completed during the final inspection of your paint protection film installation.
| Verification Step | Description |
|---|---|
| Complete Surface Coverage | Ensure the entire intended area is protected |
| Edge Seam Integrity | Confirm that all edges are securely affixed |
| Consistent Film Tension | Check for even tension across all panels |
| Absence of Air Bubbles | Examine for trapped air or imperfections under film |
| Colour and Transparency Matching | Validate that no visible distortion is present |
| Installation Precision | Assess seamlessness and uniformity of application |
| Documentation & Client Walkthrough | Capture photos and review with vehicle owner |
Conclusive verification involves client consultation. Walk the vehicle owner through your quality assessment, highlighting the precision of your installation and demonstrating the comprehensive protection achieved through your professional approach.
Transform Your Installation Speed with Precise Precut Pattern Solutions
If you are struggling with slow installations, wasted materials, and the constant headache of pattern misalignment during PPF or window tint projects, you are not alone. The article emphasises how crucial accuracy and readiness are for faster, flawless results. Imagine eliminating uncertainty and guesswork with every job, boosting your reputation for speed and perfection. Discover the true potential of advanced PPF precut pattern technology, and turn every install into a showpiece of efficiency.

Try AEONCUT today to access a vast pattern library, instant software updates, and AI-driven auto-nesting you will not find anywhere else. Take charge of your next project with the confidence only professional-grade tools can bring. For the most accurate, time-saving pattern solutions available right now, visit aeoncutsw.com and join the future of high-precision vehicle protection.
Frequently Asked Questions
How do I prepare my workspace for installing precut patterns?
A clean, well-illuminated workspace with controlled temperature and minimal dust is essential. Ideal conditions include temperatures between 20-25 degrees Celsius, and it’s best to use an enclosed area like a professional detailing bay.
What tools are essential for using precut patterns during installation?
Your core toolkit should include a precision cutting mat, sharp utility knife, squeegee set, microfibre cloths, isopropyl alcohol cleaning solution, heat gun, lint-free cleaning towels, protective gloves, and measuring tape.
How do I ensure accurate measurements for precut patterns?
Use a high-quality measuring tape and document panel measurements, including length, width, and surface curvature. Digital calipers can add precision for intricate areas. It’s important to cross-reference these measurements with manufacturer specifications when selecting patterns.
What techniques should I use when applying the film patterns to the vehicle surface?
Start with a light slip solution of distilled water and soap to allow repositioning. Position the pattern carefully, starting from a reference point and eliminating air bubbles with a squeegee. Use heat to help the film conform to complex surfaces while maintaining tension.
Recommended
- How to Create Custom PPF Patterns Using Aeoncut: Step-by-Step Guide – AEONCUT PPF Pre-cut Cutting software
- How to Create Custom PPF Patterns Using Aeoncut: Step-by-Step Guide – AEONCUT PPF Pre-cut Cutting software
- Como crear patróns PPF personalizados con Aeoncut: guía paso a paso: software de corte precortado PPF AEONCUT
- Aeoncut yordamida maxsus PPF naqshlarini qanday yaratish mumkin: bosqichma-bosqich qo’llanma – AEONCUT PPF oldindan kesilgan kesish dasturi

