
Over 60 percent of british car owners now consider paint protection film essential for maintaining their vehicle’s appearance. Keeping your car looking pristine in the unpredictable UK climate is a real challenge, especially with road debris and daily wear. This guide explains each critical step for proper PPF installation, making it easier to achieve professional results and safeguard your investment for the long term.
Table of Contents
- Step 1: Prepare Work Area And Materials Effectively
- Step 2: Clean And Inspect Vehicle Surfaces Thoroughly
- Step 3: Select And Customise Optimal PPF Patterns
- Step 4: Cut And Align PPF Film With Precision
- Step 5: Install And Squeegee Film For Bubble-Free Finish
- Step 6: Inspect Installation And Perform Final Checks
Quick Summary
| Essential Insight | Clarification |
|---|---|
| 1. Create a Controlled Workspace | Maintain a clean, organised space with controlled temperature and humidity for optimal PPF application. |
| 2. Thoroughly Clean Vehicle Surfaces | Use a two bucket method and clay bar treatment to ensure surfaces are free of contaminants for effective adhesion. |
| 3. Carefully Select PPF Patterns | Choose patterns that offer full coverage while considering body contours to minimise visible seams during installation. |
| 4. Execute Precise Cutting Techniques | Use sharp blades and digital templates for accurate cutting, ensuring seamless film application without gaps. |
| 5. Conduct Post-Installation Inspection | Inspect the entire vehicle under bright lighting to identify and rectify any imperfections, ensuring a flawless finish. |
 |
|
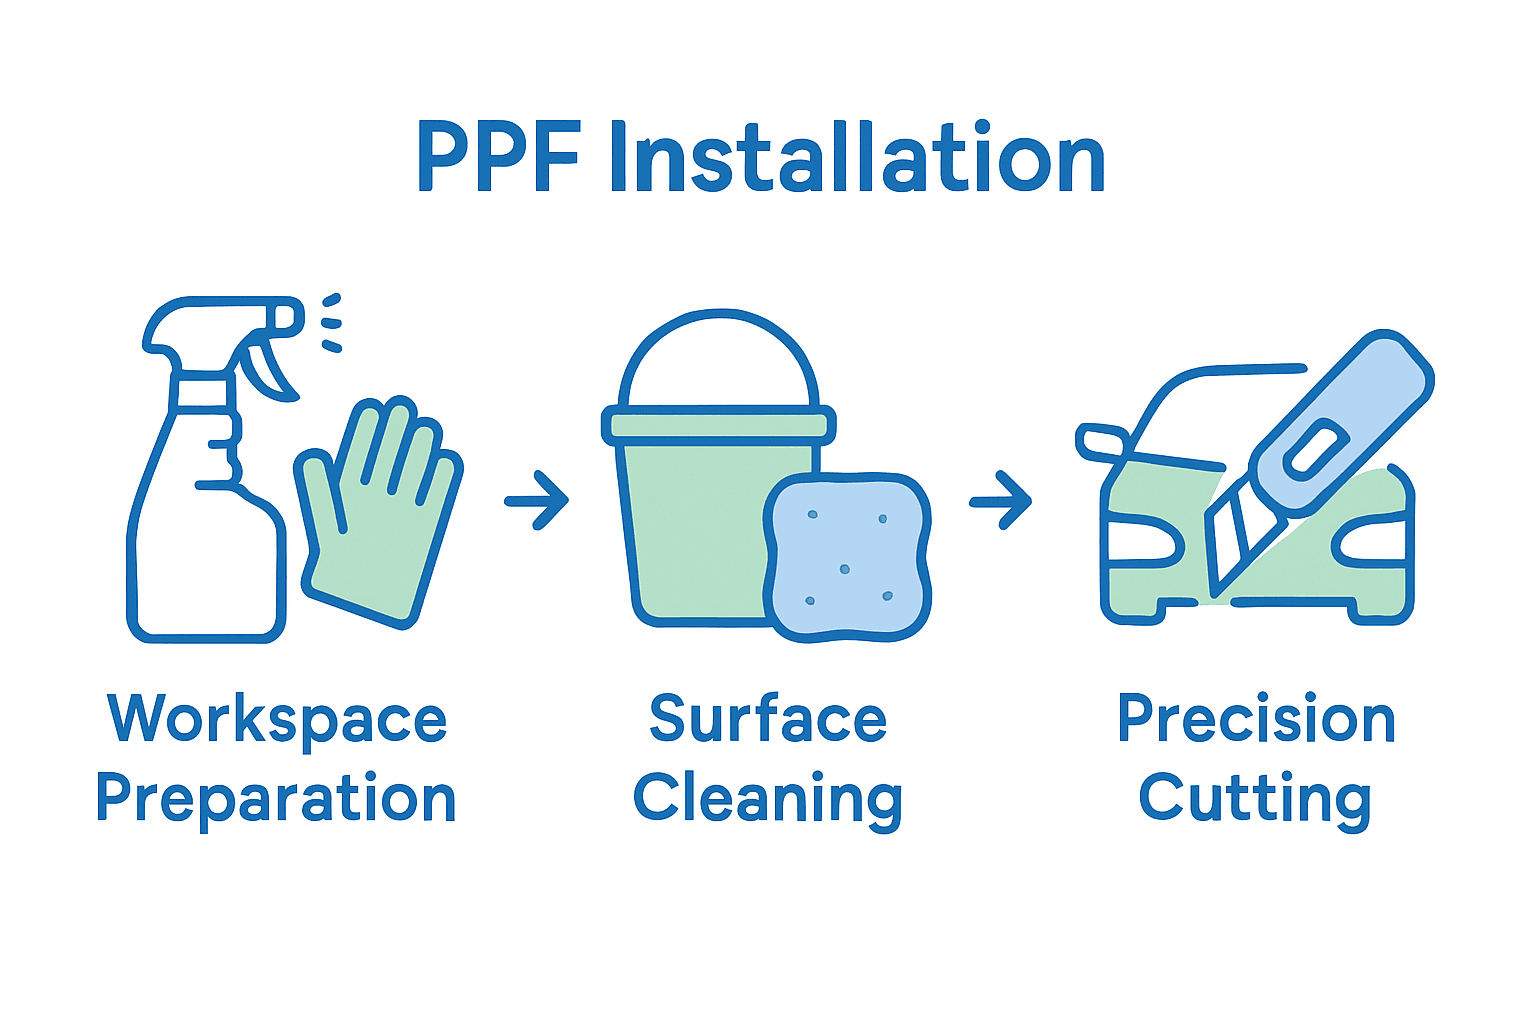
Step 1: Prepare Work Area and Materials Effectively
Successful paint protection film (PPF) installation begins with meticulous preparation of your workspace and materials. A strategic approach ensures clean, professional results and minimises potential installation errors.
According to beadzautodetailing, creating a controlled environment with precise temperature and humidity is fundamental for PPF application. Select a clean, dust-free workspace with consistent temperature between 20 to 24 degrees Celsius and humidity levels around 50%. Cover workbenches with clean microfibre cloths and ensure adequate lighting to spot potential contaminants or imperfections.
Prepare your materials methodically to prevent damage. wrisupply recommends handling PPF rolls with extreme care to avoid introducing pressure marks. Unroll films gently and store them flat on clean surfaces, avoiding direct sunlight or extreme temperatures. Gather all necessary tools beforehand: squeegees, application solutions, lint-free cloths, cutting tools, and protective gloves.
Pro Tip: Always perform a final workspace cleaning using 70% isopropyl alcohol to eliminate any remaining dust or oil residues before starting the PPF installation.
With your workspace primed and materials organised, you are now ready to begin the precise and delicate process of vehicle surface preparation.
Step 2: Clean and Inspect Vehicle Surfaces Thoroughly
Thoroughly cleaning and inspecting vehicle surfaces is a critical prerequisite for successful paint protection film (PPF) installation. This meticulous process ensures optimal adhesion and prevents potential imperfections that could compromise the final result.
Forbes highlights the importance of what professionals call ‘paint correction’, which involves comprehensive surface preparation. Begin by thoroughly washing the vehicle using a two bucket method with high quality automotive shampoo. Rinse completely and dry using clean microfibre towels to prevent water spot formation. Next, use a clay bar treatment to remove embedded contaminants like industrial fallout, tree sap, and mineral deposits that standard washing cannot eliminate.
According to mdautospa, comprehensive surface decontamination is crucial for ensuring optimal PPF adhesion. After clay barring, perform a detailed surface inspection under bright lighting to identify any remaining imperfections. Use a paint depth gauge to assess clearcoat thickness and a high powered LED light to highlight minor scratches or swirl marks. Address these blemishes through careful polishing using a dual action polisher with appropriate cutting and finishing compounds.
Pro Tip: Always use clean microfibre towels and change them frequently during the cleaning process to prevent reintroducing contaminants onto the surface.
With the surface immaculately prepared, you are now ready to begin the precise PPF application process.
Step 3: Select and Customise Optimal PPF Patterns
Selecting and customising paint protection film (PPF) patterns requires precision and strategic planning to ensure comprehensive vehicle coverage and a seamless installation. Your goal is to achieve maximum protection with minimal visual disruption.
According to Forbes, professional installers increasingly rely on computer-guided vinyl cutters to create exceptionally precise PPF patterns. These advanced tools dramatically improve cutting accuracy and reduce material waste. While digital pattern cutting offers remarkable consistency, some intricate areas may still require manual blade cutting to guarantee a perfect fit around complex body contours and edges.
Beadzautodetailing emphasises that quality PPF installation demands meticulous attention to edge cutting and body contour alignment. When selecting patterns, consider full vehicle coverage versus partial panel protection. Analyse each vehicle’s unique geometry carefully and choose patterns that provide continuous coverage while minimising visible seams. Pay special attention to high impact areas like front bumpers, bonnets, side mirrors, and door edges.
Pro Tip: Always test fit digital patterns before final cutting to ensure absolute precision and minimal material wastage.
With your optimal PPF patterns selected, you are now prepared to begin the precise application process.
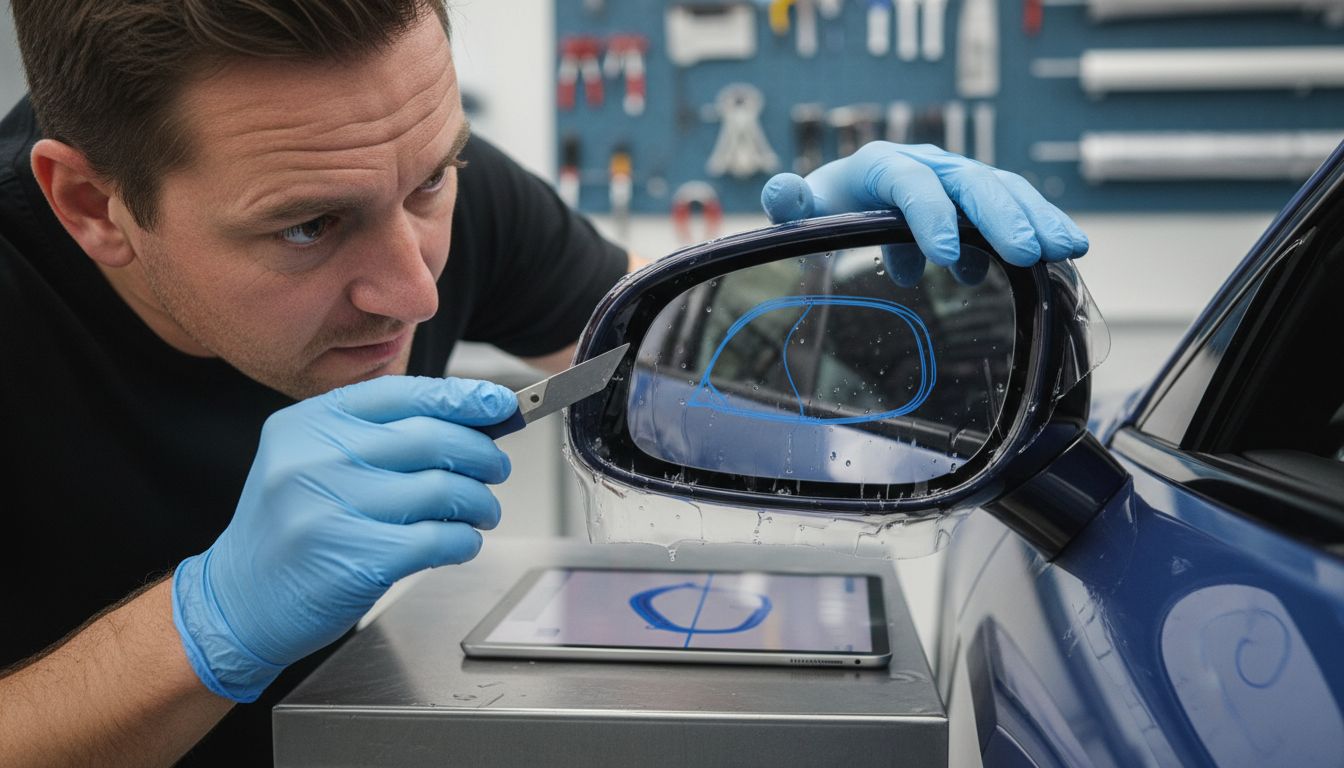
Step 4: Cut and Align PPF Film with Precision
Cutting and aligning paint protection film (PPF) demands extraordinary precision and technical skill. Your objective is to create an installation that appears completely seamless and invisible to the naked eye.
Forbes reveals that premium installations require comprehensive preparation. Professional installers often temporarily remove vehicle components like taillamps, door handles, and windows to ensure the PPF can be wrapped completely around edges, eliminating unsightly gaps and providing continuous protection. This meticulous approach prevents corner cutting that results in exposed paint and compromised aesthetic quality.
Beadzautodetailing emphasises that achieving a virtually invisible film application requires precise edge cutting that follows the vehicle’s natural body contours. Begin by using a professional cutting mat and ensuring your blade is razor sharp. Employ a combination of digital template guidance and manual techniques to navigate complex curves and intricate panel shapes. Maintain consistent pressure and angle while cutting to prevent film distortion or uneven edges.
Pro Tip: Always use a fresh blade for each significant cutting session to maintain absolute precision and prevent film tearing.
With your PPF precisely cut, you are now prepared for the critical application phase.
Step 5: Install and Squeegee Film for Bubble-Free Finish
Applying paint protection film (PPF) requires precision, patience, and advanced technique to achieve a flawless, seamless finish that appears invisible to the naked eye. Your primary goal is to create an immaculate surface without any bubbles, wrinkles, or imperfections.
Forbes explains the professional ‘tack and slip’ method used by expert installers. Begin by generously applying a specialised installation solution to create a slippery surface that allows precise film positioning. Work systematically across the panel, starting from the centre and moving outwards. Use a professional grade squeegee with soft felt edge to gradually push the liquid towards the panel edges, eliminating air pockets and ensuring smooth adhesion.
MDAutospa emphasises the critical importance of proper squeegee technique. Apply consistent, moderate pressure while maintaining a 45-degree angle. Use overlapping horizontal strokes, ensuring each pass removes trapped air and smooths the film. Pay extra attention to complex curves, panel edges, and areas around vehicle contours where air bubbles tend to accumulate most frequently.
Pro Tip: Work in a controlled environment with consistent temperature and minimal dust to prevent contamination during the installation process.
With your PPF meticulously applied and squeegeed, you are now ready for the final finishing touches.
Step 6: Inspect Installation and Perform Final Checks
The final stage of paint protection film (PPF) installation is a critical quality control process that determines the overall success of your meticulous work. Your objective is to conduct a comprehensive evaluation that guarantees a flawless, professional finish.
Beadzautodetailing emphasises the importance of a thorough post-installation inspection. Systematically examine the entire vehicle under bright, natural lighting conditions. Look for uniform coverage and check each panel meticulously for potential imperfections. Use a clean microfibre cloth to gently run your hand across the film surface, feeling for any subtle bumps, trapped debris, or inconsistent adhesion areas. Pay special attention to panel edges, complex curves, and transition zones where installation errors are most likely to occur.
MDAutospa recommends ensuring all film edges are securely adhered without lifting or potential peeling points. Verify that the film follows the vehicle’s original contours precisely, with no visible wrinkles, stretch marks, or air pockets. Use a bright LED light at multiple angles to highlight any subtle imperfections that might be invisible under standard lighting conditions.
Pro Tip: Allow the vehicle to rest in a temperature-controlled environment for 24 to 48 hours after installation to permit optimal film settlement and adhesive curing.
With your comprehensive final inspection complete, your PPF installation is now ready for client delivery.
Elevate Your PPF Installation with Precision Cutting Solutions
Installing paint protection film flawlessly demands careful preparation, perfect pattern alignment and expert application techniques. This article highlights the challenges professionals face such as achieving precise edge cutting, ensuring seamless film fit and avoiding common installation errors that affect adhesion and final appearance. Achieving consistent, bubble-free coverage especially on complex vehicle contours requires advanced tools and meticulous planning.
Unlock your full potential by integrating cutting-edge technology into your workflow. The PPF software – AEONCUT PPF Pre-cut Cutting software offers precision-engineered pre-cut patterns designed to reduce material waste and speed up installation times. Paint Protection Film – AEONCUT PPF Pre-cut Cutting software resources support professional installers and serious enthusiasts with comprehensive pattern libraries and cloud-based updates to keep you ahead in this demanding craft.

Take control of your paint protection projects and deliver impeccable results every time with AEONCUT’s innovative software solutions. Visit aeoncutsw.com now to explore subscription plans and start benefiting from the accuracy and efficiency that will transform your PPF installations. Don’t let imperfections or wasted material hold back your professional edge.
Frequently Asked Questions
How should I prepare my workspace for paint protection film installation?
Creating a clean, dust-free environment with consistent temperatures between 20 to 24 degrees Celsius and humidity levels around 50% is essential. Cover work surfaces with clean microfibre cloths and ensure proper lighting to spot any contaminants before beginning the installation.
What are the key steps for cleaning and inspecting vehicle surfaces before applying PPF?
Thoroughly wash the vehicle using a two-bucket method, then dry it with clean microfibre towels to prevent spots. Follow up with a clay bar treatment to remove embedded contaminants, and conduct a detailed surface inspection under bright lighting to identify any imperfections.
How can I select the right PPF patterns for my vehicle?
Focus on creating patterns that provide comprehensive coverage while minimising visible seams. Assess the vehicle’s unique geometry and prefer full coverage for high-impact areas, using computer-guided vinyl cutters for the best accuracy when creating the patterns.
What techniques should I use when cutting and aligning PPF film?
Use a professional cutting mat and ensure your blade is razor sharp for optimal results. Align the film with the vehicle’s natural contours, maintaining consistent pressure and angle while cutting to prevent distortion or uneven edges.
What is the best method for applying and squeegeeing PPF film?
The ‘tack and slip’ method is recommended. Apply a specialised installation solution generously, position the film starting from the centre and squeegee outwards using moderate pressure and a 45-degree angle to eliminate air pockets and ensure smooth adhesion.
What should I check during my final inspection of the PPF installation?
Examine the vehicle under bright, natural lighting for uniform coverage and check for imperfections like bubbles or lifting edges. Use a clean microfibre cloth to feel for bumps and ensure all edges are securely adhered without any visible errors.
Recommended
- Common Mistakes in PPF Installation and How to Avoid Them – AEONCUT PPF Pre-cut Cutting software
- Common Mistakes in PPF Installation and How to Avoid Them – AEONCUT PPF Pre-cut Cutting software
- How Does PPF Work? Guide for Car Care Pros 2025 – AEONCUT PPF Pre-cut Cutting software
- PPF for Motorcycles: 2025 Guide for Installers & Detailers – AEONCUT PPF Pre-cut Cutting software
- Diesel Particulate Filter Maintenance for Professionals – My WordPress


