When frustrating bubbles, wrinkles, or poor adhesion threaten your Paint Protection Film results, even seasoned installers know each step matters. Meticulous preparation and selecting the right tools create the foundation for flawless application while understanding common installation issues arms you to tackle trouble spots head-on. This expert guide cuts through guesswork to equip you with targeted, research-backed troubleshooting techniques that minimise errors and raise your professional finish every time.
Table of Contents
- Step 1: Assess Preparation And Tools
- Step 2: Identify Common Installation Issues
- Step 3: Apply Targeted Fixes To Trouble Spots
- Step 4: Verify Application Quality
- Step 5: Implement Preventive Techniques
Quick Summary
| Key Point | Explanation |
|---|---|
| 1. Thorough Surface Preparation | Clean the vehicle’s surface meticulously to ensure optimal PPF adhesion and avoid defects. |
| 2. Control Workspace Conditions | Maintain a temperature of 18-24°C and low humidity to optimise the flexibility of the film during installation. |
| 3. Identify Installation Issues | Be vigilant for common problems such as bubbling and misalignment and address them promptly to prevent defects. |
| 4. Use Corrective Techniques | Apply targeted methods like gentle heat to resolve air bubbles and wrinkles for a flawless finish. |
| 5. Regular Quality Verification | Conduct thorough post-installation inspections to ensure long-term adherence and protection of the PPF. |
Step 1: Assess Preparation and Tools
Successful Paint Protection Film (PPF) installation hinges on meticulous preparation and selecting the right tools. Understanding surface preparation requirements is fundamental to achieving a flawless result that protects your vehicle’s finish.
Before beginning the installation, gather essential tools including microfibre cloths, isopropyl alcohol, squeegees, precision cutting tools, lint-free towels, and high-quality surface cleaners. Your preparation workspace should be clean, dust-free, and temperature controlled – ideally between 15-25 degrees Celsius with low humidity. Inspect the vehicle’s surface thoroughly, checking for existing paint imperfections, scratches, or contaminants that might compromise PPF adhesion. Pay special attention to panel edges, corners, and complex curves where film application becomes more challenging.
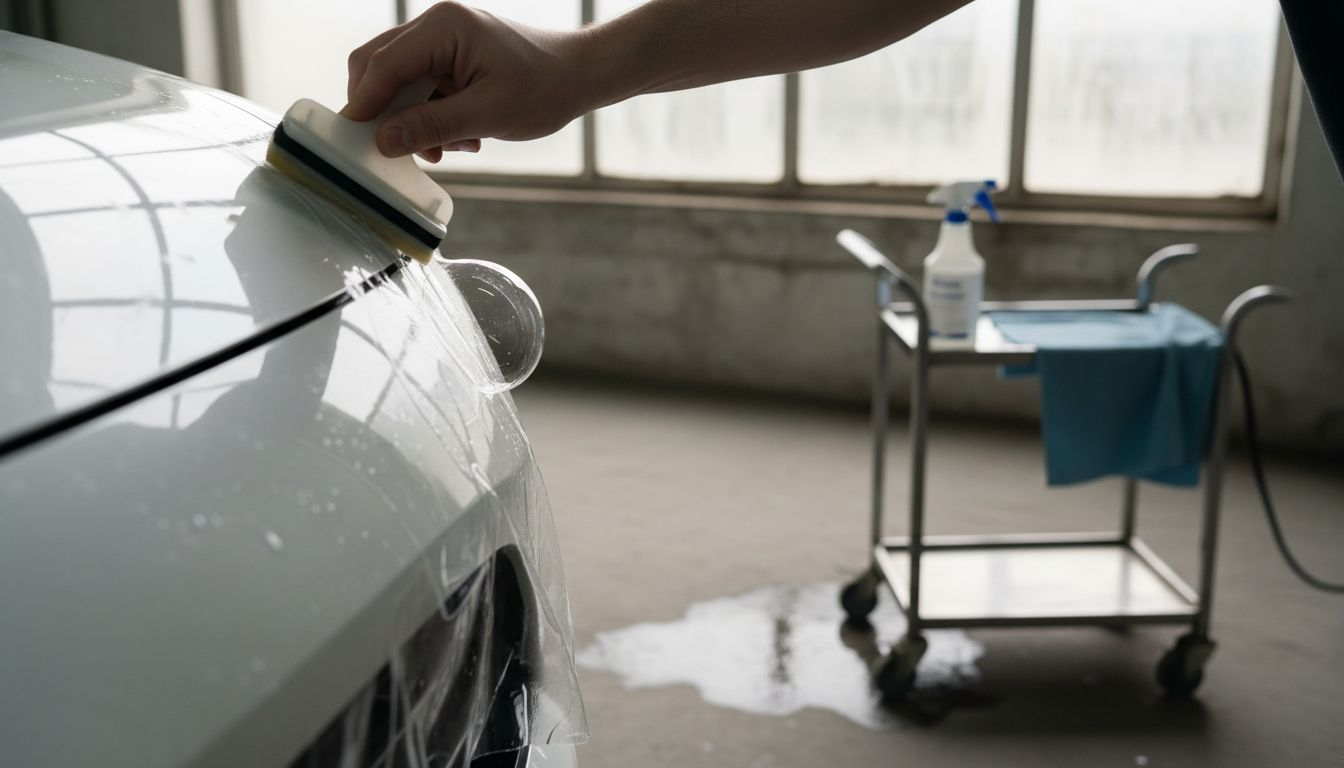
The preparation phase requires systematic cleaning using professional-grade solvent cleaning techniques to remove all waxes, oils, and microscopic debris. Start by washing the vehicle thoroughly, then use isopropyl alcohol to create an absolutely clean surface. Work methodically panel by panel, ensuring each area is pristine before film application.
Top Tip: Always keep backup microfibre cloths and cleaning solutions nearby to manage unexpected surface contamination during the installation process.
The table below summarises essential workspace and tool requirements for flawless PPF installation:
| Requirement | Importance | Professional Tip |
|---|---|---|
| Clean workspace | Prevents contamination | Use air filtration systems |
| Temperature control | Ensures film flexibility | Maintain 18-24°C consistently |
| Lint-free cloths | Avoids micro-scratches | Only use new, clean cloths |
| Precision tools | Achieves neat panel edges | Regularly sharpen blades |
Step 2: Identify Common Installation Issues
Paint Protection Film (PPF) installation demands precision and awareness of potential challenges that can compromise your final result. Understanding common installation issues helps you proactively prevent and address film application problems before they become permanent defects.
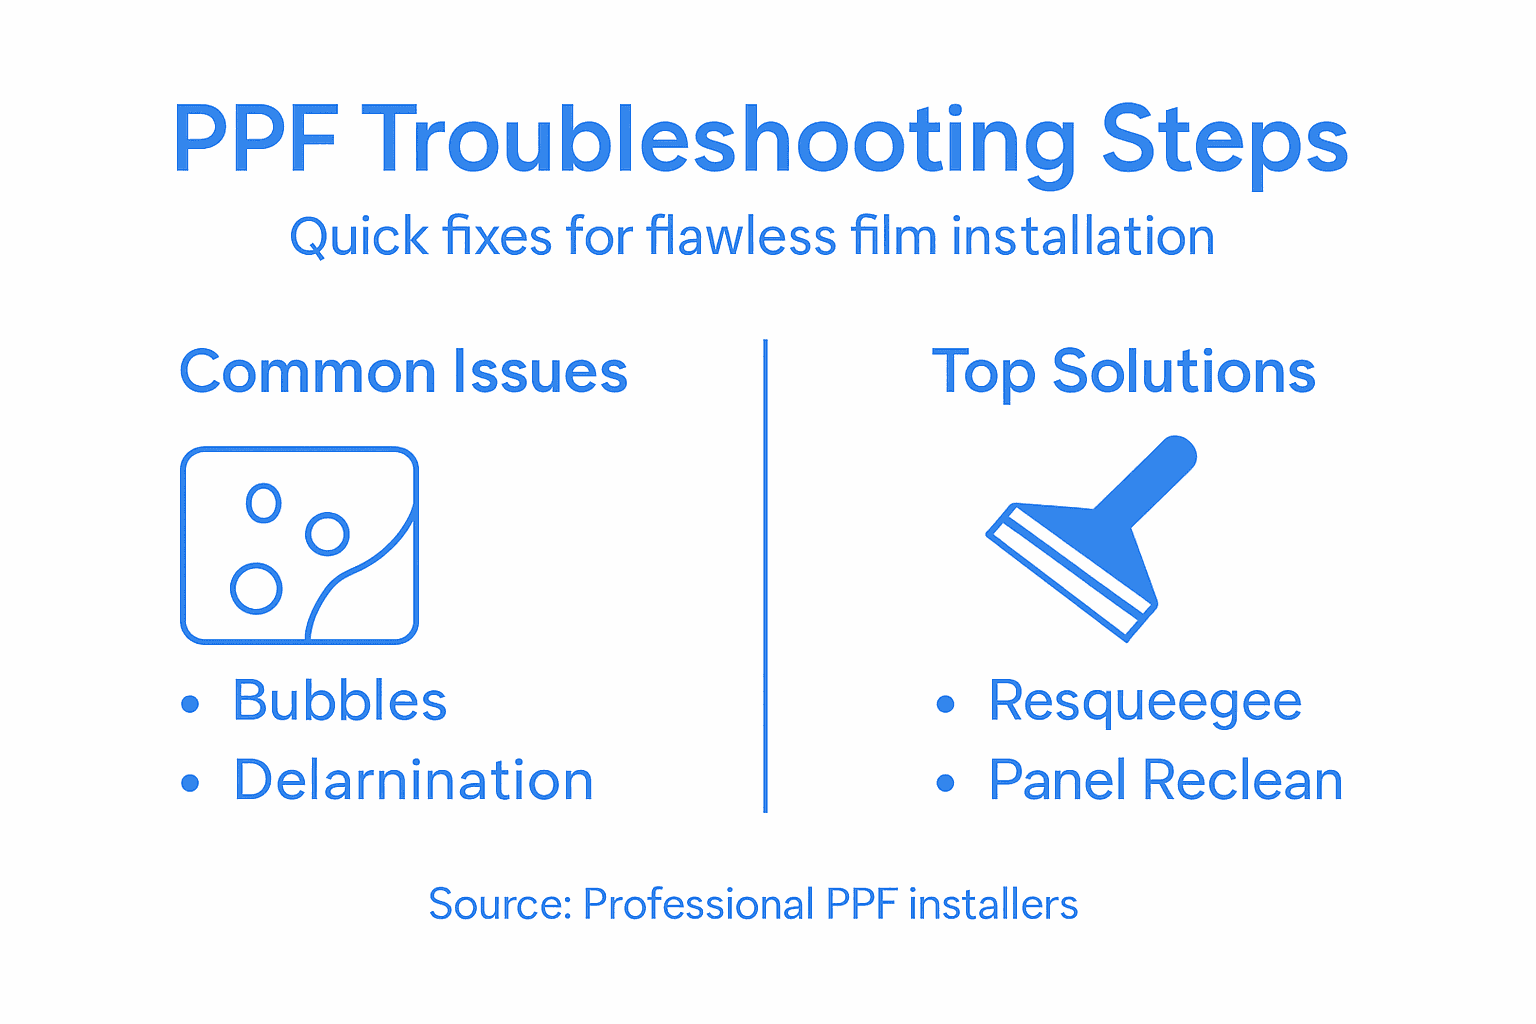
The most frequent PPF installation challenges include bubbling, delamination, wrinkles, and misalignment. These issues typically stem from environmental factors, improper surface preparation, or incorrect handling techniques. Watch for telltale signs like air pockets trapped beneath the film, uneven edges, or film that appears to be lifting from the surface. Bubbling often occurs when microscopic dirt particles remain on the surface or when installation happens in temperatures outside the recommended range. Delamination signals poor adhesion and can result from inadequate cleaning or using low quality films.
Professional installers recognise that chemical exposure and cleaning methods play critical roles in preventing installation defects. Systematically inspect each panel under bright lighting, using a combination of natural and artificial light to reveal subtle imperfections. Pay close attention to complex curves, panel edges, and areas with significant surface contours where film application becomes most challenging.
Here’s a quick reference guide to common PPF installation issues and their optimal remedies:
| Issue | Main Cause | Solution Summary |
|---|---|---|
| Bubbling | Surface dust or improper environment | Squeegee and gentle heat use |
| Delamination | Poor adhesion or low quality film | Clean and reapply film |
| Wrinkles | Incorrect handling or stretching | Lift, heat, and reposition |
| Misalignment | Rushed placement or poor alignment check | Remove film and reposition |
Top Tip: Always perform a detailed dry fit and test installation before applying any adhesive to identify potential alignment or stretching issues in advance.
Step 3: Apply Targeted Fixes to Trouble Spots
When PPF installation reveals imperfections, professional installers must respond with precision and strategic intervention. Understanding targeted corrective techniques allows you to salvage installation quality and maintain the film’s protective integrity.
Addressing specific defects requires a methodical approach. For air bubbles, use a soft squeegee with gentle heat application to redistribute trapped air. Start from the centre of the bubble and carefully work outwards, applying consistent pressure. Wrinkles demand careful lifting and repositioning of the film using controlled heat and minimal stretching. When dealing with edge lifting or delamination, advanced film troubleshooting methods recommend complete panel cleaning and re-application of the problematic section. Always ensure your workspace maintains ideal temperature and humidity conditions to minimise recurrence of these installation challenges.
Remember that some defects cannot be repaired and may require complete film replacement. Assess each imperfection critically, determining whether a targeted fix will restore the film’s appearance and protective capabilities or if full replacement represents the most professional solution.
Top Tip: Keep a heat gun with variable temperature settings and professional grade squeegees nearby for immediate defect correction during installation.
Step 4: Verify Application Quality
Professional PPF installation demands rigorous quality verification to ensure optimal protection and aesthetic perfection. Understanding film thickness measurement standards enables installers to confirm precise and uniform coverage across vehicle surfaces.
Conduct a comprehensive post-installation inspection using multiple verification techniques. Begin by examining the film under bright, direct lighting to reveal any subtle imperfections like micro bubbles, edge lifting, or uneven tension. Run your fingers gently along panel edges to check for smooth transitions and complete adhesion. Utilise comprehensive coating quality checks that assess surface profile, cleanliness, and overall film integrity. Pay particular attention to complex curves and panel intersections where installation challenges are most likely to occur. Document your findings photographically from multiple angles to create a permanent record of the installation quality.
Remember that quality verification is not a single moment but a continuous process. Recommend that vehicle owners perform periodic inspections and maintain the film according to manufacturer guidelines to preserve long term protection and appearance.
Top Tip: Invest in high quality LED lighting with adjustable colour temperature to reveal even the most subtle PPF installation imperfections.
Step 5: Implement Preventive Techniques
Mastering Paint Protection Film (PPF) installation requires proactive strategies that minimise potential errors before they occur. Understanding surface preparation standards allows professional installers to establish robust preventive protocols that guarantee superior film application.
Prioritise comprehensive preparation by creating a controlled installation environment. Maintain workspace temperature between 18 and 24 degrees Celsius with low humidity to optimise film adhesion. Use professional grade microfibre cloths and lint free towels exclusively during cleaning to prevent microscopic contamination. Implement rigorous safety handling practices including wearing nitrile gloves and using adequate ventilation to protect both yourself and the installation surface. Regularly calibrate and maintain installation tools to ensure precision and consistency across every vehicle panel.
Develop a systematic pre installation checklist that includes detailed surface inspection, cleaning protocol verification, and environmental condition assessment. This methodical approach transforms preventive techniques from optional recommendations into mandatory professional standards.
Top Tip: Create a dedicated workspace with controlled temperature, filtered air circulation, and organised tool stations to dramatically reduce installation variability.
Elevate Your PPF Installation with Precision Cutting Technology
Achieving flawless Paint Protection Film installation requires not only skilled technique but also precise and reliable tools that address common issues like bubbling, wrinkles and misalignment. The article emphasises the importance of meticulous surface preparation and defect correction, yet professional installers know the difference that perfect pre-cut patterns can make in preventing these challenges from arising in the first place. By integrating advanced software solutions into your workflow you streamline accuracy, reduce material waste and ensure every panel fits exactly right.

Discover how the PPF software – AEONCUT PPF Pre-cut Cutting software empowers installers with AI-driven auto-nesting and extensive pattern libraries designed specifically to eliminate frustration linked to manual pattern creation. Combining this with expertly crafted patterns for Paint Protection Film means you can focus on perfect surface preparation and application rather than worrying about misalignment or edge issues. Don’t let installation problems slow you down – visit https://aeoncutsw.com today and take control of your PPF projects with seamless, professional-grade cutting software built for flawless results.
Frequently Asked Questions
What are the most common PPF installation issues?
Common PPF installation issues include bubbling, delamination, wrinkles, and misalignment. To prevent these problems, always ensure proper surface preparation and suitable environmental conditions before applying the film.
How can I fix bubbling in Paint Protection Film?
To fix bubbling, apply gentle heat with a heat gun and use a soft squeegee to push the trapped air towards the edges of the bubble. Start from the centre and work outwards to maintain an even application as you release the air.
What steps should I take if I notice delamination during PPF installation?
If you notice delamination, immediately remove the affected section of the film, clean the surface thoroughly, and reapply the film for better adhesion. This corrective action can help ensure the film maintains its protective qualities and appearance.
How can I check for alignment issues after installing PPF?
Check for alignment issues by inspecting the edges and transitions between panels under bright light. If any misalignment is detected, carefully remove the film and reposition it for a precise fit to enhance the overall look and protection.
What preventive techniques can I implement to avoid PPF installation defects?
To avoid defects, maintain a controlled environment with a temperature between 18 and 24 degrees Celsius and use high-quality cleaning materials. Establish a systematic pre-installation checklist that covers surface inspection and cleaning protocols to enhance your installation quality.
How often should I inspect my PPF installation for defects?
It’s advisable to inspect your PPF installation regularly, ideally every few months, to identify any defects early. Conduct visual checks under bright light and ensure proper maintenance to prolong the film’s effectiveness and appearance.
Recommended
- Common Mistakes in PPF Installation and How to Avoid Them – AEONCUT PPF Pre-cut Cutting software
- Common Mistakes in PPF Installation and How to Avoid Them – AEONCUT PPF Pre-cut Cutting software
- How Does PPF Work? Guide for Car Care Pros 2025 – AEONCUT PPF Pre-cut Cutting software
- PPF for Motorcycles: 2025 Guide for Installers & Detailers – AEONCUT PPF Pre-cut Cutting software

