Car detailing for paint protection film is more than a quick wash and a shiny finish. Professional installers use microfibre towels in multiple grades and isopropyl alcohol at 90 percent concentration just to prep the surface for film application. Surprising as it sounds, the industry standard toolkit can include up to a dozen specific items before the film is even unrolled. This obsessive approach means every step that follows is less about luck and more about perfecting protection that can last for years.
Table of Contents
- Step 1: Gather Essential Tools And Materials
- Step 2: Prepare The Vehicle Surface Thoroughly
- Step 3: Apply Cleaner And Degreaser To The PPF
- Step 4: Inspect And Correct Any Imperfections
- Step 5: Seal And Protect With A Suitable Finish
- Step 6: Verify Quality And Conduct Final Inspections
Quick Summary
| Key Point | Explanation |
|---|---|
| 1. Gather High-Quality Tools | Use professional-grade tools and materials to ensure a flawless PPF installation process. |
| 2. Thorough Surface Preparation is Critical | Clean and decontaminate the surface thoroughly to enhance PPF adhesion and longevity. |
| 3. Apply Cleaner and Degreaser Methodically | Use isopropyl alcohol for optimal surface purity before PPF application, focusing on difficult areas. |
| 4. Inspect for Imperfections Diligently | Conduct a comprehensive inspection with professional lighting to identify and correct any surface flaws. |
| 5. Seal with Professional-Grade Coatings | Use ceramic coatings on PPF to maximise protection and aesthetic appeal, ensuring proper application conditions. |
Step 1: Gather Essential Tools and Materials
Successful car detailing for paint protection film (PPF) begins with meticulous preparation and selecting the right equipment. Professional installers understand that precision starts long before the first tool touches the vehicle surface. Gathering high-quality tools and materials is not just about having equipment, but ensuring you can execute a flawless PPF installation with minimal risk of damage or imperfection.
The foundation of an exceptional PPF detailing process requires a comprehensive toolkit that addresses surface preparation, application, and finishing. Professional-grade microfibre towels are essential, with multiple grades needed for different stages. Low-pile towels work best for initial cleaning, while plush microfibre towels are ideal for final buffing and removing residual substances. Select towels specifically designed for automotive detailing to prevent potential scratching or lint transfer.
Your toolkit must include precision cleaning agents and surface preparation materials. Isopropyl alcohol solutions ranging between 70-90% concentration are critical for removing contaminants and creating an optimal surface for PPF adhesion. Pair this with lint-free, low-lint cleaning cloths to ensure a completely clean surface. Professional installers recommend having multiple cleaning solutions dedicated to different stages: pre-cleaning, degreasing, and final surface preparation.
Additional essential tools include:
- Detailed surface cleaning kit
- High-quality squeegees with soft, non-abrasive edges
- Precision cutting tools with replaceable blades
- Surface temperature measurement device
- Gloves and protective hand equipment
- Professional-grade heat gun
According to MotorWeek’s automotive installation guide, investing in professional-grade tools significantly reduces installation errors and ensures superior PPF application. By methodically assembling a comprehensive toolkit, you set the stage for a meticulous, high-quality paint protection film installation that meets professional standards.
The following table summarises the essential tools and materials required for professional PPF car detailing, including their key purposes and specifications.
| Tool/Material | Specification/Grade | Purpose |
|---|---|---|
| Microfibre towels (low-pile) | Professional automotive | Initial cleaning; minimises lint/scratching |
| Microfibre towels (plush) | Professional automotive | Final buffing; removing residues |
| Isopropyl alcohol solution | 70–90% concentration | Decontamination for surface preparation |
| Squeegees | Soft, non-abrasive edges | Film application without damage |
| Precision cutting tools | Replaceable blades | Accurate trimming of PPF |
| Heat gun | Professional-grade | Aids film adhesion and contour shaping |
| Surface temperature measurement device | Digital/infrared | Ensures optimal application conditions |
| Gloves | Protective, lint-free | Keeps hands and surface clean |
Before beginning the PPF installation, verify that all tools are clean, undamaged, and specifically suited for automotive detailing. Organize your workspace to ensure efficient workflow and have all materials readily accessible. This preparation transforms a potentially challenging installation into a smooth, controlled process.
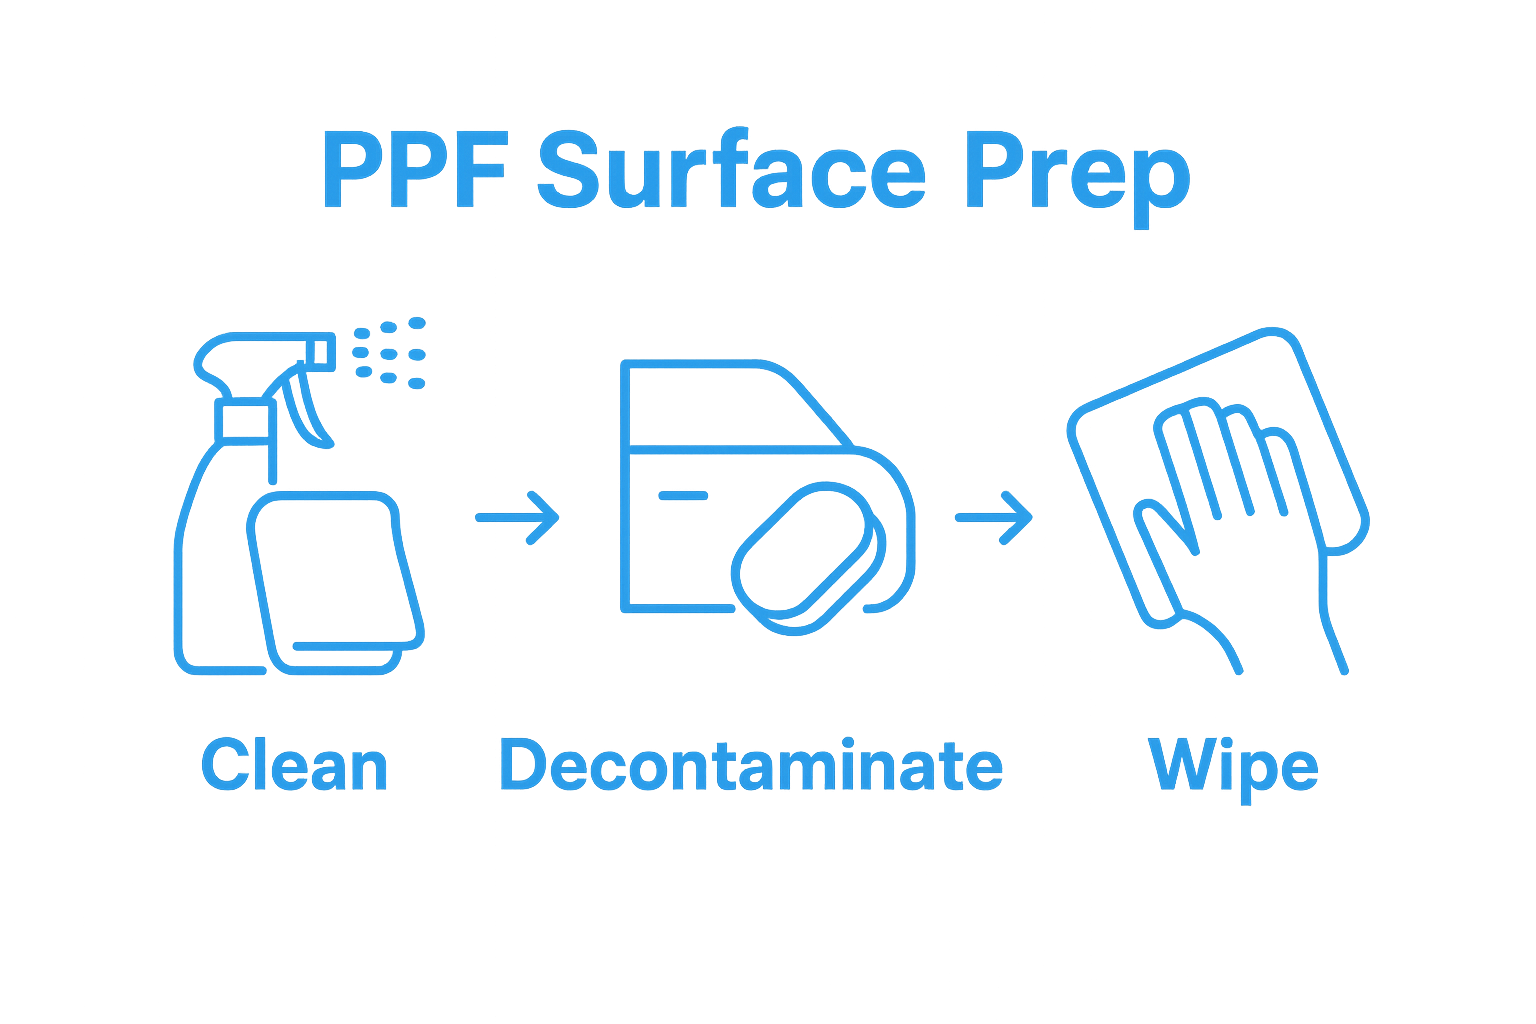
Step 2: Prepare the Vehicle Surface Thoroughly
Preparing the vehicle surface is the most critical phase in PPF installation, serving as the foundation for a flawless protective film application. Professional detailers understand that surface preparation determines the longevity and quality of the paint protection film. Even microscopic contaminants can compromise the entire installation, making this step paramount to achieving a pristine result.
Comprehensive surface preparation requires a systematic approach that goes beyond simple washing. Begin by performing a thorough initial cleaning using pH-neutral automotive shampoo, ensuring you remove all visible dirt, dust, and surface debris. Professional installers recommend using a two-bucket washing method to prevent potential scratching, with one bucket dedicated to clean rinse water and another for soapy solution. Rinse the vehicle completely, paying special attention to areas prone to dirt accumulation such as wheel arches, panel gaps, and lower sections of the vehicle.
After initial washing, transition to clay bar treatment, which removes embedded contaminants invisible to the naked eye. Glide the clay bar gently across lubricated surfaces, feeling for rough spots that indicate trapped particles. This process eliminates industrial fallout, road grime, and microscopic metallic fragments that standard washing cannot remove.
Follow the clay bar treatment with a comprehensive decontamination process using high-quality isopropyl alcohol solutions. These solutions strip away remaining oils, waxes, and residual compounds, creating an immaculate surface ideal for PPF adhesion.
Key verification criteria for surface readiness include:
This checklist table organises the main verification criteria for proper PPF surface preparation, providing a clear summary of what to confirm before moving forward.
| Verification Criterion | Description |
|---|---|
| Surface Smoothness | Completely smooth, no rough textures |
| Visual Cleanliness | No visible contamination under bright lighting |
| Tactile Uniformity | Surface feels uniform and clean when touched |
| Water Behaviour | No water beading or residual substances present |
- Completely smooth surface with no rough textures
- No visible contamination under bright lighting
- Surface feels uniform and clean when touched
- No water beading or residual substances present
According to SAE Technical Paper on automotive coating protection, proper surface preparation is fundamental to ensuring optimal film adhesion and long-term performance. For further insights into professional detailing techniques, consider exploring additional resources that can enhance your understanding of surface preparation methodologies.
Step 3: Apply Cleaner and Degreaser to the PPF
Applying cleaner and degreaser represents a precision-critical stage in paint protection film (PPF) installation, where professional attention to detail determines the film’s ultimate adhesion and performance. This step transforms the meticulously cleaned surface into an optimal substrate for PPF application, removing any remaining microscopic contaminants that could compromise the protective film’s integrity.
Professional-grade isopropyl alcohol solutions serve as the gold standard for this critical preparation phase. Select a solution with 90% concentration, which provides maximum degreasing power without leaving residual moisture. Professional installers recommend using lint-free microfibre towels specifically designed for automotive detailing, ensuring zero particle transfer during the cleaning process. Work systematically across vehicle panels, using a precise wiping technique that prevents cross-contamination between different surface areas.
The degreasing process requires a methodical approach that goes beyond simple surface cleaning. Apply the isopropyl alcohol solution in controlled, overlapping motions, allowing each section to dry completely before moving to the adjacent area. Pay exceptional attention to panel edges, complex curves, and areas prone to dirt accumulation. These zones often harbor stubborn contaminants that can create adhesion challenges during PPF installation. Use light, consistent pressure when wiping to ensure thorough coverage without causing surface abrasion.
Verification criteria for proper degreasing include:
- Surface appears uniformly clean with no visible residue
- No streaking or smearing when inspected under bright lighting
- Surface feels completely smooth and free of contamination
- No water beading or oily patches present
According to Global PPF installation guidelines, maintaining a pristine surface is fundamental to successful PPF application. For professionals seeking to understand advanced PPF installation techniques, exploring comprehensive resources can significantly enhance installation precision and film performance.
Remember that patience during this stage directly translates to superior PPF adhesion and longevity. Take your time, work methodically, and ensure each surface section meets the highest cleanliness standards before proceeding to film application.
Step 4: Inspect and Correct Any Imperfections
Inspecting and correcting imperfections represents the most nuanced stage of paint protection film (PPF) installation, where professional precision separates exceptional work from mediocre results. This critical step requires a systematic, meticulous approach that identifies and addresses even the most minute surface irregularities before final film application.
Professional-grade lighting is paramount during the inspection process. Position high-intensity LED lights at multiple angles, creating cross-illumination that reveals subtle surface imperfections invisible under standard lighting conditions. Professional detailers recommend using both stationary and handheld lighting sources to ensure comprehensive surface examination. Rotate around the vehicle methodically, examining each panel from multiple perspectives, looking for microscopic dust particles, subtle scratches, or inconsistent surface textures that could compromise PPF adhesion.
Utilize specialized magnification tools to inspect surface details too small for naked eye detection. Professional-grade magnifying glasses or digital microscopes allow installers to identify contaminants as minute as 10 microns. When imperfections are discovered, address them immediately using precision techniques. For dust particles, use lint-free microfibre cloths with isopropyl alcohol to carefully remove contaminants without introducing additional surface damage. For deeper scratches or more significant surface irregularities, employ professional-grade polishing compounds designed specifically for automotive surfaces.
Key verification criteria for surface readiness include:
- Zero visible dust or particle contamination
- Completely smooth surface texture
- No scratches or surface irregularities
- Uniform reflection across entire panel surface
- Consistent color and gloss without variations
According to detailed automotive detailing research, thorough surface inspection directly correlates with PPF longevity and performance. For professionals seeking to advance their PPF installation techniques, understanding these nuanced inspection methods becomes crucial.
Remember that patience during this stage transforms good installations into exceptional ones. Each moment spent identifying and correcting imperfections represents an investment in superior film adhesion and long-term vehicle protection.
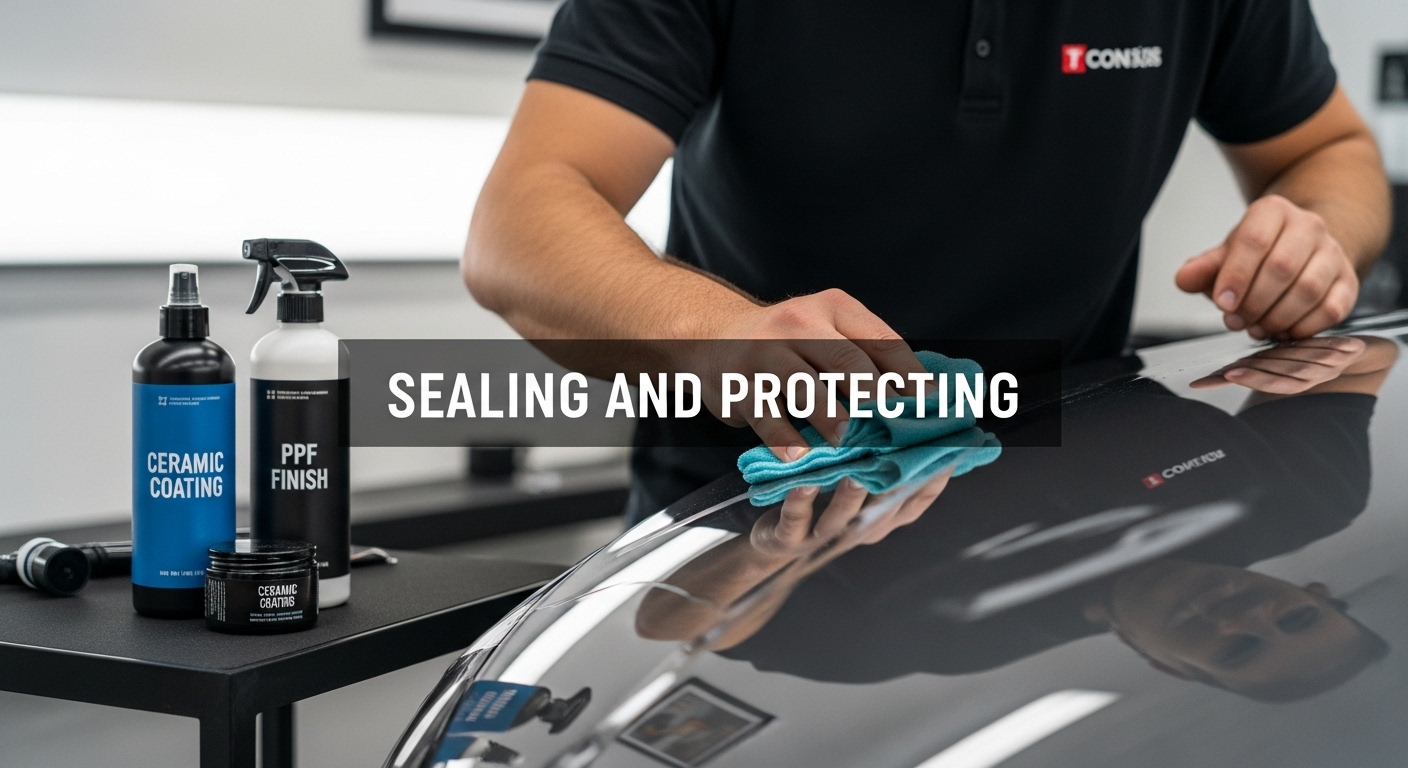
Step 5: Seal and Protect with a Suitable Finish
Sealing and protecting the paint protection film (PPF) represents the final transformative stage of professional detailing, where meticulous preparation culminates in a stunning, durable protective finish. This critical step not only enhances the film’s aesthetic appeal but also reinforces its long-term protective capabilities against environmental challenges.
Professional-grade ceramic coating applications provide the ultimate protective enhancement for paint protection films. Select ceramic coatings specifically designed for PPF, which offer superior hydrophobic properties and enhanced UV resistance. Apply the ceramic coating using precision microfibre applicator pads, working in controlled, overlapping motions to ensure uniform coverage. Professional installers recommend working in small sections, allowing each area to cure completely before progressing to the adjacent panel. This methodical approach prevents potential streaking and ensures maximum bonding between the ceramic coating and the underlying PPF.
The application process requires exceptional attention to environmental conditions. Ideal ceramic coating application demands a controlled environment with stable temperature between 20-25 degrees Celsius and humidity levels below 50%. Use professional-grade infrared temperature guns to verify surface conditions before application. Work systematically, starting from the uppermost panels and progressing downward, ensuring no cross-contamination between different vehicle sections. Professional-grade ceramic coatings typically require multiple thin layers, with precise curing time between applications to achieve optimal protection and visual clarity.
Verification criteria for professional PPF sealing include:
- Uniform, streak-free ceramic coating appearance
- Zero visible application lines or inconsistencies
- Immediate water beading and rolling effect
- Consistent glossy or matte finish across entire surface
- No visible residue or clouding
According to materials protection research, proper sealing directly correlates with PPF longevity and performance. For professionals interested in exploring different PPF finish options, understanding nuanced finishing techniques becomes crucial.
Remember that patience during this final stage transforms a good PPF installation into an exceptional, long-lasting protective solution for your vehicle.
Step 6: Verify Quality and Conduct Final Inspections
Verifying quality and conducting final inspections represents the ultimate validation of your paint protection film (PPF) installation, transforming meticulous technical work into a professional-grade protective solution. This critical stage separates exceptional installations from merely adequate ones, ensuring every millimetre of the vehicle surface meets the highest professional standards.
Professional-grade lighting becomes your most essential diagnostic tool during final inspection. Utilize a combination of natural daylight and high-intensity LED inspection lights positioned at multiple strategic angles. Move systematically around the vehicle, examining each panel with methodical precision. Professional detailers recommend using both stationary overhead lighting and handheld directional lights to reveal subtle imperfections that might escape standard visual assessment. Focus on panel edges, complex curves, and areas with intricate geometric shapes where PPF application challenges are most likely to emerge.
Employ precision measurement tools and magnification equipment to conduct a comprehensive quality assessment. Digital microscopes with 50-100x magnification allow you to examine PPF adhesion, edge alignment, and surface consistency at a microscopic level. Check for potential lifting, air bubbles, stretch marks, or inconsistent film thickness. Pay particular attention to high-stress areas like front bumpers, side mirrors, and door handles where mechanical strain can compromise PPF performance. Systematic documentation using high-resolution digital photography provides a permanent record of the installation quality and serves as a valuable reference for future maintenance.
The table below presents a quick-reference checklist for verifying the quality of final PPF installation, ensuring every crucial aspect is checked before completion.
| Quality Check | What to Look For |
|---|---|
| No air bubbles or trapped contaminants | Surface appears flawless under inspection |
| Film edge alignment | Edges are straight with no overhang |
| Film thickness uniformity | Consistent thickness across all panels |
| Surface finish consistency | No variation in colour or finish |
| Adhesion completeness | No lifting or edge separation visible |
Key verification criteria for final PPF inspection include:
- Zero visible air bubbles or trapped contaminants
- Perfectly aligned film edges with no overhang
- Uniform film thickness across entire surface
- Consistent colour and finish without variations
- Complete adhesion with no lifting or separation
According to environmental quality inspection guidelines, thorough quality verification directly impacts long-term protective performance. For professionals seeking to advance their PPF installation techniques, understanding these nuanced inspection methods becomes crucial.
Remember that this final inspection is your professional signature, representing your commitment to excellence and precision in automotive protection.
Take the Next Step Towards Flawless Car Detailing Precision
You have just learned the importance of careful preparation and meticulous execution in every step of professional paint protection film installation. Yet, even with the most precise cleaning and inspection, one challenge remains: achieving perfect PPF placement without wasting material or struggling with awkward hand-cut patterns. Many skilled installers and car enthusiasts aim for seamless results but face frustration when pattern accuracy falls short or time gets lost in manual cutting.
For those seeking true excellence and efficiency, the next step is clear. The Paint Protection Film solutions at AEONCUT are created specifically to solve these common pains. Our advanced PPF software delivers thousands of pre-cut templates tailored for your exact vehicle specifications. With automated pattern updates, AI-powered nesting, and a vast pattern library, you can maximise precision and minimise wasted film. Imagine cleaner installs, stronger adhesion, and higher customer satisfaction with every project.

Upgrade your detailing process now and eliminate the risk of costly errors or wasted time. Visit aeoncutsw.com and start using our innovative PPF pre-cut software today. Discover a smarter, more accurate way to protect vehicles and take pride in every flawless finish.
Frequently Asked Questions
What tools are essential for detailing a car for PPF installation?
To successfully detail a car for PPF installation, essential tools include professional-grade microfibre towels, isopropyl alcohol solutions, precision cutting tools, high-quality squeegees, and a professional-grade heat gun.
How can I prepare the vehicle surface for PPF successfully?
To prepare the vehicle surface, start by washing it with pH-neutral automotive shampoo, then use a clay bar treatment to remove embedded contaminants, followed by applying isopropyl alcohol solutions for a thorough decontamination.
What is the best technique for applying cleaner and degreaser before installing PPF?
Use a 90% isopropyl alcohol solution applied with lint-free microfibre towels, working in controlled, overlapping motions across each panel, ensuring the surface is completely smooth and free of contaminants.
Why is it important to inspect for imperfections before applying PPF?
Inspecting for imperfections is crucial as it allows you to identify and correct any surface irregularities, ensuring that the PPF adheres properly and performs effectively, ultimately enhancing its longevity and protective qualities.
Recommended
- How Does PPF Work? Guide for Car Care Pros 2025 – AEONCUT PPF Pre-cut Cutting software
- PPF for Motorcycles: 2025 Guide for Installers & Detailers – AEONCUT PPF Pre-cut Cutting software
- Matte PPF vs Gloss PPF: Professional Comparison 2025 – AEONCUT PPF Pre-cut Cutting software
- Matte PPF vs Gloss PPF: Professional Comparison 2025 – AEONCUT PPF Pre-cut Cutting software
- 8 Steps for Your Ultimate Boat Detailing Checklist
- Essential Carpet Protection After Cleaning: A Step-by-Step Guide – Yarra Valley Carpet Cleaning

