Paint Protection Film, or PPF, offers an invisible shield that keeps high-performance vehicles looking flawless year after year. Many expect the trickiest part is applying the film itself. Actually, the biggest challenge is all in the preparation—dust and airborne particles are the primary enemies of PPF installation, ruining even the most careful work. Set up your workspace the right way and every step becomes easier and the results truly professional.
Table of Contents
- Step 1: Prepare Your Workspace And Materials
- Step 2: Clean The Vehicle Surface Thoroughly
- Step 3: Position And Align The Precut Ppf Pattern
- Step 4: Apply The Precut Ppf With Heat And Pressure
- Step 5: Trim Excess Ppf For A Perfect Fit
- Step 6: Inspect And Perform Final Quality Checks
Quick Summary
| Key Point | Explanation |
|---|---|
| 1. Maintain a clean workspace | A clean, enclosed workspace reduces contamination and enhances precision during PPF installation, ensuring optimal results. |
| 2. Use proper cleaning techniques | Thoroughly clean the vehicle surface with professional-grade products to ensure the film adheres effectively, preventing imperfections. |
| 3. Align the PPF accurately | Precise positioning using reference points is crucial for a seamless application, as even minor misalignments can affect the final outcome. |
| 4. Apply heat and pressure correctly | Controlled use of heat and consistent pressure during application promotes full adhesion and a bubble-free finish on the film. |
| 5. Conduct thorough quality checks | Inspect the installation under various lighting conditions to identify and rectify any imperfections, ensuring a professional standard of work. |
Step 1: Prepare Your Workspace and Materials
Successful Paint Protection Film (PPF) installation begins with meticulous preparation of your workspace and materials. Professional installers understand that the environment and equipment play a crucial role in achieving a flawless application. Before touching any film, you must create an optimal setting that minimises potential contamination and maximises precision.
Start by selecting a clean, enclosed workspace with controlled temperature and minimal dust. Ideal installation environments typically range between 21 to 25 degrees Celsius with low humidity. Dust and airborne particles are the primary enemies of PPF installation, so thoroughly clean your workspace using microfibre cloths and professional-grade surface cleaners. Cover workbenches and surrounding areas with clean, lint-free cloths to prevent potential contamination.
Gather all necessary tools and materials before beginning. Your essential toolkit should include:
- High-quality microfibre towels
- Isopropyl alcohol (70% concentration)
- Squeegees with soft rubber edges
- Spray bottle with application solution
- Precision cutting tools
- Clean, lint-free gloves
- Infrared thermometer
- LED work lights
Prepare your precut PPF pattern by carefully removing it from its protective packaging. Handle the film with extreme care, using clean gloves to prevent oil transfer or potential damage. Inspect the pattern meticulously for any manufacturing defects or imperfections before proceeding. Lay out the pattern systematically, ensuring it remains flat and free from creases or potential contaminants.
Verify your workspace readiness by conducting a final cleanliness check. Wipe down surfaces multiple times, use compressed air to remove residual dust, and ensure adequate lighting. Your attention to preparation directly correlates with the quality of your final PPF installation. A well-prepared workspace sets the foundation for professional-grade results that meet the highest industry standards.
Below is a summary table of the essential tools and materials required for professional-grade PPF installation, with their specifications and primary purposes.
| Tool/Material | Specification | Purpose |
|---|---|---|
| Microfibre towels | High-quality, lint-free | Surface cleaning and drying, prevents scratches |
| Isopropyl alcohol | 70% concentration | Removes oils, waxes, and contaminants |
| Squeegees | Soft rubber edges | Smooths film, removes bubbles and excess solution |
| Spray bottle | Application solution inside | Provides slip for film positioning |
| Precision cutting tools | Ceramic blade, sharp edge | Trimming excess film without paint damage |
| Clean gloves | Lint-free, oil-free | Prevents fingerprints and contamination |
| Infrared thermometer | Accurate, digital | Monitors temperature during heat application |
| LED work lights | Bright, adjustable | Ensures visibility for inspections and alignment |
Step 2: Clean the Vehicle Surface Thoroughly
Cleaning the vehicle surface represents the most critical stage of PPF installation, where precision and thoroughness determine the ultimate quality of your protective film application. The goal is to create an absolutely pristine surface that allows perfect film adhesion and prevents potential contamination or imperfections.
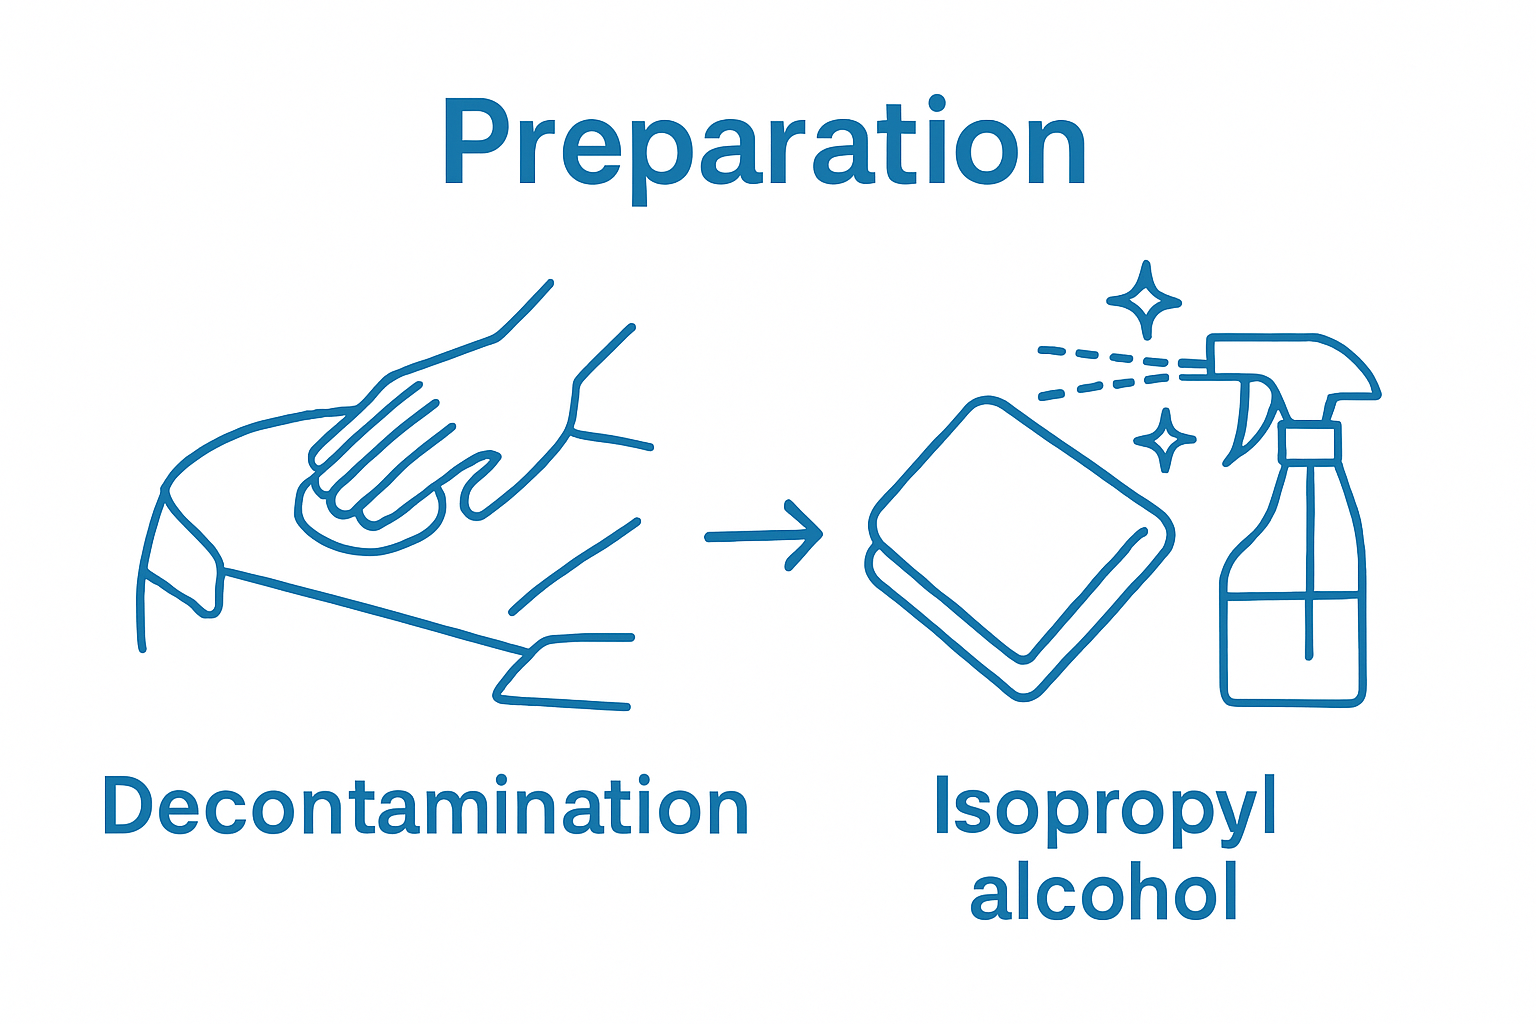
Surface preparation requires systematic and detailed cleaning techniques that go beyond standard car washing. Begin by selecting professional-grade cleaning solutions specifically designed for automotive surface preparation. Use 70% isopropyl alcohol as your primary cleaning agent, which effectively removes oils, waxes, and microscopic contaminants without leaving residue. Our comprehensive car interior cleaning guide offers additional insights into professional detailing techniques.
Approach surface cleaning methodically. Start with a two-bucket wash method using automotive shampoo to remove loose dirt and debris. Rinse thoroughly and dry the vehicle using clean microfibre towels, ensuring no water spots remain. Next, perform a clay bar treatment to remove embedded contaminants like industrial fallout, brake dust, and minor paint oxidation. This process creates an ultra-smooth surface critical for PPF adhesion.
After clay bar treatment, conduct a solvent wipe using isopropyl alcohol. Work in small sections, using clean microfibre towels and applying moderate pressure. Use horizontal and vertical wipes to ensure comprehensive coverage. Critical cleaning tip: Always use fresh sections of the microfibre towel to prevent recontamination. Rotate and fold towels frequently, discarding them once they appear soiled.
Final surface verification involves careful inspection under bright LED lighting. Look for any remaining contamination, swirl marks, or imperfections. A clean surface should appear uniformly smooth with no visible residue.
 Professional installers often use a lint-free white towel for final inspection, which quickly reveals any remaining contaminants. This meticulous approach ensures optimal PPF adhesion and longevity.
Step 3: Position and Align the Precut PPF Pattern
Positioning and aligning your precut Paint Protection Film (PPF) pattern requires surgical precision and methodical approach. Successful alignment determines the entire quality of your installation, making this step critical for achieving a professional finish. Professional installers understand that even minimal misalignment can compromise the entire protective film application.
Learn more about custom pattern creation techniques to enhance your understanding of pattern positioning. Begin by identifying primary reference points on the vehicle surface such as panel edges, body lines, badges, or distinct geometric intersections. These landmarks will serve as your alignment guides, ensuring symmetrical and accurate placement of the PPF pattern.
Utilise application solution generously but strategically to create a slip surface that allows precise repositioning. Spray a light, even mist across the cleaned surface and the adhesive side of the film. This technique enables you to slide and adjust the pattern without immediate permanent adhesion. Work methodically from larger reference points to smaller details, using squeegees and your hands to manipulate the film with minimal tension.
Pay extraordinary attention to complex areas like curved surfaces, compound angles, and intricate panel transitions. These zones require extra care and potentially multiple adjustment attempts. Professional installers recommend breaking complex alignments into smaller, manageable sections. Periodically step back and view the pattern from multiple angles to confirm symmetry and proper coverage. Use bright, uniform lighting to highlight potential misalignments or imperfections.
Final verification involves a comprehensive visual inspection under optimal lighting conditions. Confirm the pattern sits perfectly flush against the surface with no visible gaps, bubbles, or asymmetrical sections. Precise alignment now prevents future complications during the final application and ensures maximum protection for the vehicle’s paintwork.
Step 4: Apply the Precut PPF with Heat and Pressure
Applying Paint Protection Film (PPF) demands precision, understanding of material properties, and mastery of heat and pressure techniques. Explore the science behind PPF protection to comprehend the intricate dynamics of film application. Heat and pressure represent the cornerstone of professional PPF installation, transforming a precisely cut pattern into a seamless protective layer.
Begin the application process by creating a slip solution environment using a professional-grade application fluid. This solution allows minute adjustments while preventing immediate adhesion. Carefully position the film, ensuring minimal tension and perfect alignment. Professional installers recommend working in controlled sections, focusing on one panel or area at a time to maintain optimal film placement.
Critical heat application requires professional-grade heat guns with precise temperature control. Typical installation temperatures range between 38 to 43 degrees Celsius, though this varies depending on specific film manufacturer recommendations. Use sweeping motions, maintaining consistent distance and movement to prevent film damage or overheating. The goal is gradual, uniform heat distribution that activates the film’s adhesive properties without compromising its structural integrity.
Pressure application follows immediately after heat treatment. Professional-grade squeegees with soft rubber edges are essential for achieving smooth, bubble-free results. Apply consistent, deliberate pressure using overlapping horizontal and vertical strokes. Start from the center of the film and work outwards, pushing air bubbles and excess solution toward panel edges. Professional installers use multiple squeegee passes, progressively increasing pressure to ensure complete adhesion.
Final verification involves a comprehensive inspection under bright lighting. Look for subtle signs of imperfection: trapped air bubbles, edge lifting, or uneven surface tension. A perfectly applied PPF should appear seamlessly integrated, with crisp edges and a smooth, uniform appearance.
Allow the film to cure according to manufacturer specifications, typically 24 to 48 hours, before exposing the vehicle to extreme conditions or washing.
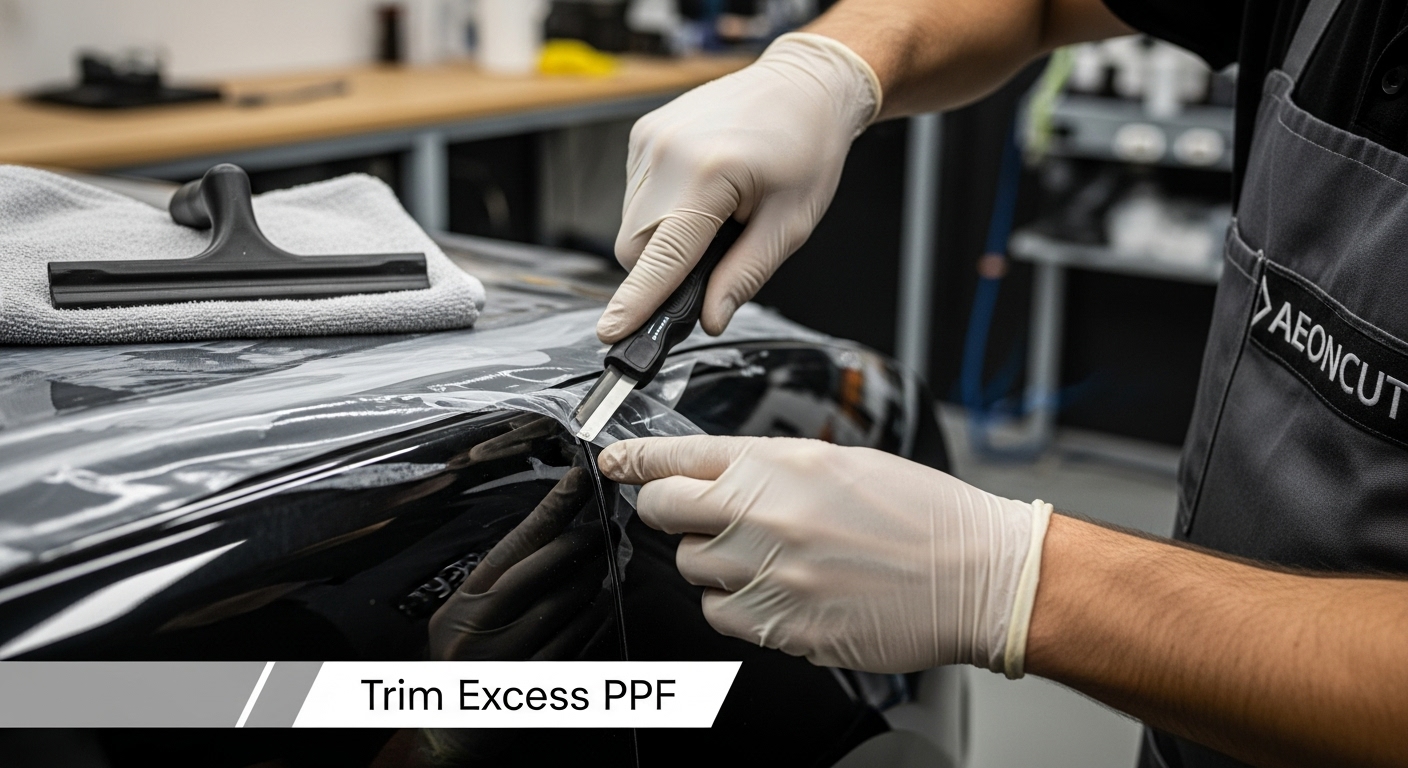
Step 5: Trim Excess PPF for a Perfect Fit
Trimming excess Paint Protection Film represents the final refinement stage that transforms a good installation into a professional masterpiece. Precision cutting determines the ultimate visual and protective quality of your PPF application. Discover advanced pattern customization techniques to enhance your understanding of film manipulation and cutting strategies.
Professional installers approach trimming with surgical precision, using specialized tools that minimise the risk of paint damage. Select a high-quality ceramic blade designed specifically for PPF trimming, ensuring the cutting edge remains extremely sharp. Critical tool selection prevents potential scratches or uneven cuts. Maintain blade angles between 15 to 20 degrees, allowing for clean, controlled cuts that follow vehicle panel contours precisely.
Begin trimming from less visible areas, using minimal pressure and allowing the blade’s sharpness to do the work. Work systematically around panel edges, badges, and complex geometrical features. Professional techniques involve using fingers or soft squeegees to create slight tension, enabling more accurate cutting trajectories. Pay extraordinary attention to challenging areas like curved surfaces, panel intersections, and tight radii where precision becomes paramount.
Maintain consistent hand positioning and blade orientation throughout the trimming process. Professional installers recommend multiple light passes rather than aggressive single cuts. This approach provides greater control and reduces the potential for accidental paint damage. Illumination plays a crucial role in identifying subtle imperfections, so work under bright, uniform lighting that reveals even minute cutting inconsistencies.
Final verification involves a comprehensive visual and tactile inspection. Run clean, lint-free gloves across trimmed edges to detect any remaining film protrusions or imperfect cuts. The ideal trim should create a seamless transition between film and painted surface, with edges so precise they appear almost invisible.
 Allow the film to settle and cure completely before subjecting the vehicle to extreme conditions or rigorous washing.
Step 6: Inspect and Perform Final Quality Checks
Final quality inspection represents the ultimate validation of your Paint Protection Film (PPF) installation, transforming technical precision into a professional masterpiece. This critical stage separates exceptional installations from merely adequate ones, requiring meticulous attention to every microscopic detail. Professional installers understand that comprehensive quality checks are the hallmark of true craftsmanship.
Explore advanced PPF performance insights to understand the importance of thorough inspection. Begin your quality assessment under multiple lighting conditions: bright overhead lighting, direct sunlight, and low-angle illumination. Each lighting scenario reveals different potential imperfections invisible to the naked eye during standard examination. Professional-grade LED work lights with adjustable color temperatures provide the most comprehensive visual analysis.
Conduct a systematic inspection focusing on specific quality indicators. Check for air bubbles, which manifest as tiny circular or irregular translucent spots beneath the film. Examine edge adhesion meticulously, ensuring complete contact without lifting or separation. Verify film consistency across curved surfaces and complex panel geometries. Run clean, lint-free microfibre gloves across the installed PPF, feeling for any subtle irregularities that visual inspection might miss.
Pay extraordinary attention to challenging areas such as panel intersections, around badges, and near complex vehicle contours. These zones frequently reveal installation nuances that require immediate correction. Use a soft squeegee to gently press and recheck problematic sections, applying minimal heat if necessary to resolve minor adhesion issues. Professional installers recommend a 360-degree walk-around inspection, viewing the vehicle from multiple angles and distances.
Final verification involves documenting your installation quality. Photograph the completed work under various lighting conditions, creating a professional record of your meticulous application. These images serve not only as a quality benchmark but also as potential portfolio evidence for future client consultations. Allow the PPF to cure completely according to manufacturer specifications before subjecting the vehicle to environmental stresses or extensive washing.
Transform Your PPF Installations with AEONCUT Precision
Struggling to achieve flawless alignment and a perfect cut every time? The journey from meticulous workspace preparation to seamless PPF application can easily be derailed by inconsistencies in pattern quality or fit. As highlighted in this guide, even the smallest error in precut pattern alignment or trimming can result in costly material waste and visible imperfections. If you want to eliminate these frustrations and bring true confidence to each installation, there is a better way.
Explore our advanced PPF precut pattern solutions that mirror the professional techniques described in this tutorial. Our comprehensive PPF software delivers ultra-precise patterns, extensive model libraries and the flexibility to adapt any film to even the most challenging vehicle contours.

Why settle for guesswork or compromise? Switch to AEONCUT today and discover how effortless and accurate precut PPF installation can be. Visit https://aeoncutsw.com now and start turning your installation skills into guaranteed results.
Frequently Asked Questions
What tools are essential for installing precut PPF patterns?
To install precut PPF patterns effectively, you will need high-quality microfibre towels, isopropyl alcohol (70% concentration), squeegees with soft rubber edges, a spray bottle with application solution, precision cutting tools, clean gloves, an infrared thermometer, and LED work lights.
How can I ensure a clean vehicle surface before applying PPF?
Thoroughly clean the vehicle surface using a two-bucket wash method followed by a clay bar treatment to remove embedded contaminants. Finish with a solvent wipe using isopropyl alcohol to eliminate oils and residues. Inspect the surface under bright lighting to ensure it is clean and smooth.
What is the best technique for aligning precut PPF patterns?
Begin by identifying reference points on the vehicle’s surface, such as panel edges and body lines. Use an application solution to create a slip surface, allowing for repositioning. Work systematically, adjusting for alignment from larger reference points to smaller details, while ensuring the film sits flush against the surface.
How do I perform a final quality check on my PPF installation?
Conduct a quality check under various lighting conditions to reveal imperfections. Look for air bubbles, ensure edge adhesion, and verify film consistency on curved surfaces. Additionally, run clean, lint-free gloves over the film to detect any irregularities that may not be visible to the naked eye.
Recommended
- How to Create Custom PPF Patterns Using Aeoncut: Step-by-Step Guide – AEONCUT PPF Pre-cut Cutting software
- How to Create Custom PPF Patterns Using Aeoncut: Step-by-Step Guide – AEONCUT PPF Pre-cut Cutting software
- Como crear patróns PPF personalizados con Aeoncut: guía paso a paso: software de corte precortado PPF AEONCUT
- Aeoncut yordamida maxsus PPF naqshlarini qanday yaratish mumkin: bosqichma-bosqich qo’llanma – AEONCUT PPF oldindan kesilgan kesish dasturi

