Protecting your car’s interior is not just about keeping things tidy. With interiors facing constant risks like UV exposure, stains, and scratches, the challenge is real. But here’s a surprise. High-traffic zones such as door sills, dashboards, steering wheels, and seat edges are among the most vulnerable spots, yet often overlooked in standard cleaning routines. It turns out that professional installers focus on these critical areas first, mapping out every risk point to craft a truly tailored protection plan. Most owners miss this step entirely, so the difference between a pristine and a worn-out interior usually starts before any product is applied.
Table of Contents
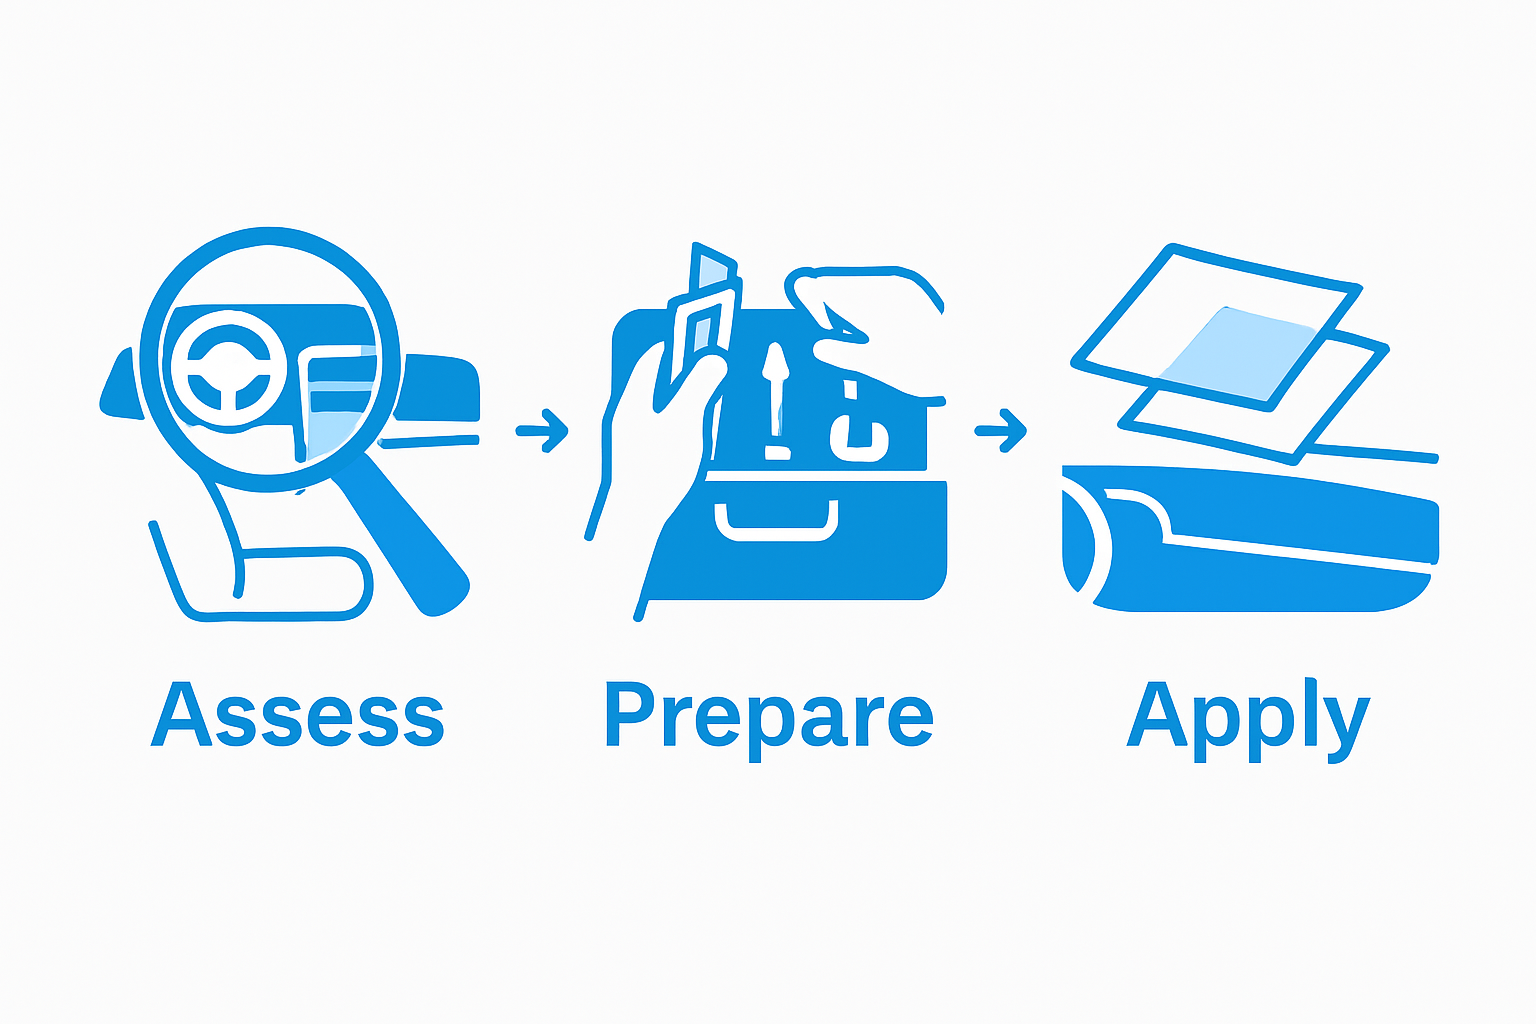
- Step 1: Assess The Vehicle Interior For Protection Needs
- Step 2: Gather Essential Tools And Materials For Installation
- Step 3: Select And Prepare Precut Patterns For Your Vehicle
- Step 4: Apply Precut Patterns To The Vehicle Interior
- Step 5: Ensure Proper Bonding And Finishing Touches
- Step 6: Verify The Installation And Conduct Quality Checks
Quick Summary
| Key Point | Explanation |
|---|---|
| 1. Conduct a Thorough Interior Assessment | Inspect high-traffic areas for wear and damage before applying protective film. Document all findings for targeted interventions. |
| 2. Prepare an Essential Tool Kit | Gather high-quality cutting tools, squeegees, and professional-grade films to ensure a seamless installation process. |
| 3. Select Appropriate Precut Patterns | Verify vehicle specifics and use digital libraries to choose precise patterns, ensuring optimal coverage and fit. |
| 4. Ensure Meticulous Application Technique | Clean surfaces, apply films methodically, and use heat for proper adhesion, avoiding bubbles and misalignment. |
| 5. Perform Comprehensive Quality Checks | Inspect the installation under varied lighting for flaws, ensuring perfect surface alignment and no adhesive residue. |
Step 1: Assess the Vehicle Interior for Protection Needs
Successful interior car protection begins with a comprehensive and methodical assessment of the vehicle’s specific protection requirements. Professional installers understand that each vehicle presents unique challenges and wear patterns, necessitating a strategic approach to identifying potential damage points and selecting appropriate protective solutions.
Start by performing a thorough visual inspection of the entire interior, paying close attention to high-traffic areas that experience significant wear and potential damage. Critical zones include door sills, dashboard surfaces, centre console, steering wheel, gear shift area, and seat edges. These regions are most susceptible to scratches, UV degradation, colour fading, and general wear from daily use.
Utilise professional-grade lighting to reveal subtle imperfections, scratches, and potential weak points in the vehicle’s interior surfaces. Examine the material composition of each surface carefully plastic, leather, fabric, vinyl to understand its specific protection needs. Different materials require tailored protection strategies learn more about protection techniques with our comprehensive guide on vehicle interior care.
Consider the vehicle’s typical usage patterns and environment. A car frequently exposed to sunlight will require different protection compared to one primarily driven in urban environments. Professional installers should document their findings systematically, creating a detailed map of areas requiring specific protective interventions. This meticulous assessment ensures precise pattern cutting and optimal material placement during the protection film application process.
Key verification points for a successful interior assessment include:
- Comprehensive documentation of all potential damage zones
- Clear understanding of surface material composition
- Identification of specific environmental stress factors
- Precise measurement of protection film requirements
By conducting a rigorous initial assessment, automotive protection professionals can develop targeted, effective strategies that maximise interior preservation and aesthetic longevity.
Step 2: Gather Essential Tools and Materials for Installation
Preparing for an interior car protection film installation requires meticulous tool selection and material preparation. Professional installers understand that having the right equipment can significantly impact the quality and precision of the final result. The goal of this step is to assemble a comprehensive toolkit that enables seamless, professional-grade protection film application.
Begin by selecting high-quality, precision cutting tools specifically designed for automotive interior protection films. Professional-grade utility knives with replaceable blades, precision cutting mats, and microfibre-edged squeegees are fundamental to achieving clean, accurate cuts. Discover advanced cutting techniques for window film professionals to enhance your installation skills.
Material selection is equally critical. Choose premium-grade interior protection films compatible with various surface materials such as leather, vinyl, plastic, and fabric. Opt for films with superior UV resistance, self-healing properties, and robust adhesive characteristics. Professional installers recommend purchasing slightly more material than required to account for potential cutting errors or complex surface contours.
Essential tools for a professional interior protection film installation include:
- Precision cutting utility knife with multiple replacement blades
- High-quality microfibre squeegees
- Professional-grade measuring tape
- Surface cleaning solutions
- Lint-free cleaning cloths
- Heat gun or hairdryer
- Protective gloves
- Spray bottle with application solution
Additionally, prepare a clean, well-lit workspace with a temperature-controlled environment. Dust-free surfaces and consistent ambient temperatures between 20-25 degrees Celsius ensure optimal film adhesion and minimise potential installation complications. Professional installers recommend laying out all tools and materials before beginning the installation process, creating an organised workflow that enhances precision and efficiency.
Verify your toolkit’s completeness by checking that each item is in excellent condition, clean, and readily accessible.
The following table summarises the essential tools and materials required for interior car protection film installation, along with their purpose and relevant notes.
| Tool/Material | Purpose | Notes/Specification |
|---|---|---|
| Precision utility knife | Cutting protective films to size | Use with replaceable blades for clean cuts |
| Microfibre squeegee | Smoothing and adhering film | Soft-edged to prevent scratching |
| Measuring tape | Measuring interior zones and patterns | Essential for accuracy |
| Surface cleaning solution | Cleaning interior surfaces | Must be compatible with fabrics/leather |
| Lint-free cleaning cloths | Removing dust and residue | Prevents contamination pre-application |
| Heat gun or hairdryer | Aiding film conformity and bonding | Set to controlled, moderate heat |
| Protective gloves | Preventing fingerprints and damage | Nitrile recommended |
| Spray bottle (application solution) | Facilitating precise film placement | Mix solution as per film manufacturer recommendations |
| Premium-grade protection films | Main protective material | Select for UV resistance and self-healing properties |
Step 3: Select and Prepare Precut Patterns for Your Vehicle
Selecting the appropriate precut patterns represents a critical stage in achieving professional-grade interior protection film installation. Precision and compatibility are paramount when matching protective film patterns to specific vehicle interiors. Professional installers recognise that a meticulously chosen pattern can significantly reduce installation time and minimise potential material waste.
Begin by verifying your vehicle’s exact make, model, and manufacturing year to ensure absolute pattern accuracy. Manufacturers produce subtle interior variations even within the same vehicle series, making precise identification crucial. Learn advanced techniques for creating custom PPF patterns with our comprehensive guide to understand the nuanced selection process.
Utilise digital pattern libraries and professional cutting software that offer extensive vehicle-specific template collections. These resources provide meticulously mapped interior surface templates, accounting for complex contours, mounting points, and unique design characteristics. Modern digital platforms enable installers to preview patterns digitally, assessing coverage and fit before physical cutting.
Key considerations when selecting precut patterns include:
- Exact vehicle make and model specifications
- Precise year of manufacture
- Interior material composition
- Specific surface texture and curvature
- Anticipated wear and stress points
Carefully examine the selected patterns for completeness, ensuring comprehensive coverage of identified protection zones from your initial vehicle assessment. Professional installers recommend performing a digital or physical test fit, checking pattern alignment with interior surfaces and verifying minimal excess material.
As research from the Society of Automotive Engineers indicates, precision in pattern selection directly correlates with installation quality. Verify your pattern selection by cross-referencing digital templates with physical measurements, ensuring every interior surface receives optimal protection. A systematic, methodical approach to pattern selection sets the foundation for a flawless interior protection film installation.
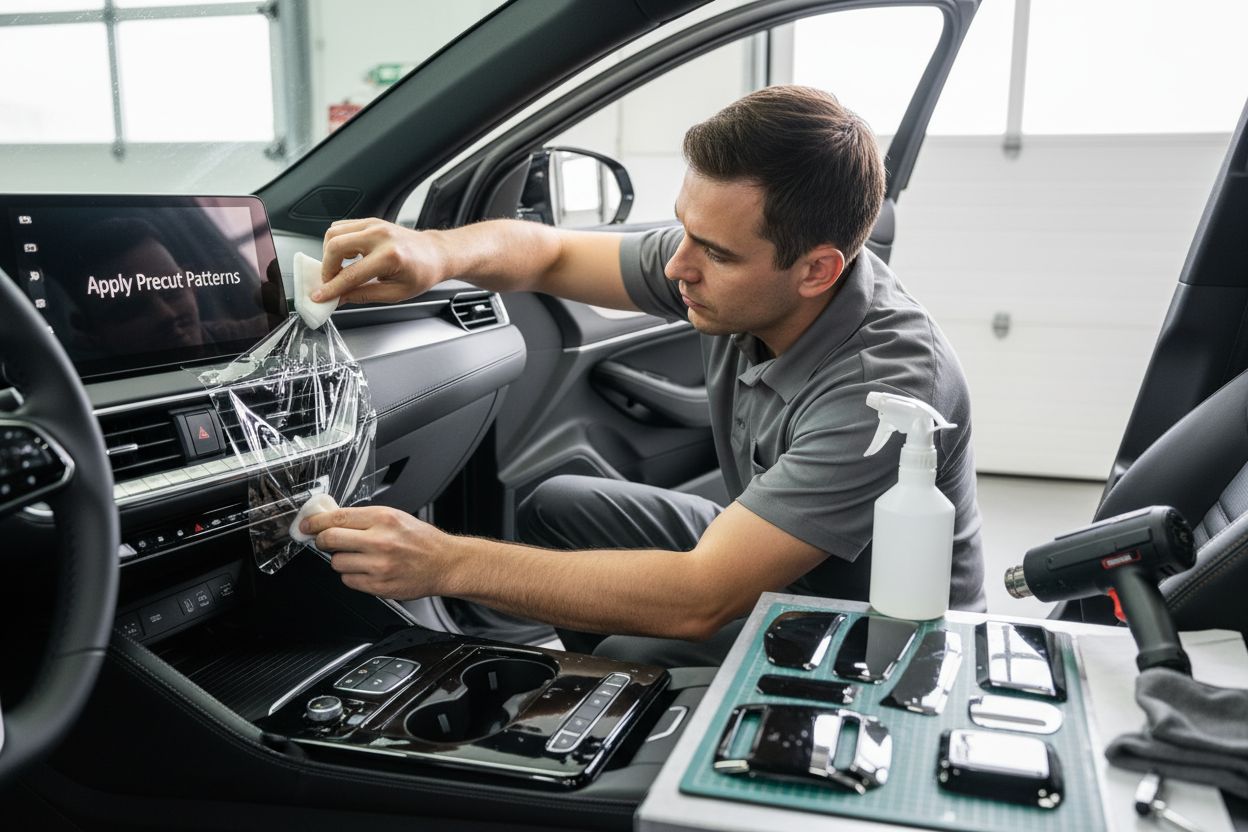
Step 4: Apply Precut Patterns to the Vehicle Interior
The application of precut patterns requires precision, patience, and a systematic approach. Professional installers understand that successful film application hinges on meticulous surface preparation and controlled technique. This critical stage transforms carefully selected protective materials into a seamless, protective interior shield.
Begin by creating an immaculate working environment. Thoroughly clean and dry each surface area using lint-free cloths and professional-grade cleaning solutions. Remove any residual dust, oils, or contaminants that could compromise film adhesion. Explore advanced application techniques for professional installers to refine your installation skills.
Carefully position the precut pattern, starting from the least complex surface areas. Use application solution to create a light slip layer, enabling precise positioning without immediate permanent adhesion. Professional installers recommend using a combination of gentle squeegee techniques and measured heat application to ensure smooth, bubble-free installation. Work methodically from the centre outwards, using controlled, overlapping strokes to eliminate air pockets and ensure uniform coverage.
Critical application considerations include:
- Maintaining consistent temperature during installation
- Using minimal solution to prevent adhesive dilution
- Applying even, controlled pressure
- Working in a dust-free environment
- Checking pattern alignment continuously
Address complex contours and edges with exceptional care. Use heat guns or professional-grade hairdryers to gently stretch and conform the protective film around intricate surface details. Professional installers recommend making multiple gentle passes rather than applying excessive heat or pressure, which could potentially damage the film or underlying surface.
Verify the installation’s quality by conducting a comprehensive visual and tactile inspection. Look for any remaining air bubbles, edge lift, or misalignment. Smooth out minor imperfections using a microfibre squeegee, applying gentle heat to aid film conformity. A successful application results in a virtually invisible, seamlessly integrated protective layer that preserves the vehicle’s interior aesthetic and structural integrity.
Step 5: Ensure Proper Bonding and Finishing Touches
The final stage of interior protection film installation demands meticulous attention to detail and a systematic approach to ensuring long-lasting, professional-quality results. Proper bonding represents the critical difference between a mediocre and exceptional protective film application. Professional installers understand that this phase determines the durability and aesthetic quality of the entire protection process.
Explore advanced techniques to avoid common installation pitfalls and refine your finishing skills. Begin by conducting a comprehensive heat activation process, which enables the adhesive to fully bond with the vehicle’s interior surfaces. Use professional-grade heat guns with precise temperature controls, maintaining consistent movement to prevent localised overheating. The goal is to create a uniform, seamless bond that eliminates potential edge lifting or premature wear.
Carefully inspect each applied pattern section, paying close attention to edges, corners, and complex surface transitions. Professional installers recommend multiple gentle heating passes, allowing the protective film to naturally conform and settle into intricate surface contours. Use microfibre squeegees with soft, controlled pressure to smooth out any remaining microscopic imperfections or potential air pockets that might have escaped earlier application stages.
Key finishing verification points include:
- Consistent film adhesion across all surfaces
- No visible air bubbles or edge lifting
- Smooth transitions between pattern sections
- Uniform colour and texture matching
- No residual installation solution
Allow sufficient curing time after installation, typically 24-48 hours, depending on ambient temperature and humidity. During this period, avoid excessive moisture or extreme temperature variations that could compromise the bonding process. Professional installers recommend providing clients with specific care instructions to maintain the protective film’s integrity and appearance.
A successful finishing process transforms carefully selected protective materials into a virtually invisible, resilient interior shield. The ultimate goal is to create a protection solution that not only safeguards the vehicle’s interior but also maintains its original aesthetic appeal and functional integrity.
Step 6: Verify the Installation and Conduct Quality Checks
Quality verification represents the ultimate validation of a professional interior protection film installation. Systematic and comprehensive inspection ensures that every millimetre of applied film meets the highest industry standards. Professional installers recognise this final stage as the critical moment where technical precision meets aesthetic excellence.
Explore comprehensive quality control techniques for professional installers to refine your verification process. Begin by performing a meticulous visual inspection under multiple lighting conditions. Natural daylight and controlled indoor lighting will reveal subtle imperfections that might escape casual observation. Use high-intensity LED work lights to examine film edges, surface conformity, and potential microscopic inconsistencies.
Employ a systematic tactile and visual examination methodology. Run clean, dry hands gently across installed film surfaces, feeling for any irregularities, edge lifting, or uneven bonding. Professional installers recommend checking each section methodically, starting from less complex areas and progressively moving to more intricate surfaces. Pay special attention to high-stress zones like door sills, dashboard edges, and areas prone to frequent contact.
Critical quality verification points include:
- Zero air bubbles or moisture pockets
- Seamless edge integration
- Consistent film transparency
- Perfect surface alignment
- No visible adhesive residue
- Uniform colour and texture matching
Utilise precision measurement tools to verify film thickness and coverage consistency. Digital microscopes or high-resolution magnification can help identify potential microscopic installation defects invisible to the naked eye. Professional installers recommend documenting the installation process through detailed photographs, creating a comprehensive record for both personal quality assurance and potential client reference.
The final verification process transforms a technical installation into a guarantee of superior interior protection. A successful quality check ensures that the protective film not only looks impeccable but also provides maximum long-term defence against wear, UV damage, and environmental challenges.
Achieve Flawless Interior Car Protection with Precise Precut Patterns
Tired of wasting precious time and material when installing interior car protection films? Professional installers and dedicated enthusiasts know how challenging it can be to deliver perfect results every time. The difference between a seamless finish and a subpar job often lies in pattern accuracy, material compatibility, and efficient preparation steps. This guide shows that every centimetre counts and that a lack of precision creates stress, extra costs, and dissatisfied clients.
Take control of your results by using the industry’s most advanced pattern solutions. Access the complete range of PPF precut pattern templates engineered for exact fit and minimal material waste. Our powerful Paint Protection Film resources allow you to match your process with the unique needs of every vehicle and keep up with the latest in film technology.

Experience faster turnarounds, fewer errors, and professional-grade results with AEONCUT’s cutting-edge software. Whether you want to streamline a busy workshop or boost your personal installation quality, visit https://aeoncutsw.com now to see how efficiency and precision can become your competitive advantage. Do not miss the chance to transform your workflow and deliver superior interior protection today.
Frequently Asked Questions
What are the key steps for a successful interior car protection installation?
Successful interior car protection installation involves assessing the vehicle’s interior for protection needs, gathering essential tools and materials, selecting and preparing precut patterns, applying those patterns, ensuring proper bonding, and conducting thorough quality checks.
How do I assess my vehicle’s interior for protection needs?
Begin by visually inspecting the entire interior, focusing on high-traffic areas such as door sills, the dashboard, seat edges, and the gear shift area. Consider material composition and typical usage patterns to identify potential damage points and select appropriate protective solutions.
What tools and materials do I need for installing interior protection films?
Essential tools include precision cutting utility knives, squeegees, measuring tape, surface cleaning solutions, and heat guns. For materials, opt for high-quality interior protection films compatible with various surfaces, ensuring they have UV resistance and strong adhesive properties.
How can I ensure proper bonding of the protective film?
To ensure proper bonding, conduct a heat activation process after installation using a heat gun. This allows the adhesive to bond fully with the vehicle’s surfaces while maintaining an even temperature to prevent localised overheating. Inspect for air bubbles or edge lifting after application, and allow sufficient curing time for the film to set properly.
Recommended
- How to Create Custom PPF Patterns Using Aeoncut: Step-by-Step Guide – AEONCUT PPF Pre-cut Cutting software
- How to Create Custom PPF Patterns Using Aeoncut: Step-by-Step Guide – AEONCUT PPF Pre-cut Cutting software
- Como crear patróns PPF personalizados con Aeoncut: guía paso a paso: software de corte precortado PPF AEONCUT
- Aeoncut yordamida maxsus PPF naqshlarini qanday yaratish mumkin: bosqichma-bosqich qo’llanma – AEONCUT PPF oldindan kesilgan kesish dasturi
- What is Paint Protection Film? Understanding Its Benefits – shinykingsinc
- A Practical Guide to Custom Floor Mats: How to Boost Safety, Branding, – Mats4U USA

