
Poor cuts can ruin even the highest quality window film before installation begins. Professional results start long before the film touches glass, with precise preparation and careful use of modern plotters. Whether you’re new to window film cutting or looking to sharpen your skills, understanding each step can prevent costly mistakes and wasted materials. This guide gives you the key stages every installer follows for clean, accurate cuts that stand up to close inspection.
Table of Contents
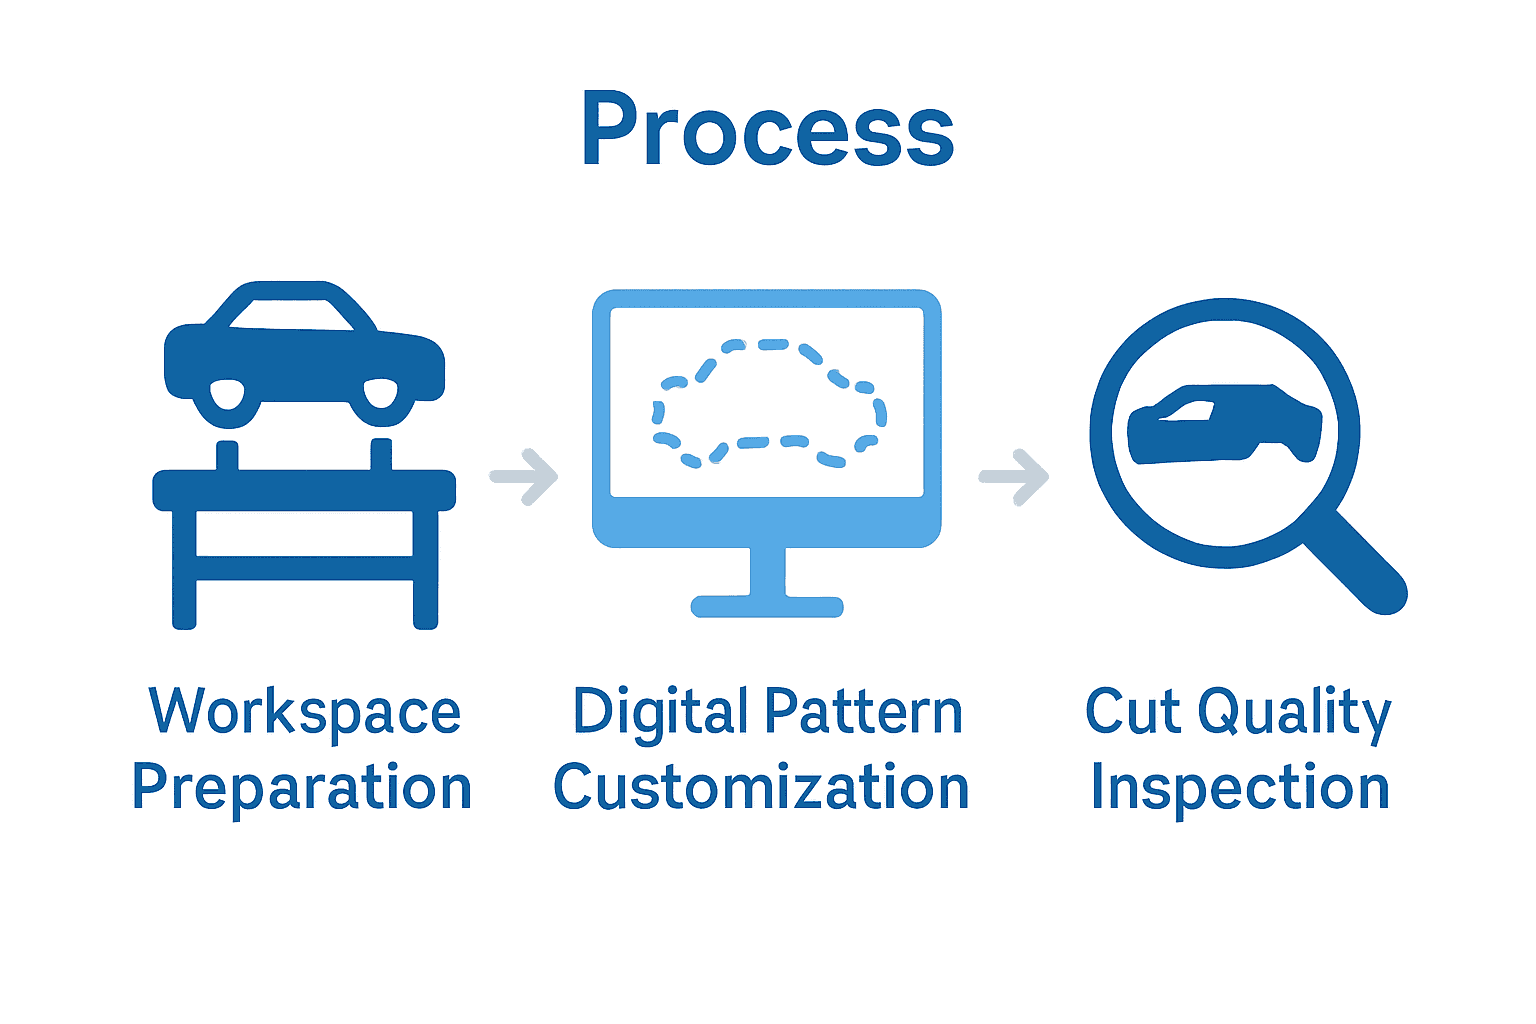
- Step 1: Prepare The Window Film Plotter And Workspace
- Step 2: Select And Customize Film Patterns In Software
- Step 3: Load Material And Align For Accurate Cutting
- Step 4: Start The Plotter And Monitor Cutting Process
- Step 5: Inspect And Verify Film Cut Quality
Quick Summary
| Key Point | Explanation |
|---|---|
| 1. Prepare a clean workspace | A tidy and well-lit area is essential for achieving precise window film cuts and preventing contamination. |
| 2. Inspect and align your plotter | Ensure your plotter is in optimal condition; a sharp blade and proper alignment can vastly improve cut quality. |
| 3. Use software to customize patterns | Choose and adjust film patterns carefully; accurate digital patterns facilitate seamless installations while saving time. |
| 4. Monitor the cutting process closely | Keep a close watch on the plotter during cutting to catch any misalignments or unexpected issues immediately. |
| 5. Thoroughly inspect the cut film | A meticulous check of the cut quality under good lighting can prevent installation errors and ensure professional results. |
 |
|
Step 1: Prepare the Window Film Plotter and Workspace
Setting up your workspace and plotter correctly is the foundation for achieving precise window film cuts. Professional installers know that preparation determines success before the first piece of film is even loaded.
Start by selecting a clean, well-lit workspace with a smooth, flat surface large enough to accommodate your window film plotter. Ideally, choose an area with minimal dust and temperature fluctuations that could impact film adhesion or cutting precision. Clear the workspace of any unnecessary tools or materials that might interfere with your cutting process. A dedicated workspace helps prevent contamination and ensures consistent results.
Prepare your plotter by performing a detailed equipment check. Inspect the cutting mat for any debris, scratches, or uneven surfaces that could compromise your cut quality. Verify that your cutting blade is sharp and correctly aligned. Most professional window film cutting guides recommend replacing blades after every 30 to 50 complete vehicle film applications to maintain optimal cutting precision.
Pro Tip: Always keep a clean microfibre cloth and compressed air nearby to remove any dust or lint from your plotter surface before starting your film cutting project.
Each meticulous preparation step reduces potential errors and sets you up for a smooth, professional window film installation process.
Step 2: Select and Customize Film Patterns in Software
Selecting and customising film patterns requires precision and strategic software navigation. Professional window film installers understand that pattern selection directly impacts the quality and appearance of the final installation.
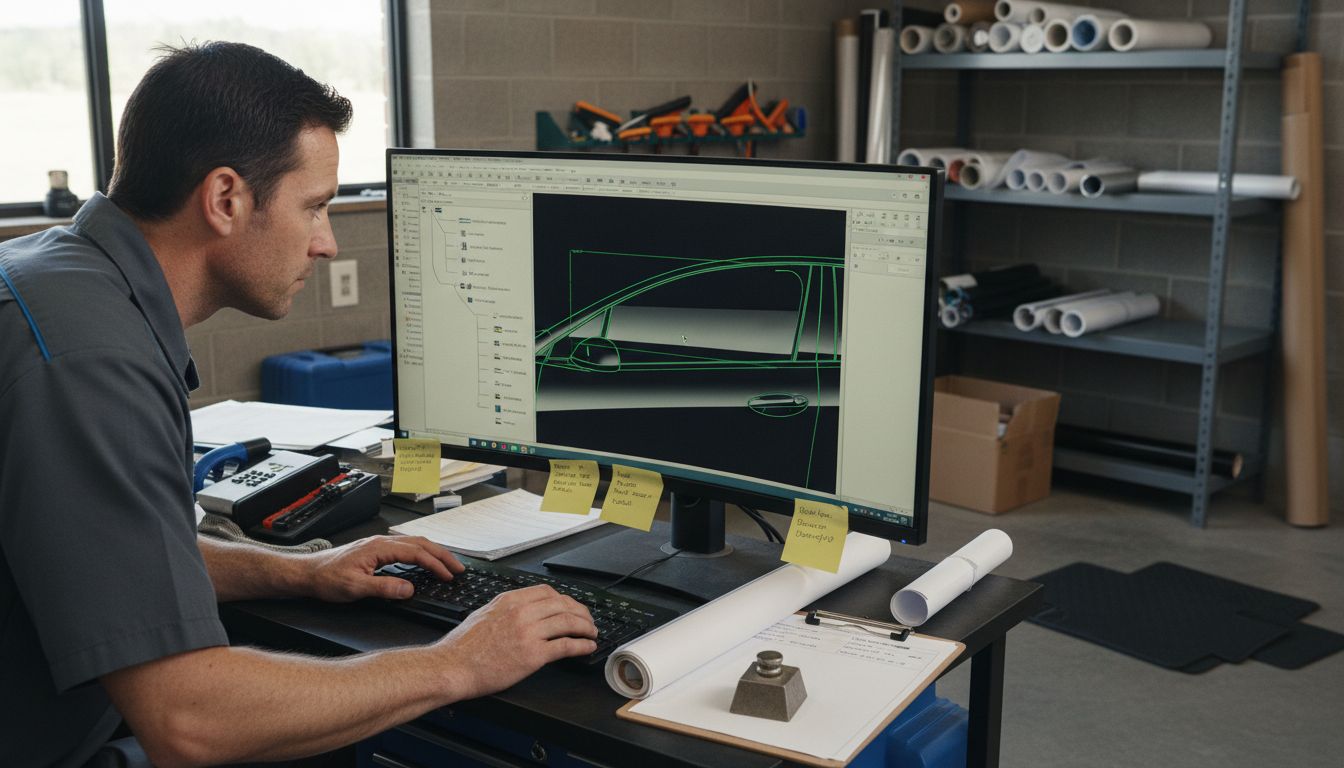
Begin by launching your preferred cutting software like AEONCUT. Navigate through the pattern library and explore available vehicle make and model templates. When searching for specific patterns, use filters such as vehicle year, model, and window type to narrow down your options. Learn more about creating custom patterns to understand advanced customisation techniques for unique vehicle requirements.
Carefully review each potential pattern for accuracy. Zoom in and inspect digital pattern edges to ensure they match the exact window dimensions. Most professional software allows you to adjust pattern lines microscopically a feature critical for achieving seamless window film installations.
Pro Tip: Always save multiple pattern variations for each vehicle window this provides backup options and increases your workflow flexibility.
Prepare to transition into the next critical stage of film cutting by ensuring your selected pattern meets your specific installation requirements.
Step 3: Load Material and Align for Accurate Cutting
Precision starts with proper material loading and alignment. Professional window film installers know that every millimetre counts when preparing to cut your film with maximum accuracy.
Begin by carefully unrolling your window film onto the cutting mat. Ensure the material is completely flat and free from wrinkles or air bubbles. Most professional plotters have built-in alignment guides that help you position the film precisely. When working with specialized materials like automotive tint or paint protection film, use the software’s alignment tools to confirm perfect positioning. How to create custom patterns can provide additional insights into achieving optimal material placement.
Check your film edges against the plotter’s registration marks. Verify that the material is square and symmetrically aligned with zero degrees of skew. Modern cutting software often includes digital alignment assistance that helps you adjust film position with micrometre precision. Pay special attention to tension and flatness to prevent potential cutting errors.
Pro Tip: Always leave a small margin around your film to accommodate potential alignment adjustments and prevent accidental edge damage during cutting.
With your material perfectly positioned and aligned, you are now ready to execute a precise and professional window film cut.
Step 4: Start the Plotter and Monitor Cutting Process
Activating your window film plotter requires attention to detail and careful monitoring. Professional installers understand that the cutting process demands constant vigilance to ensure precision and quality results.
Initiate the cutting sequence by selecting your pre-configured pattern and verifying all software settings. Carefully review the proposed cutting path and confirm that the blade depth and pressure settings match your specific film material. Expert comparisons of plotter machines recommend double checking these parameters to prevent material damage and ensure clean cuts.
Watch the cutting process closely during the first few moments. Observe the blade movement and listen for any unusual sounds that might indicate misalignment or mechanical issues. Modern plotters often provide real time feedback through digital interfaces allowing you to make immediate adjustments if needed. Pay special attention to corner cuts and complex curves where precision is most challenging.
Pro Tip: Keep a spare blade nearby and be prepared to pause the cutting process if you notice any irregularities in the film or cutting performance.
As the plotter completes the cutting sequence prepare yourself for the next critical step of film weeding and final inspection.
Step 5: Inspect and Verify Film Cut Quality
Careful inspection is the final critical stage of window film cutting that separates professional results from amateur work. Professional installers understand that visual and tactile verification can reveal subtle imperfections that might compromise the entire installation.
Begin your quality check by examining the cut lines under good lighting conditions. Look for clean precise edges with no fraying or uneven sections. Common mistakes in PPF installation highlight the importance of microscopic precision in film cutting. Use a bright light source and angle the film to catch any potential irregularities in the cutting pattern. Check that each pattern piece matches the exact window dimensions with zero tolerance for deviation.
Carefully peel back a corner of the cut film to assess the blade depth and cutting quality. The cut should penetrate the film completely without damaging the underlying adhesive layer. Verify that the pattern pieces separate cleanly and smoothly with no resistance or tearing. Pay special attention to intricate curves and complex window shapes where cutting precision is most challenging.
Pro Tip: When in doubt about a cut piece reject it and recut rather than risking a substandard installation that could compromise your professional reputation.
With your film carefully inspected and verified you are now ready to proceed to the final stages of window film application.
Achieve Flawless Precision with AEONCUT Window Tint Software
Mastering window film cutting demands meticulous preparation and exact pattern alignment. If you have faced challenges such as uneven cuts, blade misalignment, or time-consuming adjustments while using your window film plotter, the solution lies in integrating powerful software designed specifically for this task. Our window Tint – AEONCUT PPF Pre-cut Cutting software offers extensive pattern libraries, micrometre-level adjustment capabilities, and AI-driven auto-nesting to minimise waste and boost accuracy.

Unlock the full potential of your window film plotter today by visiting AEONCUT. With our advanced software, you gain access to customizable templates, real-time cutting monitoring tools, and continuous updates curated for professionals and enthusiasts alike. Don’t settle for anything less than seamless edges and perfect fits. Explore how you can transform your workflow and deliver impeccable results with AEONCUT’s cutting-edge technology.
Frequently Asked Questions
How do I prepare my workspace for mastering a window film plotter?
To prepare your workspace, choose a clean, well-lit area with a smooth, flat surface. Clear any unnecessary tools and perform a detailed check of your cutting equipment before loading any window film to ensure optimal cutting precision.
What software features should I use to customize film patterns?
Utilize the pattern library in your cutting software to filter and select templates based on vehicle make, model, and year. Always zoom in on digital edges to verify accuracy before proceeding to cut, ensuring perfect alignment with the window dimensions.
What is the correct way to load material for accurate cuts?
Carefully unroll the window film onto the cutting mat, ensuring it lies flat and without wrinkles. Align the film according to your plotter’s registration marks to guarantee that it is perfectly square and symmetrical before cutting.
How can I monitor the cutting process to ensure quality results?
Watch the plotter closely during the initial moments of cutting, listening for unusual sounds and checking blade movement. Be prepared to pause the cutting process if you notice misalignments or irregularities, allowing you to make adjustments as needed.
What should I look for when inspecting film cut quality?
Inspect the cut lines under good lighting to ensure they have clean edges without fraying. Check that each film piece matches the window’s exact dimensions, rejecting any substandard cuts to maintain your installation standards.
How often should I replace the cutting blade for optimal performance?
Replace your cutting blade every 30 to 50 complete vehicle film applications to maintain cutting precision. Keeping a sharp blade will reduce errors and produce cleaner cuts, improving your overall installation outcomes.
Recommended

