Every auto detailer knows that surface preparation and the right choice of products can make or break a paint protection film installation. Delivering a flawless finish and long-lasting durability is more than just skill with a squeegee. It is about adopting meticulous cleaning routines and careful product selection that safeguard the film from premature wear. This guide breaks down the essential steps and expert techniques that help installers worldwide achieve outstanding results and consistent customer satisfaction.
Table of Contents
- Step 1: Prepare the Surface for Detailing
- Step 2: Select Suitable Detailing Products
- Step 3: Apply Techniques for Perfect Finish
- Step 4: Inspect and Correct Imperfections
- Step 5: Maintain PPF for Long-Term Protection
Quick Summary
| Key Point | Explanation |
|---|---|
| 1. Thorough Surface Preparation | Clean the vehicle meticulously to ensure maximum PPF adhesion and a flawless finish. |
| 2. Product Selection Matters | Use pH-neutral and specialised products based on PPF finish for optimal maintenance. |
| 3. Precision in Application | Apply PPF carefully using slip solutions and squeegees to avoid bubbles and imperfections. |
| 4. Inspect for Imperfections | Systematically check for blemishes post-application and address them promptly. |
| 5. Consistent Maintenance Required | Regularly clean and treat PPF to prolong its protective qualities and appearance. |
Step 1: Prepare the Surface for Detailing
Successful paint protection film (PPF) detailing begins with meticulous surface preparation. Your goal is to create an immaculate foundation that ensures maximum adhesion and a flawless finish.
Start by thoroughly cleaning the vehicle surface using a high pH detergent solution. Removing surface contaminants requires careful attention to detail. Begin by washing away visible dirt, road grime, and environmental debris using a clean microfibre wash mitt and gently working from top to bottom. Pay special attention to areas prone to accumulating contaminants such as bug splatter, tar, and tree sap.
After the initial wash, use an automotive clay bar to extract embedded particulates that standard washing cannot remove. Glide the clay bar gently across the surface with a lubricant, which will help lift microscopic contaminants without scratching the paintwork. Follow this with a thorough degreasing using isopropyl alcohol to eliminate any remaining oils or residues that might interfere with PPF adhesion. This step is crucial for creating a pristine surface that will allow the protective film to bond seamlessly.
Here’s a concise comparison of cleaning methods used during PPF surface preparation:
| Cleaning Method | Purpose | Where Applied |
|---|---|---|
| High pH Detergent | Removes visible dirt and road grime | Whole vehicle surface |
| Clay Bar & Lubricant | Extracts embedded contaminants | Painted panels and trim |
| Isopropyl Alcohol | Degreases and eliminates residues | Areas for film adhesion |
Expert Tip: Always use clean microfibre towels and work in a dust-free environment to prevent introducing new contaminants during the preparation process.
Step 2: Select Suitable Detailing Products
Choosing the right detailing products is crucial for maintaining the integrity and appearance of your paint protection film (PPF). Your selection will directly impact the longevity and aesthetic quality of the protective film.
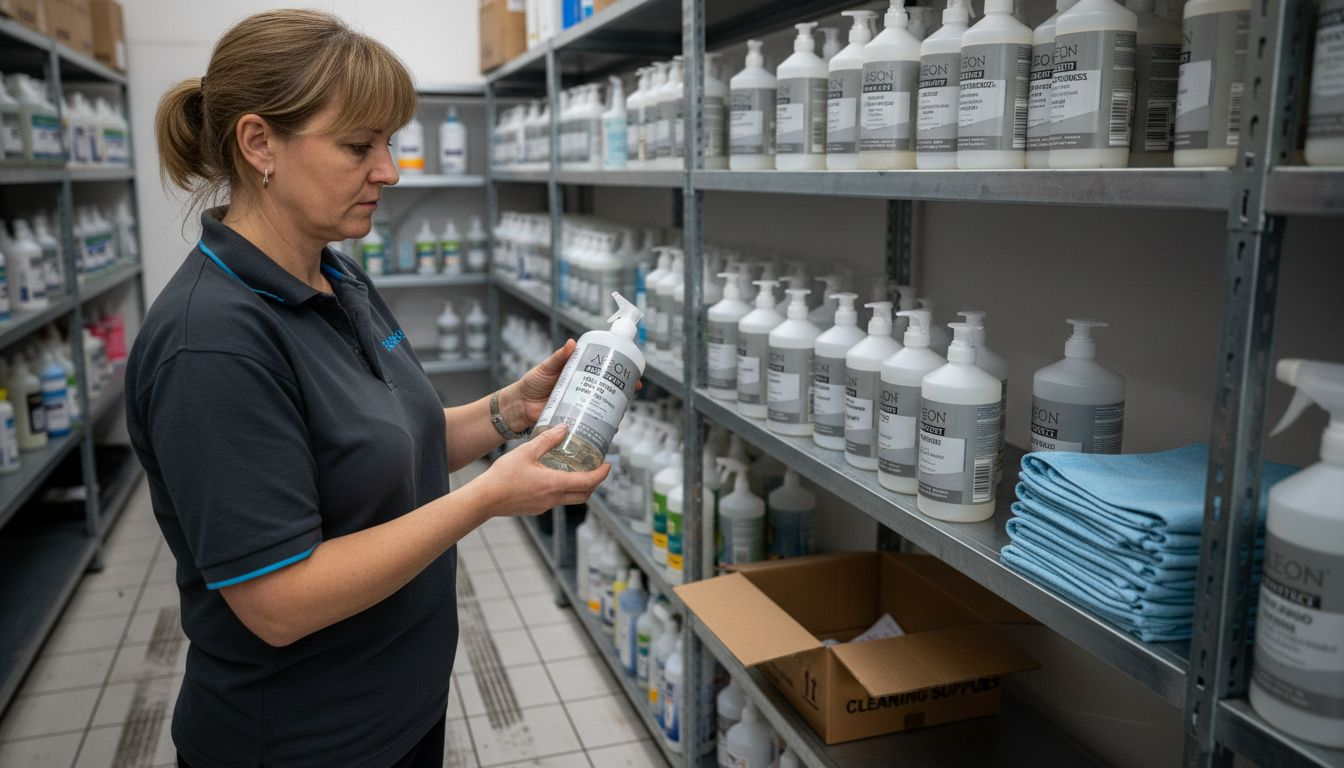
When selecting detailing products, understanding the specific requirements of your PPF finish is paramount. Careful product selection ensures you maintain the film’s unique characteristics. For gloss finish PPF, opt for pH-neutral shampoos that clean effectively without compromising the film’s surface. Matte finish PPF demands specialised cleaning solutions designed to preserve its distinctive texture and prevent unwanted sheen.
Consider complementary products that enhance PPF protection. Ceramic coatings compatible with PPF can provide an additional layer of defence, offering hydrophobic properties and extra durability. Avoid harsh chemicals, abrasive compounds, or aggressive polishing techniques that might degrade the film’s protective qualities. When in doubt, consult the PPF manufacturer’s specific care recommendations or seek advice from professional detailing experts who understand the nuanced requirements of different film types.
Expert Tip: Always test new detailing products on a small, inconspicuous area first to ensure compatibility and prevent potential damage to your paint protection film.
Step 3: Apply Techniques for Perfect Finish
Achieving a flawless paint protection film (PPF) installation requires precision techniques and meticulous attention to detail. Your goal is to create a seamless protective layer that appears completely integrated with the vehicle’s surface.
Proper application techniques are critical for a professional result. Begin by using slip and tack solutions that allow you to position the film precisely while ensuring strong adhesion once set. Work systematically across the surface using a professional squeegee to expel air bubbles and moisture, applying gentle yet consistent pressure. For complex curves and contoured areas, carefully use a heat gun or hair dryer to help the film conform smoothly without stretching or creating wrinkles.
Trim excess film with extreme precision to maintain clean edges and prevent potential lifting or peeling. After initial application, use microfibre towels to buff the surface, removing any residual moisture and ensuring a crystal clear, smooth finish. Take your time during this process understand that rushed work can compromise the entire protective film installation.
Expert Tip: Work in a controlled environment with consistent temperature and minimal dust to maximise your PPF application success.
Step 4: Inspect and Correct Imperfections
After applying paint protection film (PPF), a thorough and patient inspection is crucial to ensure a professional quality finish. Your objective is to identify and address any minor imperfections that might compromise the film’s appearance and protective capabilities.
Careful post-installation inspection is essential for achieving a flawless result. Systematically examine the entire surface under good lighting, looking for subtle issues like small bubbles, wrinkles, or potential edge lifting. Remember that minor air bubbles are normal and may naturally dissipate within 14 days post-installation. Do not attempt to manually push or pick at these bubbles, as this can cause permanent damage to the film.
For more significant imperfections, use professional techniques to rectify issues. Employ a fine pin to strategically release trapped air pockets, then reapply gentle heat and pressure to smooth the area. Always wait at least 15 minutes after initial installation before applying any corrective pressure to prevent adhesive damage. If you encounter persistent or large imperfections that cannot be easily corrected, consider consulting a professional PPF installer who can provide expert remediation.
Expert Tip: Perform your inspection in a well-lit, dust-free environment to identify even the most subtle imperfections in your paint protection film.
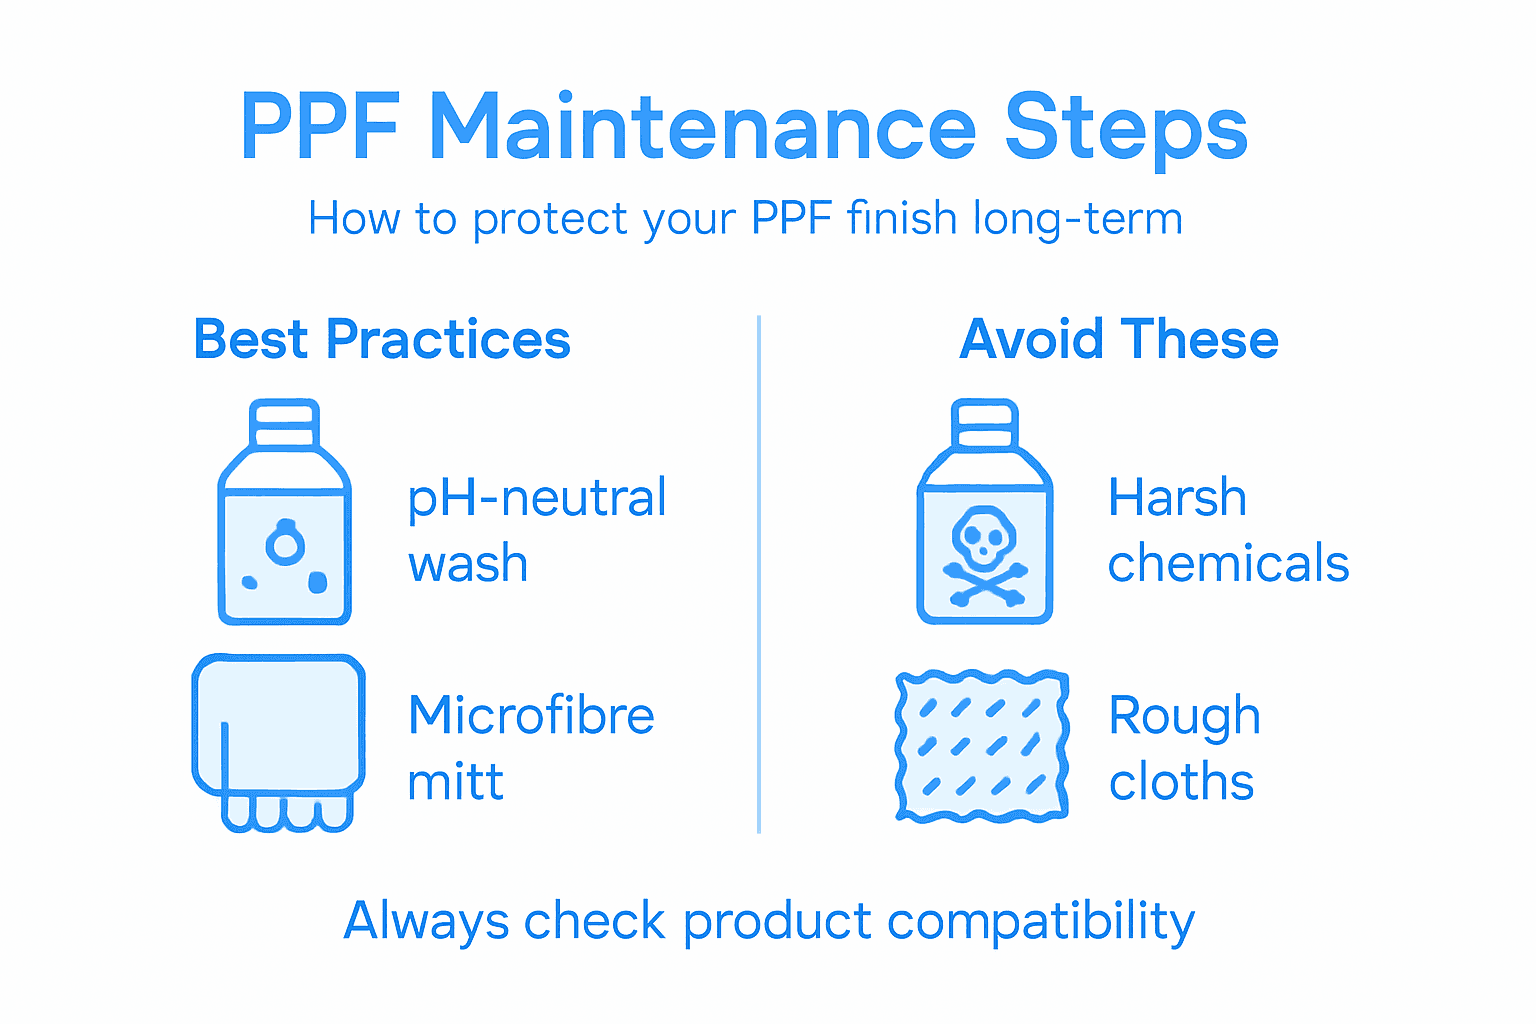
Step 5: Maintain PPF for Long-Term Protection
Preserving the pristine condition of your paint protection film (PPF) requires consistent and careful maintenance. Your ultimate goal is to protect the vehicle’s surface and extend the film’s protective capabilities over time.
Regular maintenance techniques are crucial for PPF longevity. Begin by washing the vehicle using soft microfibre mitts and pH-neutral shampoos that clean effectively without compromising the film’s integrity. Exercise caution when pressure washing, maintaining a safe distance from film edges to prevent potential lifting or damage. Focus on using gentle cleaning methods that protect the film’s delicate surface.
For optimal protection, periodically reapply protective sealants that enhance stain resistance and simplify future cleaning processes. Pay special attention to different PPF finishes some require unique maintenance approaches. Matte finish PPF demands particularly careful treatment to preserve its distinctive texture avoid abrasive products or aggressive chemicals that could alter its appearance. Establish a routine maintenance schedule that includes regular cleaning, careful inspection, and strategic reapplication of protective treatments.
Expert Tip: Create a dedicated maintenance log to track your PPF care schedule and document any specific treatments used on different vehicle surfaces.
This table summarises the variations in PPF maintenance based on finish type:
| PPF Finish | Suitable Care Technique | Risk if Wrong Product Used |
|---|---|---|
| Gloss | pH-neutral shampoos, soft mitts | Fading, surface dulling |
| Matte | Specialised matte care products | Unwanted sheen, texture changes |
| Ceramic Coated | Regular sealant reapplication | Hydrophobic effect diminished |
Enhance Your PPF Detailing with Precision-Cut Solutions
Achieving a flawless finish after your paint protection film (PPF) installation demands not only expert application techniques but also perfectly tailored film patterns that fit your vehicle seamlessly. Avoid the common challenges of bubbles, wrinkles, or edge lifting by starting with precise pre-cut designs that allow for clean trimming and smooth adhesion. At aeoncutsw.com, our Paint Protection Film offerings combined with the advanced PPF software – AEONCUT PPF Pre-cut Cutting software empower professional installers and enthusiasts alike to deliver superior results with every job.

Take control of your PPF projects today by embracing cutting-edge technology that minimises waste and maximises accuracy. Visit aeoncutsw.com to explore our extensive library of PPF precut pattern options and experience how streamlined preparation can elevate your detailing process. Don’t let imperfections hold back your craftsmanship – unlock flawless finishes and elevate customer satisfaction now.
Frequently Asked Questions
How should I prepare my vehicle before detailing after installing PPF?
To prepare your vehicle for detailing after PPF installation, start by cleaning the surface with a high pH detergent solution to remove dirt and grime. Follow this with an automotive clay bar to lift embedded contaminants and finish with isopropyl alcohol to ensure the surface is free from residues that could affect adhesion.
What detailing products should I use on gloss finish PPF?
For gloss finish PPF, opt for pH-neutral shampoos that clean effectively without damaging the film’s surface. Avoid harsh chemicals and abrasive cleaners, as they may dull the finish or reduce the film’s protective qualities.
What are the steps to achieve a flawless finish when applying PPF?
To achieve a flawless finish when applying PPF, use slip and tack solutions for positioning and a professional squeegee to remove air bubbles. Work in a controlled environment and apply gentle heat to conform the film to curves, ensuring a seamless look without wrinkles.
How can I identify and correct imperfections on my PPF installation?
Inspect your PPF installation under good lighting to identify imperfections such as bubbles or wrinkles. If you find small bubbles, allow them to dissipate naturally, but for larger ones, use a fine pin to release air, then reapply heat and pressure to smooth the area.
What maintenance steps should I follow to prolong my PPF’s lifespan?
To prolong your PPF’s lifespan, regularly wash the vehicle using soft microfibre mitts and a pH-neutral shampoo. Additionally, reapply protective sealants periodically to enhance stain resistance and maintain the film’s overall integrity simply by establishing a routine cleaning and inspection schedule.
What should I do if my matte finish PPF starts to look shiny?
If your matte finish PPF starts to develop unwanted shine, check that you are using compatible cleaning products designed for matte finishes. Avoid abrasive materials, and clean gently to maintain its distinctive texture, focusing on specially formulated matte care products.
Recommended
- Matte PPF vs Gloss PPF: Professional Comparison 2025 – AEONCUT PPF Pre-cut Cutting software
- Matte PPF vs Gloss PPF: Professional Comparison 2025 – AEONCUT PPF Pre-cut Cutting software
- Common Mistakes in PPF Installation and How to Avoid Them – AEONCUT PPF Pre-cut Cutting software
- Matte PPF vs Gloss PPF: Professional Comparison 2025 – AEONCUT PPF Pre-cut Cutting software


