Most British and American automotive professionals know that a single speck of dust can compromise an entire PPF installation. For North American installers, the challenge is real: meticulous preparation and precision are non-negotiable if you want to deliver flawless results while cutting down on expensive film waste. By mastering each step with techniques trusted on both sides of the Atlantic, you can set your installations apart and gain the confidence that only comes from consistent, top-tier craftsmanship.
Table of Contents
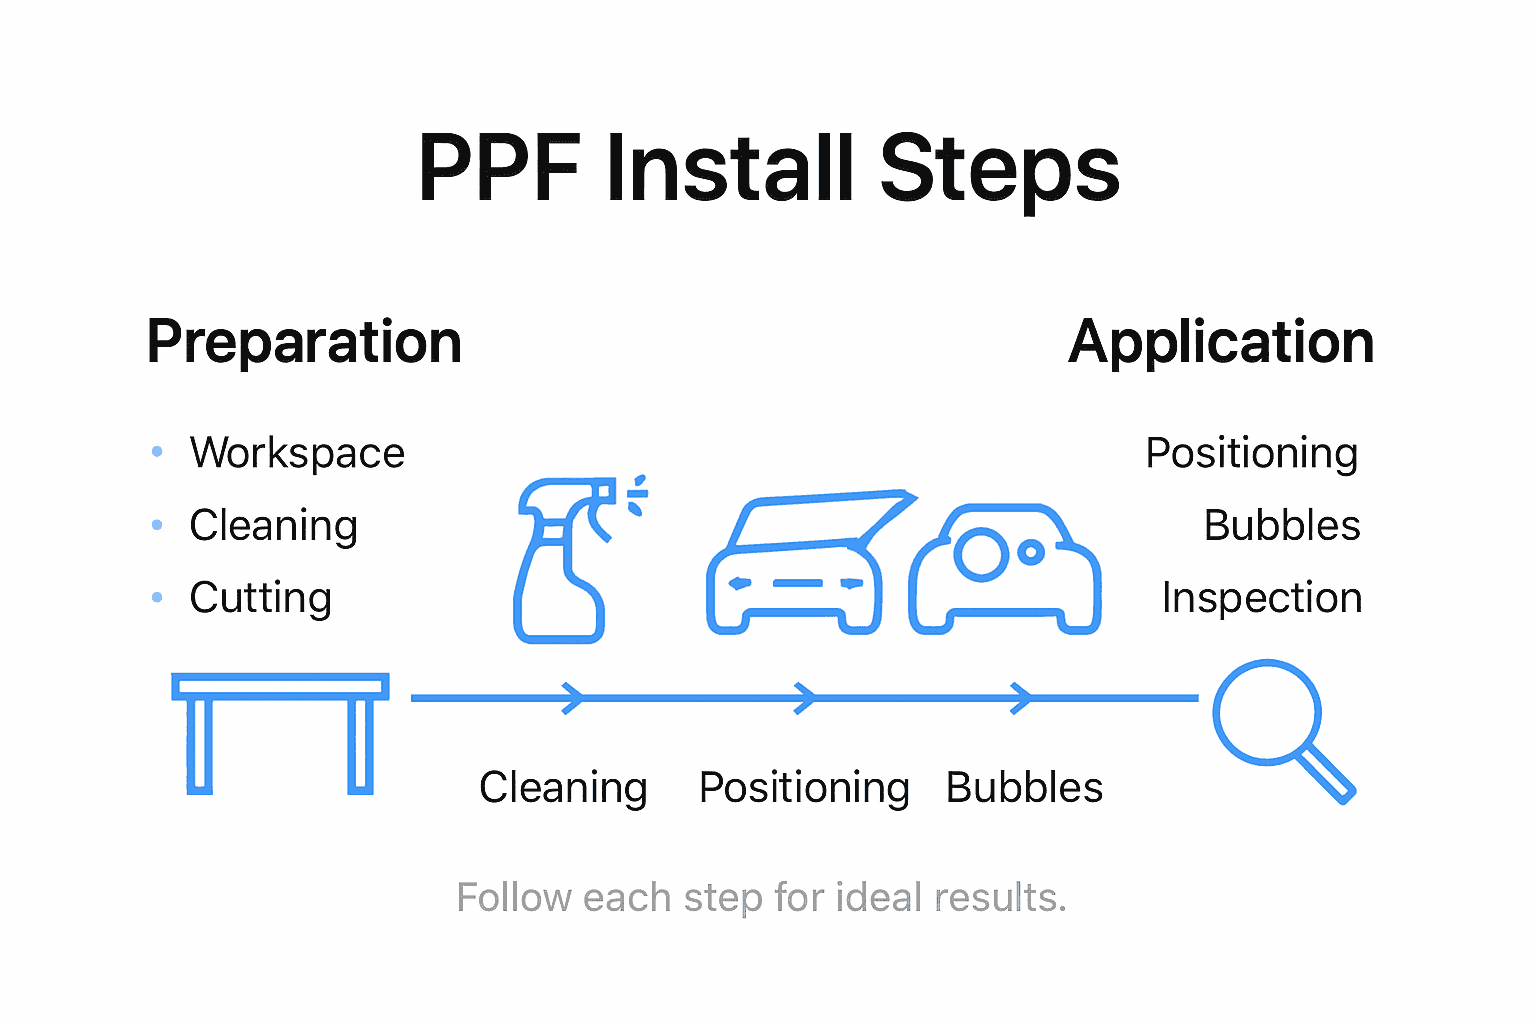
- Step 1: Prepare Vehicle And Workspace Thoroughly
- Step 2: Cut Film Using Accurate Pattern Software
- Step 3: Clean Target Panels For Optimal Adhesion
- Step 4: Apply And Position PPF With Precision
- Step 5: Eliminate Bubbles And Secure Film Edges
- Step 6: Inspect Installation And Refine Finish
Quick Summary
| Key Insight | Explanation |
|---|---|
| 1. Workspace cleanliness is vital | A clean, controlled environment at 20-25°C is essential for optimal PPF installation. |
| 2. Use digital pattern cutting software | Employ advanced software for precise film cutting, minimising material waste and errors. |
| 3. Thorough surface preparation required | Clean vehicle panels meticulously to ensure maximum adhesion and eliminate contaminants. |
| 4. Proper application techniques necessary | Apply PPF using slip solution and careful squeegee techniques to avoid bubbles and misalignment. |
| 5. Final inspection is crucial | Conduct a detailed review of the installation under bright lighting to detect any imperfections before completion. |
Step 1: Prepare vehicle and workspace thoroughly
Successful paint protection film (PPF) installation begins with meticulous preparation of both your vehicle and workspace. Your goal is to create an environment that minimises potential contamination and ensures a flawless application. Professional installers understand that proper preparation can make the difference between an average result and an exceptional finish.
Start by selecting a clean, controlled workspace with consistent temperature and minimal dust. Ideally, your installation area should be an enclosed space like a professional detailing bay or a dedicated garage with proper ventilation. Thoroughly clean the workspace by removing debris, using air filtration systems if available, and maintaining a temperature between 20 to 25 degrees Celsius. Surface preparation techniques from professional PPF installation guides emphasise the critical nature of a controlled environment.
Prepare your vehicle by performing a comprehensive cleaning process. Begin with a pH-neutral automotive shampoo to remove surface contaminants, followed by a clay bar treatment to eliminate embedded particulates. Pay special attention to panel edges, seams, and hard-to-reach areas where dirt can accumulate. Use lint-free microfibre towels and isopropyl alcohol to create an absolutely clean surface that will allow perfect PPF adhesion. Assemble all necessary tools sanitised and organised before starting the installation to prevent introducing additional contaminants.
Professional tip: Invest in a dedicated workspace air purifier with HEPA filtration to dramatically reduce airborne particles during PPF installation.
Step 2: Cut film using accurate pattern software
Cutting paint protection film (PPF) requires precision and advanced digital technology to achieve seamless vehicle coverage. Professional installers now rely on sophisticated pattern software that transforms the traditional manual cutting process into a highly accurate digital experience.
Modern pattern software like AeonCut offers comprehensive digital libraries with extensive vehicle templates, enabling professionals to select and optimise custom PPF patterns with minimal material waste. These advanced platforms utilise AI-driven auto-nesting functions that automatically arrange film patterns to maximise efficiency. When using the software, carefully upload your vehicle model specifications, review the suggested cutting pattern, and verify every panel’s precise measurements. This digital approach eliminates human error and ensures consistent, professional-grade results.
Navigate the software interface by selecting your specific vehicle make, model, and year. Most professional-grade programmes offer cloud-based updates that continuously expand their vehicle template databases. Use the software’s preview and adjustment tools to fine-tune film placement, accounting for unique vehicle contours and potential stretching requirements. Verify digital measurements against physical panel dimensions before initiating the final cut.
Professional tip: Always perform a digital test run and save your preferred pattern configurations to streamline future PPF installations.
Compare manual versus digital PPF cutting approaches:
| Criteria | Manual Cutting | Digital Pattern Software |
|---|---|---|
| Accuracy | Subject to human error | Consistently precise measurements |
| Material Usage | Prone to excess waste | Efficient auto-nesting optimises film |
| Speed | Time-consuming and tedious | Quick, automated pattern selection |
| Adaptability | Slow adjustment for new models | Cloud updates provide new templates |
Step 3: Clean target panels for optimal adhesion
Achieving perfect paint protection film (PPF) installation demands meticulous surface preparation that goes far beyond basic cleaning. Your objective is to create an absolutely pristine surface that allows maximum film adhesion and prevents potential contamination or imperfections.
Begin with a comprehensive multi-stage cleaning process using professional automotive detailing products. Start by washing the vehicle with a pH-neutral automotive shampoo, using microfibre wash mitts to prevent introducing additional scratches. Follow this initial wash with a clay bar treatment to remove embedded contaminants like industrial fallout, brake dust, and microscopic particles that standard washing cannot eliminate. Understanding panel preparation techniques is crucial for achieving a flawless PPF installation.
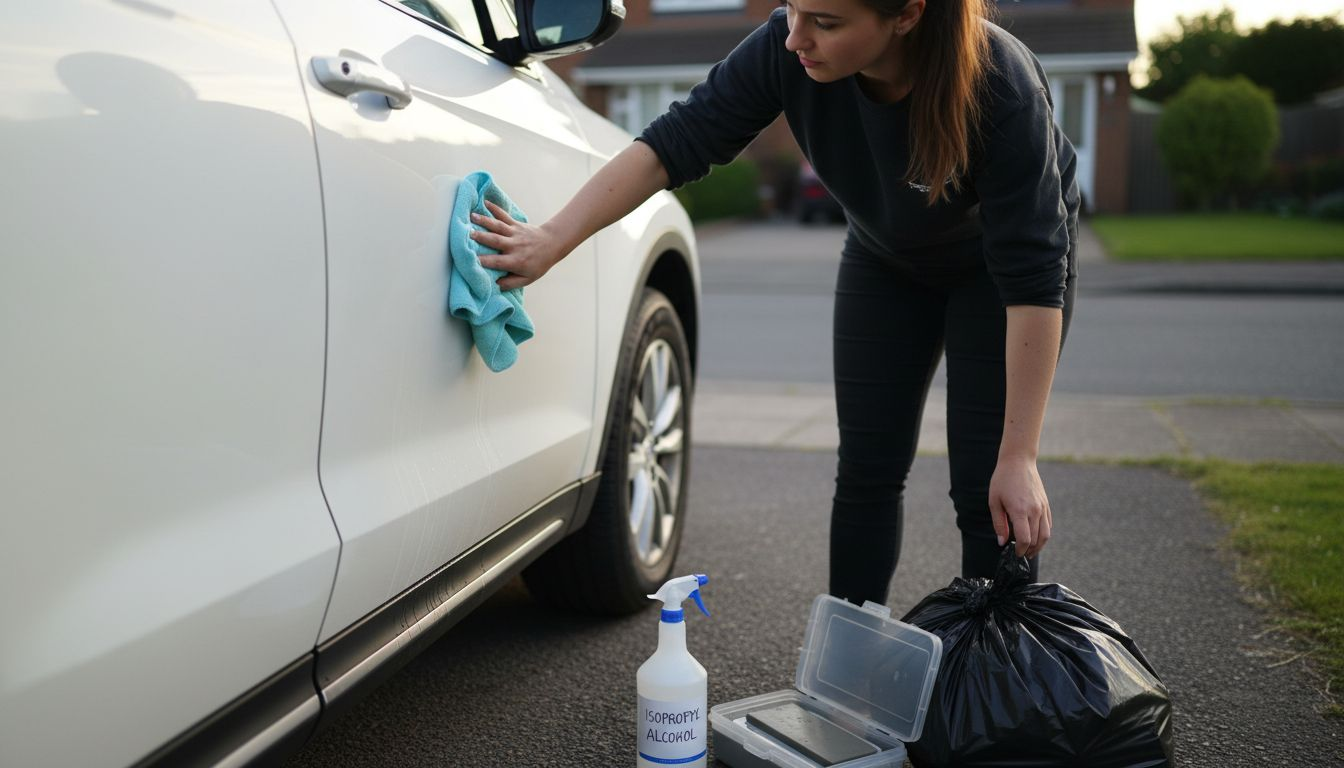
After clay bar decontamination, perform a final surface preparation using high quality isopropyl alcohol solution (typically 70% concentration) and lint-free microfibre towels. Work in a systematic manner panel by panel to ensure complete coverage. Wipe in one consistent direction to prevent redepositing removed contaminants and create an absolutely clean surface ready for PPF application. Pay extra attention to panel edges, seams, and complex surface areas where contaminants tend to accumulate.
Professional tip: Use dedicated automotive surface preparation solutions and always use new, clean microfibre towels for each panel to prevent cross-contamination during the cleaning process.
Step 4: Apply and position PPF with precision
Paint protection film (PPF) application is a delicate process that demands exceptional skill, precision, and controlled technique. Professional installers understand that successful application hinges on methodical positioning and minimising potential imperfections during placement.
Professional PPF installation techniques recommend beginning with a generous application of slip solution across both the vehicle panel and film surface. This solution enables smooth repositioning and prevents premature adhesion. Utilise a professional squeegee to carefully position the film, working systematically to avoid overstretching or creating air pockets. Start from the centre of the panel and gradually work outwards using controlled sweeping motions that push air and excess solution towards the panel edges.
Apply tack solutions strategically to anchor critical sections of the film, ensuring precise alignment before final squeegeeing. Work methodically panel by panel, maintaining consistent pressure and angle with your squeegee. Pay extra attention to complex curved surfaces and panel edges where film can potentially wrinkle or misalign. Use minimal hand pressure and allow the slip solution and squeegee to do the primary positioning work, which helps prevent unnecessary film stretching or distortion.
Professional tip: Maintain a consistent room temperature between 20 to 25 degrees Celsius during PPF application to ensure optimal film malleability and adhesion performance.
Step 5: Eliminate bubbles and secure film edges
Bubble elimination and edge securing represent the most critical phase of paint protection film (PPF) installation. Professional installers understand that meticulous technique determines the difference between an amateur application and a flawless finish.
Advanced bubble removal techniques require systematic squeegee strokes starting from the panel’s center and moving outward with controlled overlapping movements. Use a heat gun to gently warm the film during edge wrapping, which helps the material conform precisely to complex vehicle contours. For microscopic air pockets, professional installers employ specialised needle or micro-syringe techniques to release trapped air without compromising film integrity.
Carefully inspect each panel after initial application, paying close attention to panel edges and curved surfaces prone to lifting or bubbling. Apply consistent squeegee pressure along edges to ensure secure adhesion. When encountering stubborn bubbles, use a fine sterile needle to create a minute puncture that allows air to escape, then immediately smooth the area with your squeegee. Some installers apply edge sealants to provide additional adhesion and prevent potential future lifting.
Professional tip: Always maintain a consistent room temperature between 20 to 25 degrees Celsius during bubble elimination to optimise film malleability and ensure superior adhesion performance.
Step 6: Inspect installation and refine finish
Perfecting paint protection film (PPF) installation requires meticulous final inspection and refinement techniques that distinguish professional results from amateur applications. Your objective is to ensure absolute precision and aesthetic excellence across every vehicle panel.
Professional PPF installation inspection protocols recommend comprehensive evaluation under optimal lighting conditions. Begin by systematically examining each panel from multiple angles using both tactile and visual assessments. Look closely for microscopic imperfections such as trapped dust particles, subtle air pockets, or minor misalignments that might have been overlooked during initial application. Use bright, directional lighting to highlight potential irregularities in film placement and edge transitions.
Utilise gentle heat application to help the film settle into complex vehicle contours, smoothing out any remaining minor inconsistencies. Carefully trim edges with precision tools to achieve clean, seamless transitions between film and vehicle surfaces. Pay particular attention to curved panels and areas with intricate geometric shapes, as these regions often require additional refinement. Repeat your inspection process multiple times, rotating your viewing angle and using different lighting conditions to ensure absolute quality.
Professional tip: Maintain a consistent room temperature between 20 to 25 degrees Celsius during final inspection to guarantee optimal film clarity and adhesion performance.
Here’s a summary of professional PPF installation requirements at each stage:
| Stage | Essential Conditions | Key Tools | Risk if Neglected |
|---|---|---|---|
| Workspace Preparation | Clean, dust-free, 20-25°C | HEPA air purifier, microfibre towels | Contaminated work leads to poor adhesion |
| Film Cutting | Accurate digital patterns | Pattern software, precision cutter | Mismatched fit, excess material waste |
| Surface Cleaning | pH-neutral, residue-free | Clay bar, isopropyl alcohol | Adhesion issues, visible imperfections |
| Film Application | Even slip coverage, precise | Squeegee, slip/tack solution | Film stretching, trapped air bubbles |
| Bubble Removal | Maintained heat, overlap | Heat gun, sterile needle | Bubbling, peeling at edges |
| Final Inspection | Intense lighting, methodical | Trim tools, heat source | Unnoticed flaws, uneven edges |
Elevate Your PPF Installation with Precision Cutting Solutions
Perfect paint protection film (PPF) installation requires not only meticulous surface preparation and application skills but also precise cutting technology that eliminates guesswork. This article highlights key challenges such as accurate film patterning and seamless panel fitting that can make or break your final result. Why risk material waste and human error when advanced PPF software – AEONCUT PPF Pre-cut Cutting software offers cutting-edge digital patterns designed to optimise efficiency and ensure flawless coverage.

Experience the confidence of consistent, professional-grade installations with AEONCUT’s extensive library of vehicle-specific templates and AI-driven auto-nesting features. Whether you are a professional installer or a passionate car enthusiast, our platform helps you reduce errors and maximise material usage. Take control of your workflow today by exploring tailored Paint Protection Film – AEONCUT PPF Pre-cut Cutting software solutions and discover how effortless perfect pattern cutting can be. Visit aeoncutsw.com now to start your free trial and transform every PPF project into a showcase of precision and quality.
Frequently Asked Questions
What is the importance of preparing the vehicle and workspace before PPF installation?
Proper preparation of the vehicle and workspace is crucial for achieving a flawless paint protection film (PPF) installation. Ensure that your workspace is clean, dust-free, and maintains a temperature between 20 to 25 degrees Celsius, while your vehicle should be thoroughly washed with pH-neutral shampoo and treated with a clay bar to remove contaminants.
How can I achieve optimal adhesion for the paint protection film?
To ensure optimal adhesion of the PPF, it’s essential to clean the target panels meticulously. Use isopropyl alcohol and lint-free microfibre towels to prepare each panel systematically, focusing on edges and seams to eliminate any potential contaminants that could affect adhesion.
What steps should I follow for cutting the PPF accurately?
Accurate cutting of PPF involves using advanced digital pattern software to create precise film patterns tailored to your vehicle. Start by uploading your vehicle specifications into the software, reviewing the cutting pattern, and verifying measurements to ensure an accurate fit for each panel.
How do I eliminate bubbles during the PPF application process?
To eliminate bubbles during PPF application, begin by applying the film from the centre of each panel and moving outward using overlapping squeegee strokes. If air pockets form, gently use a heat gun to warm the film, and if necessary, a fine needle to release trapped air without damaging the film.
What should I do during the final inspection of my PPF installation?
During the final inspection, carefully evaluate each panel under good lighting to identify any imperfections such as misalignments or bubbles. Use gentle heat to help the film settle and trim edges as necessary to achieve clean transitions, ensuring the overall quality and appearance meet professional standards.
What common mistakes should I avoid during PPF installation?
Avoid common mistakes such as rushing the cleaning or preparation processes, as well as failing to maintain optimal temperature conditions during application. Take your time with each stage and ensure you are using the correct tools and techniques to achieve the best possible results.
Recommended
- Common Mistakes in PPF Installation and How to Avoid Them – AEONCUT PPF Pre-cut Cutting software
- Common Mistakes in PPF Installation and How to Avoid Them – AEONCUT PPF Pre-cut Cutting software
- How to Create Custom PPF Patterns Using Aeoncut: Step-by-Step Guide – AEONCUT PPF Pre-cut Cutting software
- Building a PPF Business in 2025: From Tools to First Clients – AEONCUT PPF Pre-cut Cutting software
- Diesel Particulate Filter Maintenance for Professionals – My WordPress


