Not every paint protection film installation goes flawlessly, especially when a single dust speck or imprecise pattern can ruin both the finish and the budget. For experienced installers, every detail and adjustment in the workspace directly impacts the quality and efficiency of each job. This guide gives you clear strategies for preparing your environment, handling materials safely, and using AEONCUT’s precise digital pattern selection to maximise coverage and reduce waste on every project.
Table of Contents
- Step 1: Prepare Your Workspace And Materials
- Step 2: Utilise Aeoncut To Select Precise Patterns
- Step 3: Customise Pattern Settings For Vehicle
- Step 4: Apply Film With Advanced Installation Techniques
- Step 5: Verify Alignment And Film Quality
Quick Summary
| Key Message | Explanation |
|---|---|
| 1. Maintain a Clean Workspace | A dust-free, well-ventilated area is crucial for preventing adhesion issues during PPF application. |
| 2. Use AEONCUT for Accurate Patterns | AEONCUT software helps select precise digital patterns, increasing coverage and reducing waste. |
| 3. Customise Film for Vehicle Specifics | Tailor the digital template to your vehicle’s unique contours for a flawless PPF fit. |
| 4. Employ Advanced Application Techniques | Masterful control during application, including heat and squeegee techniques, enhances film adhesion. |
| 5. Conduct Thorough Quality Checks | Perform detailed inspections to identify imperfections and ensure optimal film performance after installation. |
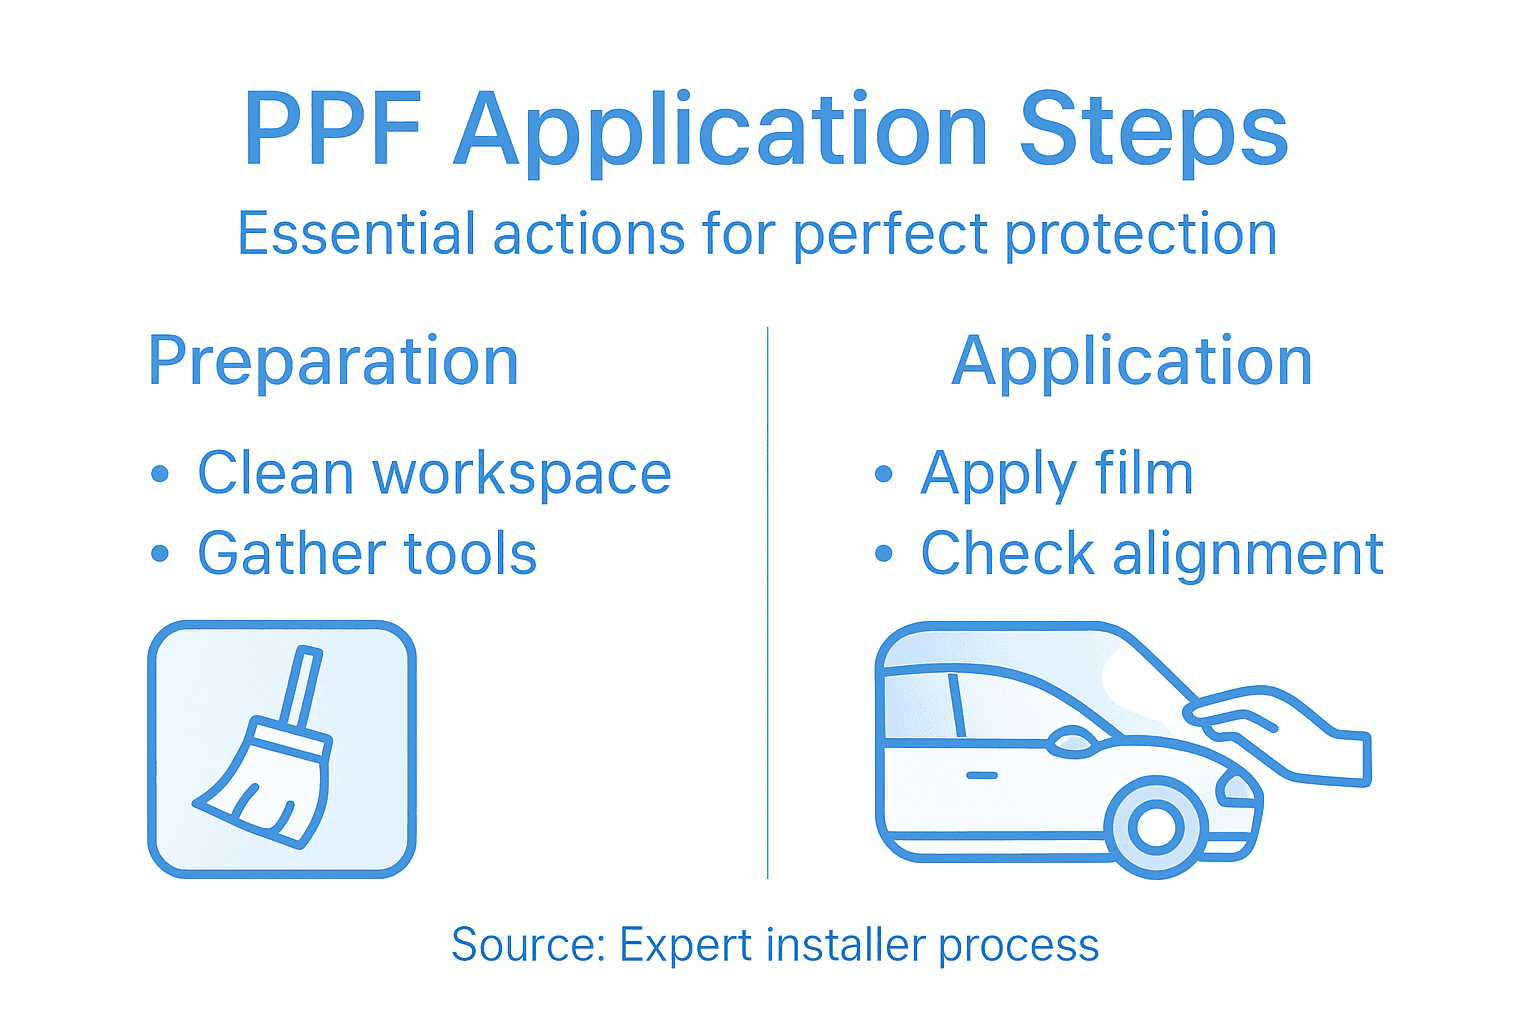
Step 1: Prepare your workspace and materials
Successful paint protection film (PPF) application starts with a meticulously prepared workspace. Your environment plays a critical role in achieving professional results, requiring careful attention to detail and strategic organisation.
Begin by selecting a clean, dust-free area with excellent workspace ventilation and environmental controls. Professional installers know that microscopic particles can compromise film adhesion, so choose a controlled indoor space away from external contaminants. Remove any loose debris, ensure good lighting, and maintain a consistent temperature between 20-25 degrees Celsius for optimal film application conditions.
Gather all necessary materials before starting: high-quality microfibre cloths, isopropyl alcohol for surface preparation, lint-free towels, squeegees, application solution, protective gloves, and your PPF materials. Arrange these systematically within easy reach to streamline your workflow. Understanding proper material handling and safety protocols is crucial to protecting both yourself and achieving exceptional installation results.
Practical Advice: Always have spare materials and backup tools within reach to prevent workflow interruptions during complex PPF applications.
Here’s a summary of key workspace factors affecting paint protection film installation quality:
| Factor | Ideal Condition | Impact on Installation |
|---|---|---|
| Cleanliness | Dust and debris-free | Prevents poor film adhesion |
| Lighting | Bright and evenly distributed | Reveals surface imperfections |
| Temperature | 20-25°C, controlled | Reduces adhesive issues |
| Ventilation | Good airflow, no contaminants | Maintains safety, removes odours |
| Organisation | Tools and materials within reach | Streamlines workflow |
Step 2: Utilise AEONCUT to select precise patterns
Selecting the perfect pattern for paint protection film (PPF) installation requires precision and technological expertise. AEONCUT software transforms this complex process into a streamlined experience for professional installers.
Begin by exploring AEONCUT’s extensive digital library of vehicle pattern selection tools. The software enables you to input specific vehicle make, model, and year to access meticulously crafted digital templates. These pre-designed patterns ensure maximum coverage while minimising material waste. Pay close attention to the software’s advanced nesting algorithms that optimise film placement across different vehicle panels, reducing potential errors during the cutting and application process.
Navigation through AEONCUT’s interface involves selecting your specific vehicle profile and reviewing the proposed cutting pattern. Utilise the software’s preview functions to examine how the pattern will map onto each unique vehicle surface. Understanding precise patterning techniques allows you to make minute adjustments that guarantee a flawless film application across complex automotive geometries.
Practical Advice: Always perform a digital test fit and save your custom pattern configurations to streamline future installations.
Step 3: Customise pattern settings for vehicle
Customising paint protection film settings requires precision and careful attention to your specific vehicle’s unique characteristics. Professional installers understand that no two vehicles are exactly alike, demanding a tailored approach to film application.
Begin by accessing AEONCUT’s comprehensive library of vehicle pattern customisation techniques. Your goal is to fine tune the digital template to match every curve and contour of your vehicle’s panels. Pay close attention to areas with complex geometries such as side mirrors, door handles, and curved bodywork. The software allows you to adjust pattern margins, modify edge trimming, and account for specific vehicle nuances that standard templates might overlook.
Professional customisation also involves considering environmental factors and long term protection requirements. Coating customisation principles suggest evaluating your vehicle’s typical exposure conditions. This means adjusting pattern settings based on anticipated wear patterns, potential impact zones, and the specific protection needs of different vehicle panels.
Practical Advice: Always create a digital mock-up and perform a virtual test fit before committing to your final pattern settings.
Step 4: Apply film with advanced installation techniques
Advanced paint protection film installation demands precision, skill, and a methodical approach. Professional installers know that success lies in understanding complex application techniques that minimise errors and maximise film performance.
Begin by preparing your workspace with comprehensive surface preparation techniques. Your primary objective is creating a completely contaminant free surface. Use high quality isopropyl alcohol to thoroughly clean the vehicle panels, ensuring zero dust particles or residual oils remain. Work systematically from top to bottom, using lint free microfibre cloths and maintaining consistent cleaning pressure to avoid introducing new contaminants during the preparation stage.
The actual film application requires masterful squeegee control and strategic heat manipulation. Professional installers use gentle yet firm squeegee passes to remove air bubbles, working from the centre of the panel outwards. Carefully manage film tension and use controlled heat application to help the film conform to complex vehicle contours. Safety practices during film installation recommend wearing appropriate protective equipment and maintaining a controlled environmental temperature between 20 to 25 degrees Celsius for optimal results.
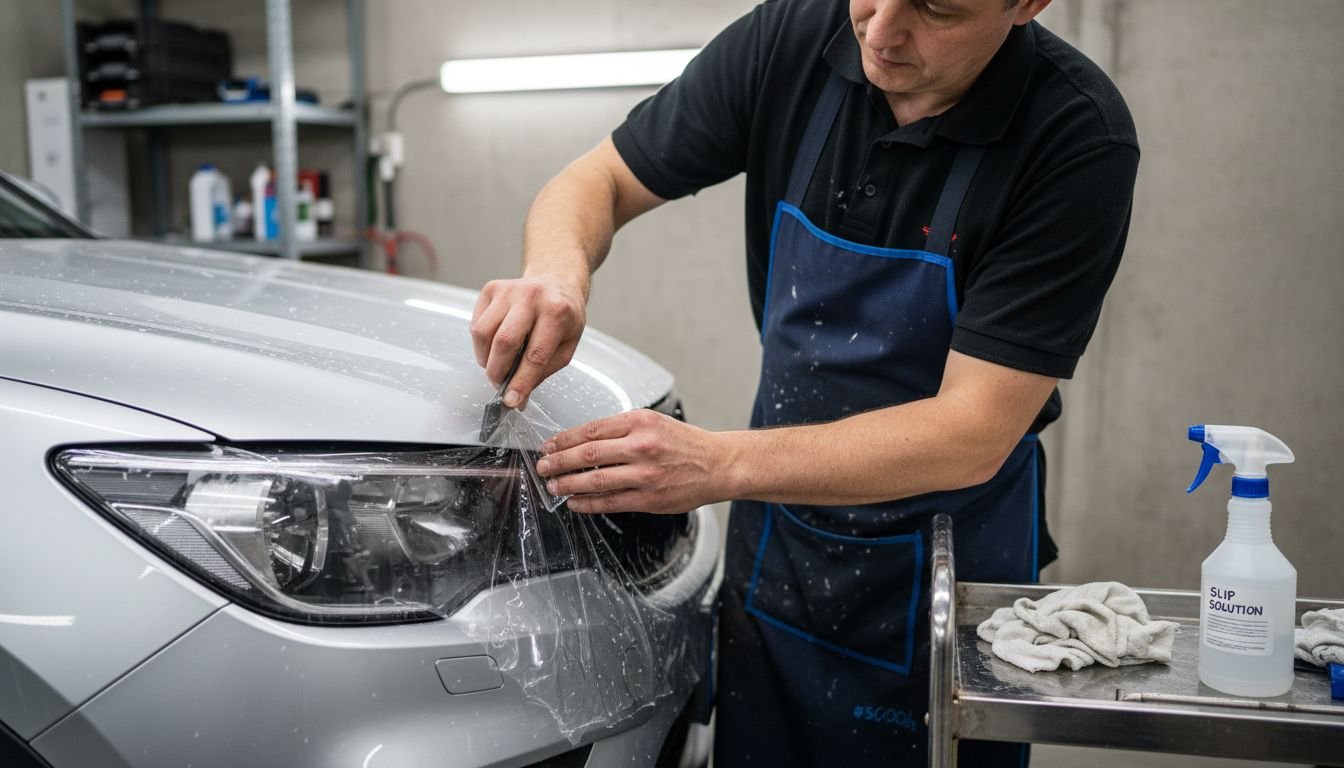
Practical Advice: Keep multiple squeegees with different edge firmnesses available to handle varying panel complexities and maintain consistent film adhesion.
Step 5: Verify alignment and film quality
Precision in paint protection film application reaches its critical moment during the final verification stage. Professional installers understand that meticulous inspection determines the difference between an acceptable and an exceptional installation.
Commence your quality verification by performing a comprehensive visual inspection using film handling and inspection protocols. Check systematically for microscopic imperfections such as minute air bubbles, subtle wrinkles, or slight edge misalignments. Use strong lighting at multiple angles to reveal potential irregularities that might be invisible during initial application. Your examination should focus on panel edges, complex contoured areas, and regions with potential stress points.
Utilise standardised alignment verification techniques to ensure optimal film performance. This involves checking film tension, confirming precise panel coverage, and verifying that no stress points compromise the protective layer. Measure film overlap zones, inspect adhesion quality, and confirm that the protective film maintains consistent tension across varying vehicle surface geometries. A professional approach demands patience and an exceptionally critical eye for detail.
Practical Advice: Invest in a high-quality LED inspection light with adjustable brightness to reveal even the most subtle film application imperfections.
This comparison highlights the differences between basic and advanced PPF installation approaches:
| Aspect | Basic Method | Advanced Method |
|---|---|---|
| Pattern Selection | Manual cutting, generic fit | Digital templates, AEONCUT |
| Film Application | Simple squeegee, little heat | Controlled tension, heat use |
| Quality Verification | Quick visual check | Detailed inspection, tools |
| Customisation | Minimal, generic adjustments | Tailored to vehicle geometry |
| Error Prevention | Limited feedback | Digital test fits, save configs |
Unlock Flawless Paint Protection Film Applications with AEONCUT
Mastering PPF installation requires precision in pattern selection, customisation, and application to avoid costly errors and material waste. If you are striving to achieve perfect film alignment and professional-grade results while streamlining your workflow, AEONCUT offers exactly what you need. This advanced PPF software – AEONCUT PPF Pre-cut Cutting software delivers comprehensive digital templates, AI-driven nesting, and customisation tools tailored to your vehicle’s unique contours.

Experience the confidence that comes with cutting-edge technology designed for expert installers and serious enthusiasts alike. Visit AEONCUT now to explore the full suite of features and gain unlimited access to precise paint protection film patterns. Start transforming your installations today and ensure flawless automotive protection every time with support from our extensive Paint Protection Film – AEONCUT PPF Pre-cut Cutting software resources.
Frequently Asked Questions
How do I prepare my workspace for paint protection film application?
Begin by selecting a clean, dust-free area with good ventilation and lighting. Ensure the temperature is maintained between 20-25 degrees Celsius to achieve optimal film adhesion and performance.
What is AEONCUT and how can it help with pattern selection for PPF?
AEONCUT is software that simplifies the process of selecting precise paint protection film patterns for specific vehicle makes and models. Use it to access a vast digital library of templates that are designed to minimise material waste and ensure maximum coverage.
How do I customise a paint protection film pattern for my vehicle?
Customise your PPF pattern by adjusting it within AEONCUT’s interface to account for your vehicle’s unique contours and features. Focus on areas like mirrors and door handles, making necessary changes to ensure a perfect fit.
What are the key steps for applying paint protection film effectively?
To apply PPF effectively, first prepare the surface thoroughly, then use a squeegee to eliminate air bubbles while applying heat as needed to help the film conform. Always maintain controlled tension and work systematically across the surface.
How can I verify the quality of my paint protection film application?
Check for imperfections such as air bubbles, wrinkles, or alignment issues by conducting a detailed visual inspection under strong lighting. Assess the film’s tension and adhesion to ensure it meets the standards for a flawless installation.
What tools do I need for a professional-grade PPF installation?
Gather essential tools like high-quality microfibre cloths, isopropyl alcohol for cleaning, a variety of squeegees, an application solution, and protective gloves. Having these tools ready will streamline your workflow and help achieve better results.
Recommended
- How Does PPF Work? Guide for Car Care Pros 2025 – AEONCUT PPF Pre-cut Cutting software
- Top Paint Protection Film Benefits for Auto Professionals 2025 – AEONCUT PPF Pre-cut Cutting software
- Building a PPF Business in 2025: From Tools to First Clients – AEONCUT PPF Pre-cut Cutting software
- Building a PPF Business in 2025: From Tools to First Clients – AEONCUT PPF Pre-cut Cutting software


