Professional auto tint installers know the frustration of battling stubborn adhesive and torn film during window tint removal. The process affects service quality and client satisfaction, so investing in the right tools and preparation is never wasted effort. From choosing a heat gun set at 200 to 300 degrees Fahrenheit to using ammonia-based solutions for dissolving glue, having a dedicated kit dramatically reduces damage risk and cleaning time. Discover methods that deliver both efficiency and a flawless finish for every job.
Table of Contents
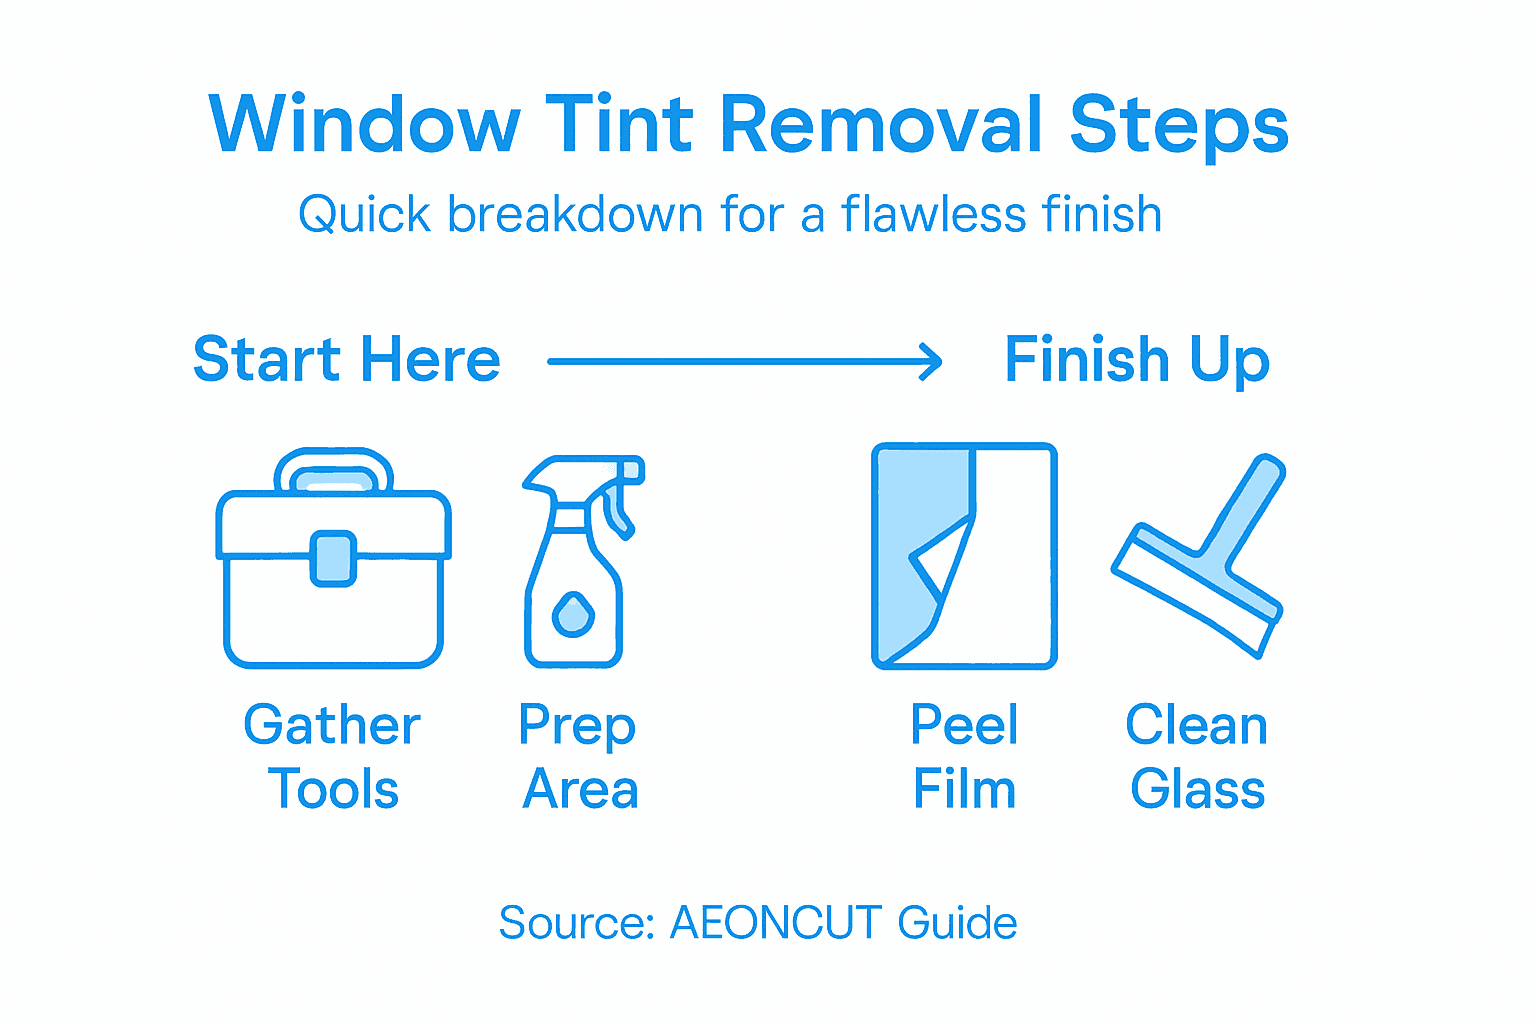
- Step 1: Gather Necessary Tools and Materials
- Step 2: Prepare the Work Area and Vehicle
- Step 3: Loosen Window Tint Using Heat or Solution
- Step 4: Peel Away Tint Film Carefully
- Step 5: Remove Residual Adhesive Thoroughly
- Step 6: Inspect Glass for Cleanliness and Quality
Quick Summary
| Essential Insight | Detailed Explanation |
|---|---|
| 1. Gather Proper Tools | Use a heat gun, scrapers, and cleaning solutions to safely and efficiently remove window tint. |
| 2. Prepare Your Work Area | Set up in a shaded, well-ventilated space to ensure proper adhesive softening and protect the vehicle. |
| 3. Use Heat for Effective Removal | Apply moderate heat evenly to soften the tint adhesive before peeling, avoiding sudden temperature changes. |
| 4. Peel Tint at a Low Angle | Carefully lift the tint film at a low angle to prevent tearing and ensure large pieces come off cleanly. |
| 5. Inspect for Residual Adhesive | After removal, thoroughly check for and remove any adhesive residue to ensure a flawless glass finish. |
Step 1: Gather Necessary Tools and Materials
Before you begin removing window tint, assembling the right tools makes the entire process faster, safer, and less likely to damage the glass. The difference between a rushed, messy job and a flawless finish often comes down to preparation. You’re not just grabbing whatever’s in your workshop; you’re building a kit specifically designed for this task.
Start with heat sources. A heat gun rated for 200 to 300 degrees Fahrenheit softens the adhesive without thermal shock that can crack glass. If you don’t have a heat gun, a hair dryer works in a pinch, though it’ll take longer. A clothes steamer is another solid alternative. Next, grab your scrapers. You’ll want both a razor blade for detailed work and plastic scrapers to avoid gouging the glass surface. This two-tool approach gives you flexibility depending on how stubborn the tint proves to be. For cleaning up adhesive residue afterward, you need an ammonia-based solution or soapy water to dissolve leftover glue. Many installers prepare a spray bottle with ammonia-free window cleaner mixed with a small amount of rubbing alcohol for faster drying.
Don’t overlook the supporting cast. Microfibre towels absorb moisture without leaving lint, rubber gloves protect your skin from chemicals and sharp edges, and a spray bottle keeps your solution within arm’s reach. Some installers also bring newspaper or drop cloths to catch drips and protect interior trim. Stock these items on your work cart or table before you start. Having everything arranged and ready means you’re not hunting for supplies mid-job when the tint is warm and workable.
Pro tip Keep your heat gun set to a consistent temperature and maintain it 6 to 8 inches from the glass surface; too close risks cracking, whilst too far away wastes time waiting for adhesive to soften.
Step 2: Prepare the Work Area and Vehicle
Your work environment directly impacts the quality of your tint removal and how efficiently you work through the job. Taking time to set up properly prevents costly mistakes and ensures both you and the vehicle remain protected throughout the process. The right conditions make adhesive easier to soften and reduce the risk of glass damage or interior contamination.
Location matters significantly. Park the vehicle in a shaded, well-ventilated area away from direct sunlight, which can interfere with how the adhesive softens and hardens unpredictably. If you’re working in a garage or shop, ensure good air circulation to disperse ammonia fumes and steam. Lower the window slightly so you can access the tint’s upper edges comfortably without straining, and this positioning also prevents glass from sitting fully closed where condensation might trap moisture. Next, clean the window surface gently with a microfibre cloth to remove dust and particles that could scratch the glass as you work. Shaded, comfortable environments protect both you and the glass from thermal shock, which occurs when rapid temperature changes stress the material.
Protect your surroundings with practical forethought. Lay down towels or newspaper on the door panels and interior trim to catch drips from your cleaning solution and prevent chemical damage to upholstery and plastics. If the vehicle’s interior is particularly sensitive or valuable, consider masking tape along edges where you expect moisture or heat exposure. Some installers place a drop cloth on the floor beneath the door to catch debris and adhesive residue. This preparation takes 10 to 15 minutes but saves hours of cleanup and prevents customer complaints about interior marks or chemical odours. Before you start heating and scraping, walk around the vehicle one more time and confirm everything is in place.
Professional tip Position your work light or headlamp to eliminate glare on the glass surface, as reflections mask adhesive residue and make it harder to spot areas you’ve missed during removal.
Step 3: Loosen Window Tint Using Heat or Solution
This step separates a controlled, efficient removal from a frustrating battle with stubborn film. The adhesive holding tint to glass requires softening before you can peel it away cleanly, and how you apply heat or solution determines whether you finish with pristine glass or scratched damage. Your goal here is patience combined with systematic technique.
Start with heat as your primary tool. Apply moderate heat evenly across the tint film using your heat gun, keeping it moving in deliberate passes rather than concentrating it in one spot for too long. Work from the edges toward the centre, warming roughly 30 centimetres of film at a time. This even distribution prevents thermal shock that cracks glass. If you’re using a steamer or hair dryer instead, maintain consistent distance and movement. You’ll notice the film beginning to bubble slightly and the edges starting to lift as the adhesive softens underneath. This takes patience. Rushing and applying excessive heat achieves nothing except damaged glass. As an alternative or complementary approach, spray your ammonia-based solution or soapy water directly onto the tint surface and let it soak for several minutes. The solution penetrates the film and weakens adhesive bonds from within. Many professionals combine both methods, using heat to soften adhesive whilst simultaneously applying solution for accelerated loosening.
Monitor the tint’s response carefully. Once edges begin lifting freely without resistance, you’ve achieved proper softening. The film should peel back smoothly rather than tearing or resisting. If you encounter stubbornness, return to your heat source for another pass rather than forcing the issue. This cycle of heating, cooling slightly, and checking progress builds momentum without damage. You’ll develop a rhythm where each section loosens predictably. The time investment here pays dividends in the final quality of your work.
Professional tip Apply heat in overlapping passes similar to painting with a brush, maintaining consistent motion to avoid hot spots that can stress the glass and cool spots where adhesive remains stubborn.
Step 4: Peel Away Tint Film Carefully
This is where precision matters most. One aggressive pull can tear the film into frustrating fragments, leaving you scraping adhesive for hours. The goal is extracting large, intact pieces of tint that come away cleanly, minimising the residue you’ll need to clean up afterwards. Your patience and technique here determine the overall efficiency of the entire job.
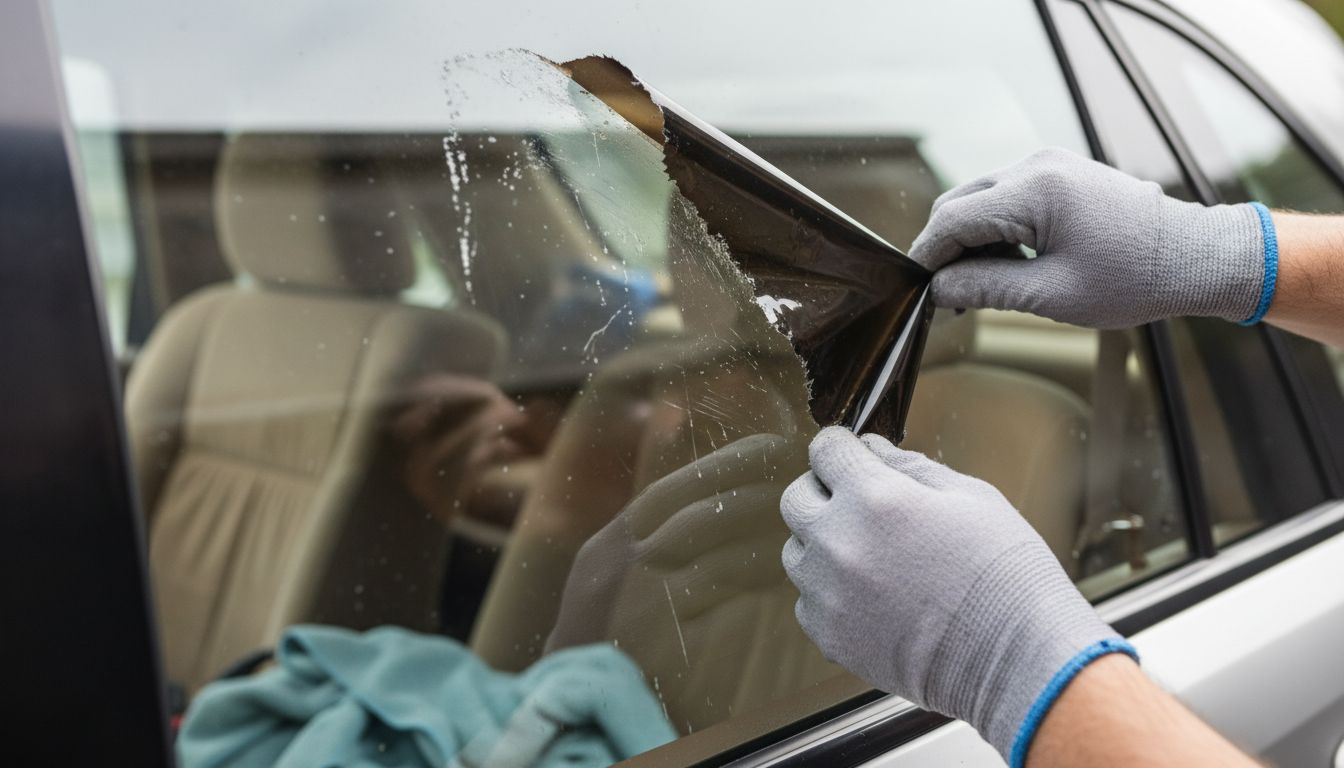
Begin at a top corner where the film has already started lifting from your previous heat or solution application. Use your fingertips or a plastic scraper to create a small lift, then grip the film gently between your thumb and forefinger. Pull the tint away at a low angle rather than straight out from the glass, working downward in sections as you progress. This low angle creates mechanical advantage and allows the adhesive to release cleanly instead of tearing the film. Apply slow, steady pressure. Rushing here undoes all your preparation work. If you encounter resistance, stop immediately and apply more heat to that section rather than forcing the film. The film should peel back smoothly like removing a label from a surface. You’re looking for large pieces coming away in one continuous strip, not small fragments scattering everywhere. Work methodically down one window panel, completing that section entirely before moving to the next.
Pay particular attention near window edges and defroster lines, where the film adheres more tenaciously. Slow your pace in these areas. The glass itself is fragile at edges, and rushed movements can create stress fractures. Once you’ve removed the main film, you’ll have adhesive residue remaining on the glass. This is perfectly normal and expected. Don’t attempt to scrape this away yet. Set it aside and move to the next window, completing all the film removal first, then tackling adhesive cleanup as a separate final step. This workflow keeps you moving efficiently rather than switching between multiple tasks on a single window.
Professional tip If the film tears mid-peel, reheat that section completely before attempting to lift the remaining piece, as reheating reactivates the adhesive bond and allows cleaner separation.
Step 5: Remove Residual Adhesive Thoroughly
You’ve removed the tint film, but the hardened glue remains stuck to the glass. This final adhesive removal separates a truly flawless finish from a job that looks incomplete. The glass needs to be completely clean and smooth, ready for either new tint application or bare window use. This step requires patience, the right solution, and careful technique to avoid damaging the glass surface.
Start by spraying the adhesive residue generously with your ammonia-based solution or a commercial adhesive remover. Let it soak for two to three minutes, allowing the liquid to penetrate and soften the glue. You’ll see the adhesive begin to bubble and lose its rigid hold on the glass. Once softened, use a plastic scraper to gently lift the adhesive away, working at a shallow angle similar to the technique you used when peeling the tint film. The key word here is gentle. Aggressive scraping scratches glass, which becomes visible once new tint is applied or sunlight hits it at certain angles. If you encounter stubborn spots that resist scraping, reapply solution and wait longer rather than forcing the issue. For particularly difficult adhesive, specialised adhesive removers applied cautiously can dissolve glue without damaging glass or window seals, though always test on a small area first. Work systematically across the window, completing one section before moving to the next. You’ll notice the adhesive becomes a thin paste that wipes away more easily as you apply solution and scrape in cycles.
Once you’ve removed all visible adhesive, transition to final cleaning. Spray the window with soapy water and use a fresh microfibre cloth to wipe the surface completely clean, removing any residual solution and adhesive particles. This final wash ensures a spotless finish. Dry the window thoroughly with a dry microfibre towel. Step back and inspect the glass from multiple angles and lighting conditions. Any remaining sticky spots get another treatment. Professional installers know that this final detail work determines whether customers view the job as exceptional or merely acceptable. A truly flawless finish requires this thorough approach.
Here’s a quick-reference table of common window tint adhesive removal solutions and their key characteristics:
| Solution Type | Effectiveness | Safety for Glass | Example Use Case |
|---|---|---|---|
| Ammonia-based spray | High on most tints | Safe if well-ventilated | Breaking down stubborn glue |
| Soapy water | Moderate for light residue | Very safe | Routine adhesive removal |
| Rubbing alcohol mix | Fast drying, mild | Safe when diluted | Final cleaning step |
| Commercial remover | Very high, professional grade | Test before use | Heavy or aged adhesives |
Professional tip Work from top to bottom on each window so gravity assists adhesive residue downward, preventing you from recontaminating areas you’ve already cleaned.
Step 6: Inspect Glass for Cleanliness and Quality
Now comes the final checkpoint. You’ve completed the physical removal, but inspection separates professional work from careless jobs. A truly flawless finish requires examining the glass under proper lighting, identifying any missed spots, and addressing them before considering the job complete. This quality control step takes minutes but determines customer satisfaction and whether the vehicle is ready for new tint application or daily use.
Move the vehicle into bright natural light or position a work light perpendicular to the glass surface. Direct lighting at an angle reveals imperfections that overhead light conceals. Examine the entire glass surface methodically, looking for three categories of problems: residual adhesive appearing as sticky spots or cloudy patches, scratches visible as fine lines catching light, and smudges or streaks from cleaning products. Use bright light to examine the glass surface carefully by tilting your head and viewing from multiple angles. Adhesive residue feels tacky when you touch it gently with a fingertip. Scratches are obvious once light hits them at the right angle. Smudges and streaks appear as hazy areas breaking the clarity. Make a mental note of any problem areas. If you discover residual adhesive, return to your cleaning process with fresh solution and repeat the scraping and wiping cycle on that specific spot. Minor scratches cannot be repaired without professional glass restoration equipment, so document them and discuss with the customer. Most scratches are extremely minor and become invisible once new tint is applied.
Once the glass passes inspection, clean one final time with a microfibre cloth dampened with distilled water to remove any dust or fingerprints from your inspection process. Dry thoroughly with a clean, dry microfibre cloth. Step back and view the windows from outside the vehicle, checking visibility through the glass and confirming the surface is truly clear. Take a moment to photograph the finished windows if you keep a portfolio of completed work. This documentation demonstrates your quality standards to potential customers. A flawless finish means no trace of the tint removal process remains except the pristine, naked glass ready for whatever comes next.
Below is a summary of potential inspection issues and recommended responses after tint removal:
| Issue Detected | How to Identify | Response Action |
|---|---|---|
| Adhesive residue | Sticky or cloudy spots | Reapply solution and scrape gently |
| Scratches | Fine lines in direct light | Document and discuss with client |
| Smudges/streaks | Hazy appearance | Wipe with distilled water cloth |
Professional tip Inspect glass when it’s slightly warm, not hot or cold, as temperature variations can create optical illusions that mimic adhesive spots or minor scratches.
Achieve Perfect Window Tint Removal and Precise Application with AEONCUT
Struggling with uneven window tint removal or imprecise cutting that wastes materials and time? This guide covers essential techniques for a flawless finish but completing your project requires not just skill but also precision-cut patterns tailored for your vehicle. Avoid common pitfalls like adhesive residue or scratches by pairing your careful removal with accurate tint application using professional cutting software designed for installers like you.

Unlock the potential of your tinting work with AEONCUT’s advanced solutions. Explore our dedicated window Tint category to access a vast library of pre-cut patterns that fit your vehicle perfectly every time. Enjoy features such as AI-driven auto-nesting and cloud-based updates that save hours and reduce waste significantly. Whether you are a seasoned professional or a passionate DIY enthusiast, AEONCUT supports your journey to deliver immaculate results efficiently. Start now by visiting AEONCUT’s homepage and transform how you prepare your next window tint installation.
Frequently Asked Questions
What tools do I need to remove window tint for a flawless finish?
You need a heat source, such as a heat gun or hair dryer, and scrapers, including a razor blade and plastic scrapers. Assemble these items along with cleaning solutions, microfibre towels, and protective gear before starting the job to ensure an efficient removal process.
How can I prepare my workspace for removing window tint?
Park the vehicle in a shaded, well-ventilated area and lower the windows slightly for easy access to the tint. Also, protect surfaces with towels or newspapers to catch any drips and prevent damage to the vehicle’s interior.
What is the best method for loosening window tint before removal?
Apply moderate heat evenly across the tint film while simultaneously using an adhesive-dissolving solution. Work systematically and patiently, checking the film’s response before you attempt to peel it away to avoid damaging the glass.
How should I peel away the tint film to prevent tearing?
Begin at a corner where the film is already lifting, and pull the tint away at a low angle while applying slow, steady pressure. This technique allows the adhesive to release cleanly; if you encounter resistance, pause and reheat that area instead of forcing it.
What steps should I take to remove adhesive residue after tint removal?
Spray the adhesive residue with your cleaning solution and let it soak for two to three minutes. Use a plastic scraper at a shallow angle to gently lift the adhesive away, ensuring you work methodically to achieve a clean surface.
How can I ensure a flawless finish after removing window tint?
Inspect the glass in bright light for residual adhesive, scratches, or smudges. If you find any imperfections, reapply your cleaning solution and repeat the cleaning process to achieve a completely clear and immaculate window surface.
Recommended
- Removing Old Window Tint: Best Practices for 2025 – AEONCUT PPF Pre-cut Cutting software
- Cutting Tint: Master the Art of Precision Tinting Techniques – AEONCUT PPF Pre-cut Cutting software
- How Window Tint Works: Essential Guide for Auto Professionals 2025 – AEONCUT PPF Pre-cut Cutting software
- Tinting Curved Windows: Pro Tips and Solutions 2025 – AEONCUT PPF Pre-cut Cutting software


