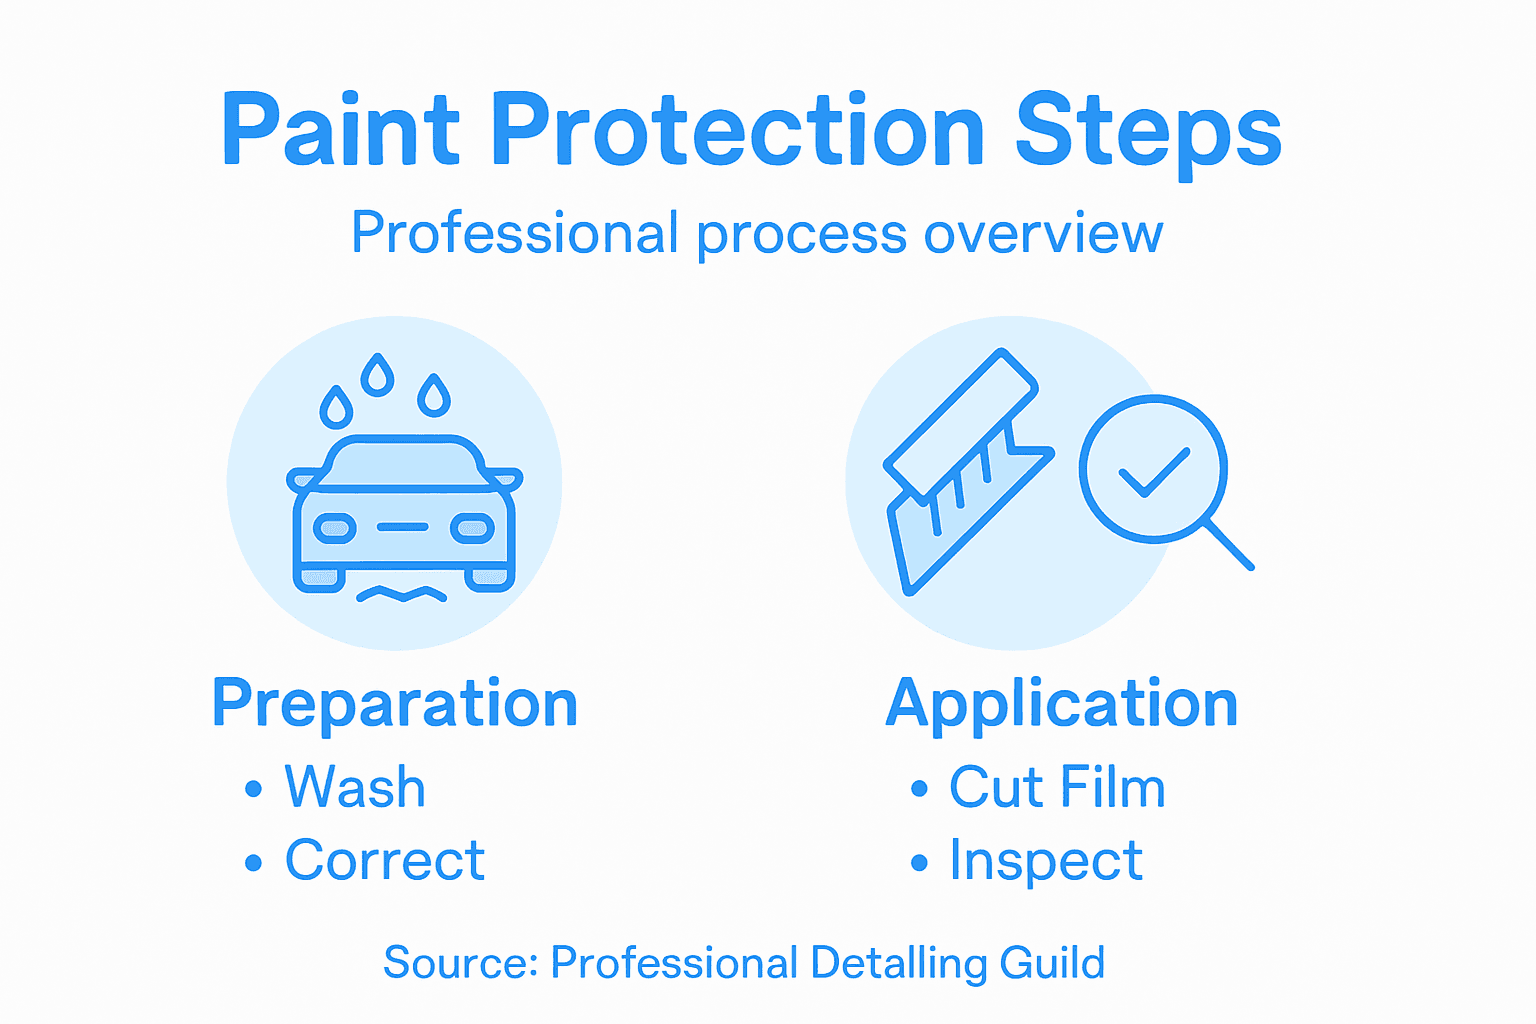
Professional results in car paint protection depend on uncompromising surface preparation and precision pattern customisation. For every North American automotive PPF installer, skipping these steps risks adhesion failure and dissatisfied clients. This guide highlights how meticulous washing, thorough paint decontamination, and custom film cutting transform your workflow, allowing you to deliver the flawless finishes vehicle owners demand and expand your reputation for excellence.
Table of Contents
- Step 1: Prepare the Vehicle Surface for Protection
- Step 2: Select and Customise the PPF Patterns
- Step 3: Cut and Apply the Paint Protection Film Accurately
- Step 4: Inspect and Verify the Protected Paintwork
Quick Summary
| Main Insight | Detailed Explanation |
|---|---|
| 1. Thoroughly Prepare the Vehicle Surface | Proper preparation, including washing and decontaminating, is essential for effective film adhesion and a flawless finish. |
| 2. Take Precise Measurements for Patterns | Accurate measurements of each panel ensure that the PPF fits perfectly and minimizes visible seams, enhancing overall appearance. |
| 3. Cut and Apply Film with Care | Use sharp tools and slip solutions to cut and position film correctly, preventing bubbles and ensuring a seamless application. |
| 4. Conduct a Thorough Inspection | Inspect under varied lighting for imperfections, correcting any issues immediately to guarantee optimal protection and appearance. |
| 5. Document Your Work | Create standardised checklists and photographs during the inspection to provide references for future jobs and safeguard against disputes. |
Step 1: Prepare the Vehicle Surface for Protection
Your success with paint protection film (PPF) application starts here. A properly prepared surface ensures optimal adhesion, eliminates imperfections, and delivers the flawless finish your clients expect. This step is non-negotiable if you want results that last.
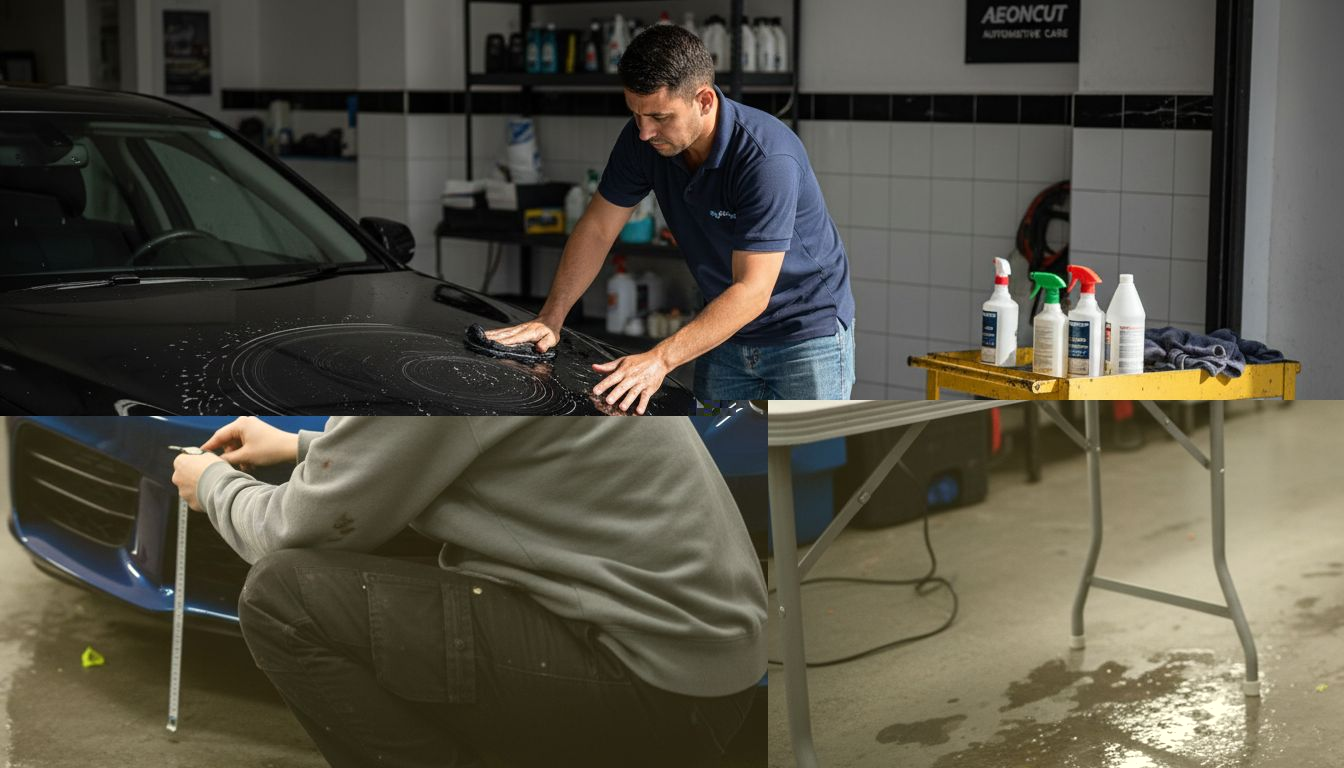
Begin by giving the vehicle a thorough wash using automotive detergent to remove dirt, grease, wax, and road grime. Use two buckets—one for soapy water, one for rinsing your wash mitt—to avoid recontaminating the surface. Pay special attention to crevices, trim, and areas where grime accumulates.
Once washed, dry the vehicle completely with a soft microfibre towel to prevent water spots. Even small amounts of moisture can interfere with film adhesion and cause application issues.
Decontamination is your next critical step. Thorough paint decontamination removes iron particles, fallout, and embedded contaminants that washing alone cannot eliminate. Use a clay bar across all painted surfaces, or consider an automated decontamination process if you work high-volume. This step transforms a clean surface into a truly prepared one.
Follow decontamination with paint correction if the vehicle shows swirl marks, scratches, or other imperfections. Light polishing smooths the surface and removes any minor defects. For vehicles with heavy defects, multi-stage correction may be necessary.
Your final step involves wiping the surface with prep solvent or an alcohol-based solution to remove oils, residues, and polishing compounds. This creates an absolutely clean, primed surface ready for PPF application.
Consider this checklist:
- Wash with automotive detergent and dry thoroughly
- Apply clay bar decontamination across all panels
- Polish or correct paint imperfections as needed
- Final prep solvent wipe-down before application
- Inspect under bright lighting for any missed contaminants
A contaminated surface is the leading cause of PPF adhesion failure. Invest time here, and your installations will last years longer.
Professional tip: Keep your prep area dust-free by working indoors or in controlled environments. Airborne particles can settle on freshly prepped surfaces and cause adhesion problems, so never rush the final inspection step before applying film.
Step 2: Select and Customise the PPF Patterns
Pattern selection and customisation separate good installations from exceptional ones. Getting this right means your film fits perfectly, minimises visible seams, and delivers the flawless protection your clients demand.
Start by taking precise measurements of each vehicle panel you’ll be protecting. Measure across curves, edges, and complex contours like wheel arches and bumpers. These measurements form the foundation for pattern accuracy, so don’t rush this step.
Next, use custom-fit film patterns created with digital plotting tools to match the specific contours of the vehicle model you’re working on. If you’re building patterns from scratch, computer-aided design software allows you to create bespoke shapes tailored to each panel’s unique geometry.
When customising patterns, consider these key variables:
- Panel curvature and complex contour matching
- Overlap points and seam placement
- Edge alignment on bumpers, mirrors, and trim
- Wraparound coverage for curved surfaces
- Film grain direction and aesthetic consistency
Adjust your patterns for varying surfaces across the vehicle. Bumpers, hoods, and mirrors each have distinct angles and curvatures that demand individualised pattern adjustments. This precise conformity to body panels minimises wrinkles and air bubbles during application.
Test fit your patterns on the vehicle before cutting final film. Use paper templates or digital visualisation to verify alignment, edge placement, and seam visibility. This preview catches misalignments before costly mistakes.
Customised patterns eliminate the guesswork from PPF installation. A perfectly fitted pattern transforms installation from technical to seamless.
Professional tip: Store your custom patterns in a digital library organised by vehicle make, model, and year. This archive becomes invaluable as you develop repeat customers and accelerate your workflow significantly over time.
Step 3: Cut and Apply the Paint Protection Film Accurately
This step transforms your preparation work into tangible protection. Cutting and applying the film requires precision, control, and the right technique to achieve invisible, bubble-free results that last years.
Begin by cutting your film according to your pre-designed patterns. Use sharp utility knives for manual cutting, or employ plotters for maximum accuracy and speed. Work in a controlled environment free from dust and debris to prevent contamination.
Once your film is cut, prepare your application station. Spray a slip solution on both the film and the prepared vehicle surface to facilitate easy repositioning and prevent premature adhesion. This slip solution gives you working time to align the film perfectly before it bonds.
Carefully position the film onto the panel, starting at one edge and working outward. Take your time here—rushing creates wrinkles and misalignment that are difficult to correct. Use squeegees to methodically remove water and air bubbles, working from the centre outward.
Your application process follows these key steps:
- Position film with slip solution applied
- Use squeegees to remove excess solution and air pockets
- Apply heat with a heat gun to conform film to curves
- Stretch film over complex edges and contours
- Trim excess material for clean, invisible edges
Heat guns conform the film to curves and edges whilst allowing repositioning without permanent adhesion. Work methodically across complex areas like bumpers and mirrors, using gentle heat to stretch and shape without damaging the film.
Once the film is fully applied and contoured, allow it to cure. Most films require 24 to 48 hours of cure time before the vehicle is exposed to water or washing.
Patience during application determines whether your work looks professional or amateur. Rush the squeegee process, and bubbles become permanent fixtures.
Professional tip: Invest in quality squeegees with rounded edges to avoid marring the film surface. Use different squeegee firmness levels for various panel types—softer for curved surfaces, firmer for flat panels.
Step 4: Inspect and Verify the Protected Paintwork
Inspection is where good installations become great ones. Your thorough verification ensures the film adheres perfectly, protects effectively, and looks invisible to the naked eye.
Begin your inspection under bright, varied lighting conditions. Natural daylight, LED work lights, and even oblique angles reveal imperfections that overhead lighting misses. Move around the vehicle systematically, examining every panel you’ve treated.
Look specifically for these common issues:
- Trapped dust or debris beneath the film
- Air bubbles or pockets in the film surface
- Lifting or separation at edges and seams
- Wrinkles or creases in the film
- Misaligned edges or visible seam lines
- Film adhesion around curved surfaces
Use bright lighting and magnification tools to examine the film’s adhesion across every coated surface. Check edges and seams carefully, as these areas are most prone to lifting or contamination. Pay particular attention to bumpers, mirrors, and complex curves where film tension is greatest.
If you find imperfections, address them immediately. Minor bubbles can sometimes be released by carefully lifting the film edge and reapplying with slip solution. Dust particles may require partial film removal and reapplication. Larger issues demand full panel removal and reinstallation.
Verify film adhesion around edges and seams before finalising the installation. Once you’re satisfied with the result, clean the vehicle thoroughly and provide your client with detailed curing instructions.
Perfect installations aren’t accidents. They’re the result of meticulous inspection and the willingness to correct issues immediately.
Professional tip: Create a standardised inspection checklist and photograph each vehicle during inspection. This documentation protects you against future disputes and provides valuable reference images for repeat jobs.
Elevate Your Paint Protection Film Application with Precision Cutting Software
Applying paint protection film flawlessly demands meticulous preparation, perfect pattern fitting, and expert application. The challenges of avoiding bubbles, wrinkles, and misaligned seams can be overcome by using the right tools designed to streamline your workflow and ensure accuracy. From customising patterns for complex vehicle contours to reducing material waste, your professional installations deserve software that matches your high standards.
Discover how Paint Protection Film – AEONCUT PPF Pre-cut Cutting software can transform your process with its extensive pattern libraries and AI-driven auto-nesting features.

Take control of your installations today with AEONCUT’s cutting-edge solutions. Access unlimited, precise pre-cut patterns tailored for professional installers and serious enthusiasts alike. Visit AEONCUT’s homepage to explore subscription plans and unlock the full potential of your PPF projects. Don’t let imperfect patterns or rushed prep undermine your hard work. Step up your craft now and deliver flawless protection with confidence.
Frequently Asked Questions
What steps should I follow for applying new car paint protection?
To apply new car paint protection, start by thoroughly washing and drying the vehicle’s surface. Then, decontaminate the paint, followed by correcting any imperfections. Finally, cut and apply the paint protection film using precise patterns for a perfect fit.
How do I ensure the vehicle surface is properly prepared for paint protection?
Ensure the vehicle surface is cleaned using automotive detergent and dried completely. Additionally, use a clay bar for decontamination and wipe down with a prep solvent to eliminate any residues before applying the film.
How can I customise paint protection film patterns for better application?
Customise paint protection film patterns by measuring each vehicle panel accurately and using digital plotting tools for precise fit. Adjust the patterns to account for panel curvature and confirm placement with test fits to avoid misalignment during installation.
What tools are necessary for applying paint protection film?
Mandatory tools for applying paint protection film include sharp utility knives, squeegees, and a heat gun for conforming the film to edges and curves. Ensure you also have a suitable slip solution to assist in positioning the film accurately.
How can I inspect the paint protection film after application?
Inspect the paint protection film under bright and varied lighting to spot any imperfections such as bubbles or misalignments. Address any issues immediately to ensure the film adheres correctly and maintains its protective qualities.
What is the recommended curing time after applying paint protection film?
After applying paint protection film, allow it to cure for 24 to 48 hours before exposing the vehicle to water or washing. This waiting period helps ensure maximum adhesion and durability of the film.
Recommended
- Complete Guide to New Car Paint Protection – AEONCUT PPF Pre-cut Cutting software
- 7 Best New Car Paint Protection Tips for Professionals – AEONCUT PPF Pre-cut Cutting software
- Car Paint Protection: Everything You Need to Know – AEONCUT PPF Pre-cut Cutting software
- Clear Car Paint Protection Film: Efficiency for Professionals – AEONCUT PPF Pre-cut Cutting software

