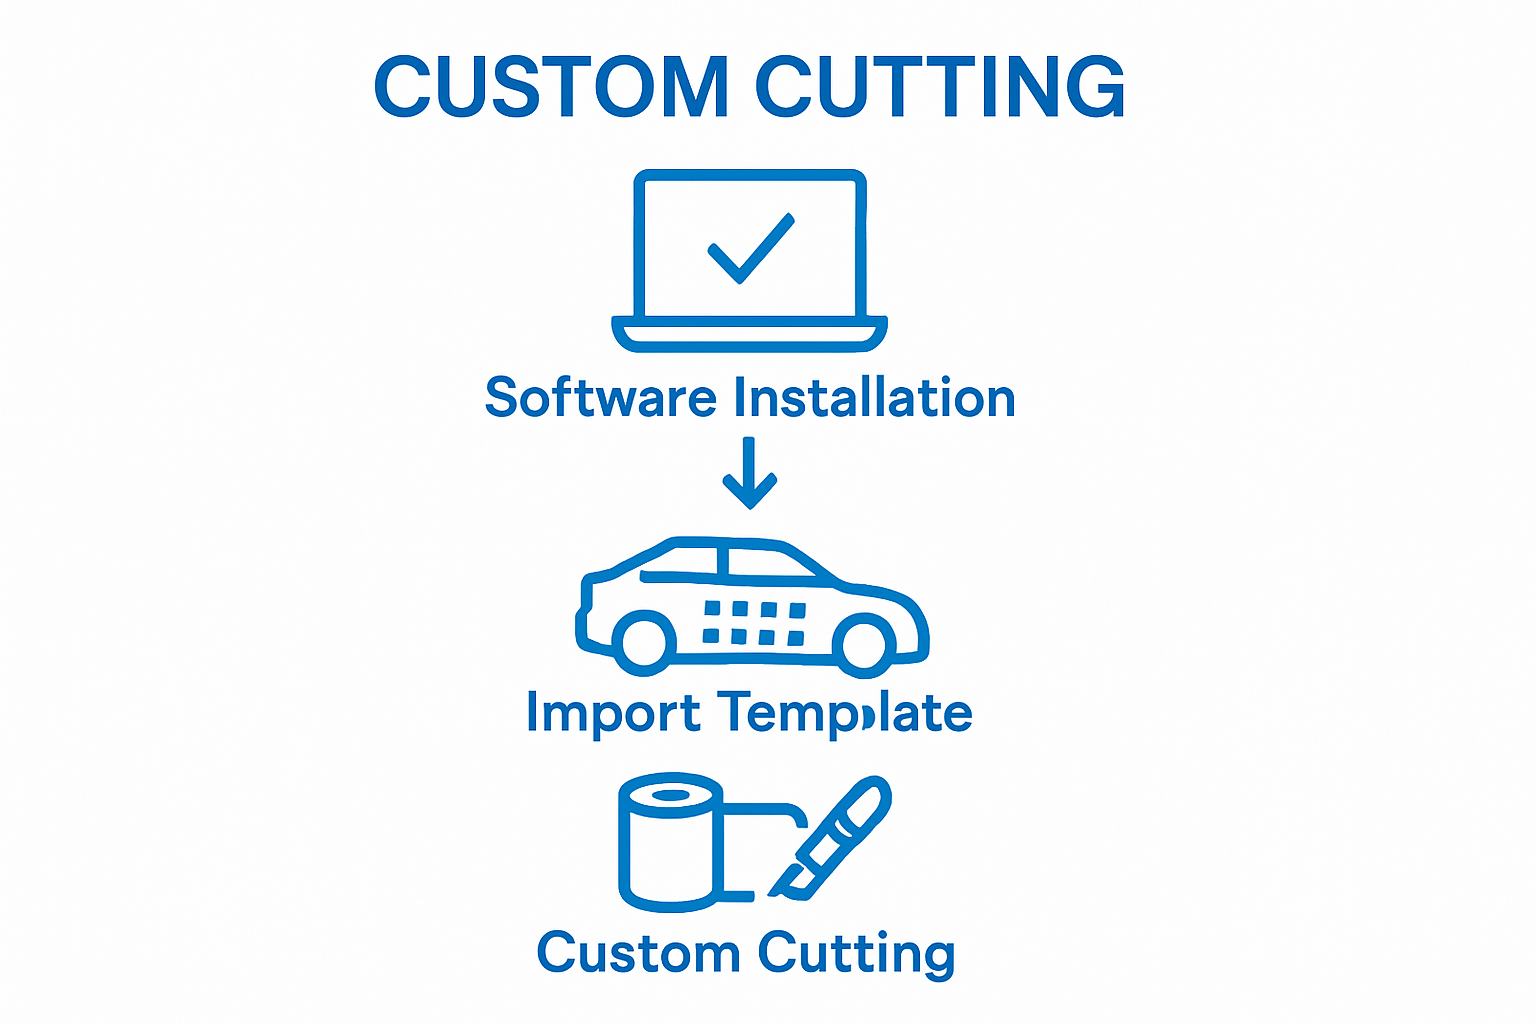
Window tint cut software is now the beating heart of flawless automotive film fitting, driving a level of precision that manual methods could never match. Yet even with machines doing most of the work, the margin for error is razor-thin. Professional installers strive for alignment accuracy within 0.5 millimetres, a standard that leaves no room for shortcuts or guesswork. What most people miss is that true mastery comes not from the software alone but from the careful way each step is prepared and verified—turning a simple installation into a craft of obsessive detail.
Table of Contents
- Step 1: Install And Configure Your Software
- Step 2: Import Vehicle Templates And Select Films
- Step 3: Customise Cutting Parameters For Precision
- Step 4: Execute The Cut And Review Outputs
- Step 5: Verify Accuracy Of Cuts With Test Fittings
- Step 6: Finalise And Save Your Projects For Future Use
Quick Summary
| Key Point | Explanation |
|---|---|
| 1. Install software correctly | Ensure your computer meets all system requirements and download from the official manufacturer’s site for optimal functionality. |
| 2. Import precise vehicle templates | Use the software’s vehicle database to obtain accurate templates matching specific vehicle dimensions for effective film application. |
| 3. Customize cutting parameters | Adjust settings such as blade pressure and cutting speed based on film characteristics to achieve high-precision cuts. |
| 4. Verify cut accuracy through test fittings | Conduct detailed test fittings to ensure that film pieces perfectly conform to window geometries before application. |
| 5. Save and document projects thoroughly | Organise project files systematically and maintain multiple backups to facilitate future reference and efficient workflow management. |
Step 1: Install and Configure Your Software
Successfully installing window tint cut software begins with understanding the critical preparation steps that ensure smooth implementation and optimal performance. Professional installers know that the foundation of precision film fitting lies in meticulous software configuration.
 Before diving into the installation process, verify your computer meets the minimum system requirements for comprehensive window tint cut software.
Start by downloading the software directly from the official manufacturer’s website to guarantee you receive the most recent version with all security updates and feature enhancements. Windows users should ensure they have Windows 10 or 11, while Mac users need macOS 11 Big Sur or newer. Your computer should have at least 8GB RAM, a dedicated graphics card, and approximately 10GB of free storage space for the software and pattern libraries.
The installation process typically involves several straightforward steps. After downloading the executable file, launch the installer and carefully read through each configuration screen. Most window tint cut software will prompt you to select an installation directory, choose between professional or standard configurations, and optionally register for cloud sync capabilities. Read more about advanced cutting software configurations to understand the nuanced setup options available for professional installers.
Once installation completes, launch the software and perform a comprehensive system check. Verify that all modules load correctly, pattern libraries populate, and measurement tools function seamlessly. Many professional-grade window tint cut software platforms include initial calibration wizards that guide you through testing core functionalities like pattern recognition, material measurement, and precision cutting parameters.
Key verification steps include:
- Confirming software recognizes your specific cutting hardware
- Testing pattern import and manipulation functions
- Checking cloud sync and update mechanisms
- Validating measurement accuracy across different film types
Professional tip: Always maintain your software with regular updates and periodic system checks to ensure ongoing precision and compatibility with emerging vehicle models and film technologies.
Below is a checklist table to help ensure you have completed every essential verification step during the window tint software installation and configuration process.
| Verification Step | Purpose | Outcome if Completed |
|---|---|---|
| Software recognises cutting hardware | Ensures hardware and software integration | Accurate communication |
| Pattern import and manipulation functions tested | Confirms template accuracy and software responsiveness | Reliable pattern handling |
| Cloud sync and update mechanisms checked | Validates backup and upgrade readiness | System remains up to date |
| Measurement accuracy validated | Confirms dimensional precision across film types | Confidence in cut accuracy |
Step 2: Import Vehicle Templates and Select Films
Importing vehicle templates and selecting the appropriate film represents a critical junction in achieving precise window tint application. Professional installers understand that this step determines the ultimate success of the entire film fitting process. Precision begins with selecting accurate digital templates that match the specific make, model, and year of the vehicle you are working on.
Navigation through the software’s template library requires careful attention to detail. Start by accessing the vehicle database within your window tint cut software and utilize the search function to locate your specific vehicle make and model. Modern software platforms offer extensive libraries with thousands of pre-configured templates, covering everything from compact cars to luxury SUVs.
Explore advanced template selection techniques to maximize your template matching accuracy.
When selecting film types, consider critical factors like visible light transmission (VLT) percentages, heat rejection capabilities, and material durability. Professional installers typically work with multiple film grades to accommodate different client requirements. Some software platforms now include integrated material specification databases that help you match film characteristics with specific vehicle windows and client preferences.
The template import process involves several nuanced steps. Confirm that the selected template precisely matches the vehicle’s window dimensions by comparing digital outlines with reference measurements. Most advanced window tint cut software provides overlay comparison tools that highlight potential discrepancies between the template and actual vehicle specifications. Pay special attention to curved surfaces and complex window geometries that require advanced digital mapping.
Key verification steps include:
- Ensuring 100% template geometric accuracy
- Matching film type to specific window requirements
- Verifying digital template alignment with physical measurements
- Checking material compatibility with vehicle window curvature
Professional tip: Always maintain a systematic approach to template selection, cross-referencing multiple sources and keeping your digital library updated with the latest vehicle models and window designs. Precision in this stage prevents costly mistakes during the actual film cutting and application process.
Step 3: Customise Cutting Parameters for Precision
Customising cutting parameters represents the pivotal moment where digital precision transforms into tangible film perfection. Professional window tint installers understand that microscopic adjustments can dramatically impact the final product’s quality, fit, and performance. This critical stage demands meticulous attention to detail and a nuanced understanding of how software settings interact with physical cutting mechanisms.
Begin by examining the specific characteristics of your selected film material. Different window tint compositions require unique cutting approaches, with parameters varying based on film thickness, material elasticity, and surface texture. Blade pressure, cutting speed, and tracking sensitivity become crucial variables that determine the ultimate precision of your film fitting. Experienced installers recognize that generic settings often produce suboptimal results, necessitating a tailored approach for each specific film type and vehicle window configuration.
Explore advanced cutting parameter optimization techniques to understand the sophisticated methods professional installers employ. Modern window tint cut software provides granular control over multiple cutting parameters, allowing you to fine-tune each aspect of the cutting process. Pay close attention to blade offset settings, which compensate for material compression and ensure clean, accurate cuts along complex window contours.
The calibration process involves incrementally adjusting settings and performing test cuts on scrap material. Professional installers recommend creating a systematic approach to parameter testing, documenting each adjustment and its corresponding result. Some advanced software platforms include diagnostic tools that provide real-time feedback on cutting performance, helping you identify and correct potential issues before working on actual vehicle windows.
Key verification steps include:
- Confirming zero blade drift during cutting
- Verifying edge smoothness and precision
- Checking material waste minimization
- Ensuring consistent cut depth across different film types
Professional tip: Develop a personalized parameter profile for each film type and vehicle model, treating each cutting job as a unique calibration challenge. Regularly update your settings based on technological advancements and emerging film technologies to maintain cutting-edge precision in your installations.
Step 4: Execute the Cut and Review Outputs
Executing the cut represents the moment where precision planning transforms into tangible results. Professional window tint installers understand that this stage demands absolute concentration and a systematic approach to quality control. Precision begins with confident execution and ends with meticulous output verification.
Initiate the cutting process by ensuring your cutting machine is properly aligned and the film is securely positioned. Modern window tint cut software provides real-time tracking and monitoring capabilities that allow you to observe the cutting process with unprecedented detail. Discover advanced cutting execution strategies to enhance your understanding of digital precision manufacturing techniques.
As the cutting mechanism progresses, monitor the process closely, observing blade movement, material tension, and potential irregularities. Professional installers develop an intuitive sense for detecting minor deviations that could compromise the final film fitting. Pay particular attention to intricate areas such as window corners, curved surfaces, and complex geometric transitions where cutting precision becomes most challenging.
Upon completion of the cutting process, conduct a comprehensive visual and dimensional inspection of the output. Carefully examine each cut piece, checking for clean edges, accurate dimensional compliance, and minimal material waste.
This checklist table summarises essential verification steps to guarantee the precision and quality of your executed film cuts before application.
| Checkpoint | What to Assess | Why It Matters |
|---|---|---|
| Zero blade drift during cutting | Watch for unwanted movement | Prevents misalignment |
| Edge smoothness and precision | Inspect cut edges for consistency | Ensures professional appearance |
| Dimensional accuracy across all cut pieces | Measure outputs against digital templates | Guarantees perfect fit |
| Material integrity and minimal waste | Examine film for defects and excess waste | Preserves quality and reduces costs |
| Dimensional accuracy within 0.1 millimetres represents the gold standard for professional window tint installations. Use digital measurement tools integrated into your software to verify precise cut dimensions against the original digital template. |
Key verification steps include:
- Confirming zero blade drift during entire cutting process
- Checking edge smoothness and precision
- Verifying dimensional accuracy across all cut pieces
- Assessing material integrity and minimal waste generation
Professional tip: Develop a systematic post-cut review protocol that transforms each cutting session into a learning opportunity. Document any variations or challenges encountered, using these insights to continuously refine your cutting parameters and technique. Remember that mastery in window tint installation is an ongoing journey of precision and continuous improvement.
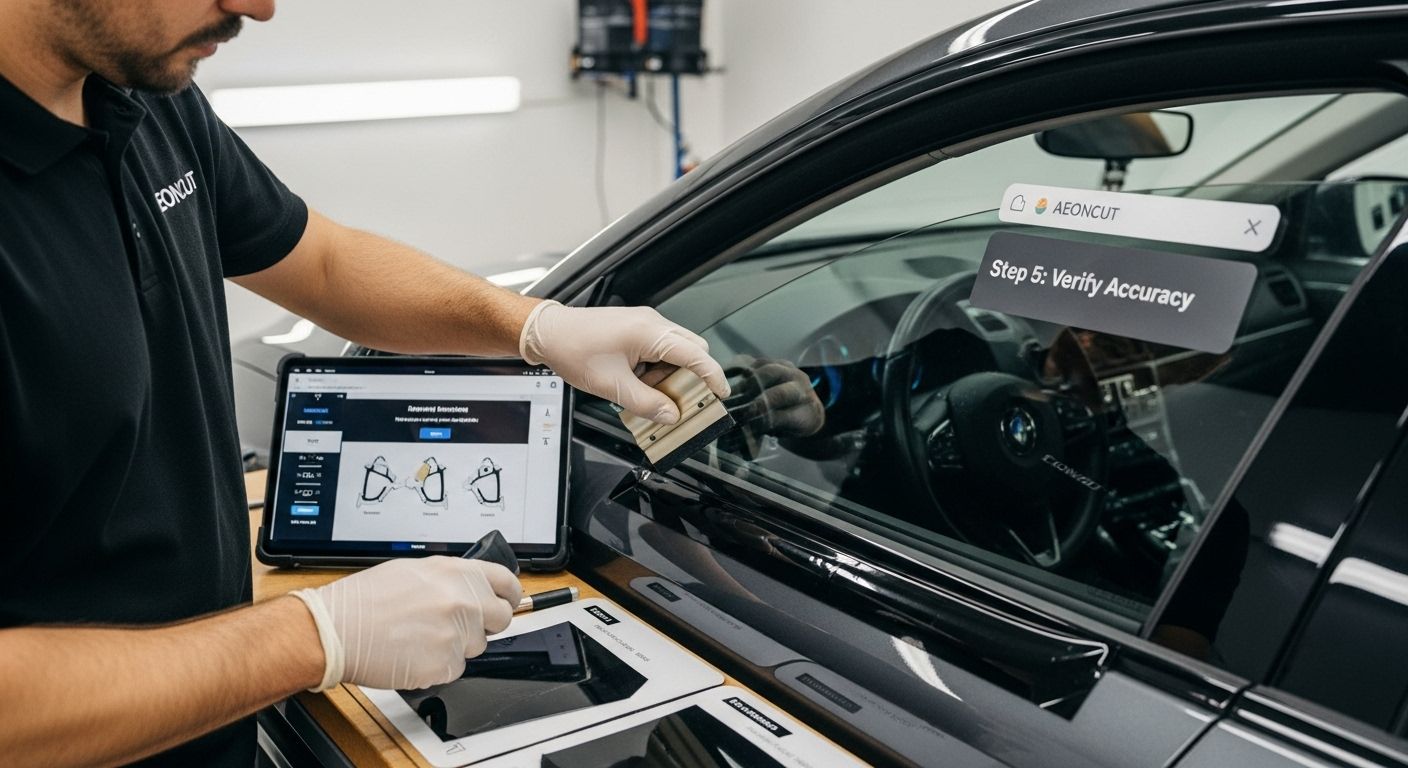
Step 5: Verify Accuracy of Cuts with Test Fittings
Verifying the accuracy of window tint cuts represents the critical quality control phase that separates professional installers from amateurs. Precision is not just about cutting, but confirming that each film segment perfectly matches the vehicle’s unique window geometry. This meticulous verification process ensures that your digital precision translates into flawless physical results.
Begin the test fitting process by carefully laying out your cut film pieces adjacent to their corresponding window surfaces. Professional installers recommend using a clean, well-lit workspace that allows for comprehensive visual and tactile inspection. Explore advanced test fitting techniques to understand the nuanced approach required for exceptional window film installation.
Carefully align each film segment, paying extraordinary attention to edge conformity, corner precision, and overall geometric compatibility. Use a combination of digital measurement tools and physical alignment techniques to detect even the most microscopic discrepancies. Professionals look for alignment accuracy within 0.5 millimetres, which represents the gold standard for window tint installations.
 Gently test the film’s flexibility and tension, ensuring it follows the window’s curvature without introducing wrinkles or distortions.
When conducting test fittings, simulate real-world application conditions as closely as possible. This means working with clean window surfaces, maintaining consistent temperature and humidity, and using appropriate application tools. Pay special attention to complex window areas such as curved surfaces, window seals, and intricate geometric transitions that challenge even experienced installers.
Key verification steps include:
- Confirming zero edge lifting or misalignment
- Checking film tension and surface smoothness
- Verifying complete window surface coverage
- Assessing visual clarity and optical precision
Professional tip: Document each test fitting meticulously, creating a visual and numerical record of your observations. Treat each test fitting as an opportunity to refine your cutting parameters and technique, transforming potential imperfections into insights for continuous improvement in your window tint installation process.
Step 6: Finalise and Save Your Projects for Future Use
Finalising and saving window tint cut projects represents the critical archival stage that transforms individual installations into a comprehensive professional knowledge base. Systematic project documentation becomes the backbone of efficient workflow management, enabling installers to track, reference, and replicate successful cutting strategies across multiple vehicle models and film types.
Begin the finalisation process by creating a structured digital filing system that captures essential project metadata. Each project should include comprehensive details such as vehicle make and model, film type, cutting parameters, and specific installation notes. Explore advanced project management techniques for window tint professionals to understand sophisticated archival strategies that elevate your installation workflow.
Professional window tint installers recognize that project archiving extends beyond simple file storage. Implement a robust naming convention that allows immediate identification of project specifics. Consider including date of installation, vehicle identification number, and unique project identifier in your file names. Modern window tint cut software often includes built-in project management features that automatically generate comprehensive metadata and facilitate seamless archival processes.
Ensure multiple backup strategies are in place to protect your valuable project data. Cloud synchronization provides an excellent redundancy mechanism, allowing you to access project files from multiple devices while maintaining a secure, off-site backup. Professional installers recommend maintaining at least three separate backup copies: one on your primary workstation, one on an external hard drive, and one in a secure cloud storage platform.
Key project finalisation steps include:
- Verifying all project files are correctly saved
- Confirming metadata accuracy and completeness
- Establishing consistent backup protocols
- Creating searchable project archives
Professional tip: Treat your project archives as a living, evolving knowledge repository. Regularly review and update your archival system, incorporating lessons learned from each installation to continuously refine your professional approach to window tint cutting and application.
Take Full Control of Your Window Tint Projects with AEONCUT
Are you struggling to achieve perfect precision in your window tint installations? If this article has shown you the importance of digital accuracy, customisable cutting parameters and comprehensive template libraries, it is time to see how these solutions come together in practice. Discover why so many professionals trust the window tint software category to solve challenges of material waste, pattern mismatches, and time-consuming template searches.

Experience how the AEONCUT platform transforms the way you fit window tint film. Access extensive pattern databases, AI-driven auto-nesting, and seamless cloud updates, all designed to guarantee a flawless fit every time. Do not let outdated methods slow down your business or put your reputation at risk. Explore advanced features and flexible subscriptions by visiting aeoncutsw.com. Take the next step towards professional excellence today and secure your edge in the competitive world of automotive tinting.
Frequently Asked Questions
What are the system requirements for window tint cut software?
To effectively run window tint cut software, ensure your computer has at least 8GB RAM, a dedicated graphics card, and 10GB of free storage. Windows users need Windows 10 or 11, while Mac users require macOS 11 Big Sur or newer.
How do I ensure accurate vehicle templates are used in the software?
Access the vehicle database within your window tint cut software and use the search function to locate the specific make and model accurately. Always cross-reference templates with actual measurements to confirm geometric accuracy.
What are essential cutting parameters to customise in the software?
Key cutting parameters to adjust include blade pressure, cutting speed, and tracking sensitivity. Individual film material characteristics can influence these settings, necessitating unique adjustments for different films and vehicle configurations.
Why is it important to document and archive window tint projects?
Documenting and archiving projects creates a comprehensive knowledge base that enhances workflow management. It helps you track, reference, and replicate successful cutting strategies, ensuring consistent quality for future installations.
Recommended
- Master Window Tint Cutting Machine and Software for 2025
- Master Window Tint Cutting Machine and Software for 2025
- Cutting Tint
- Cutting Tint


